PCB assembly
Re: PCB assembly
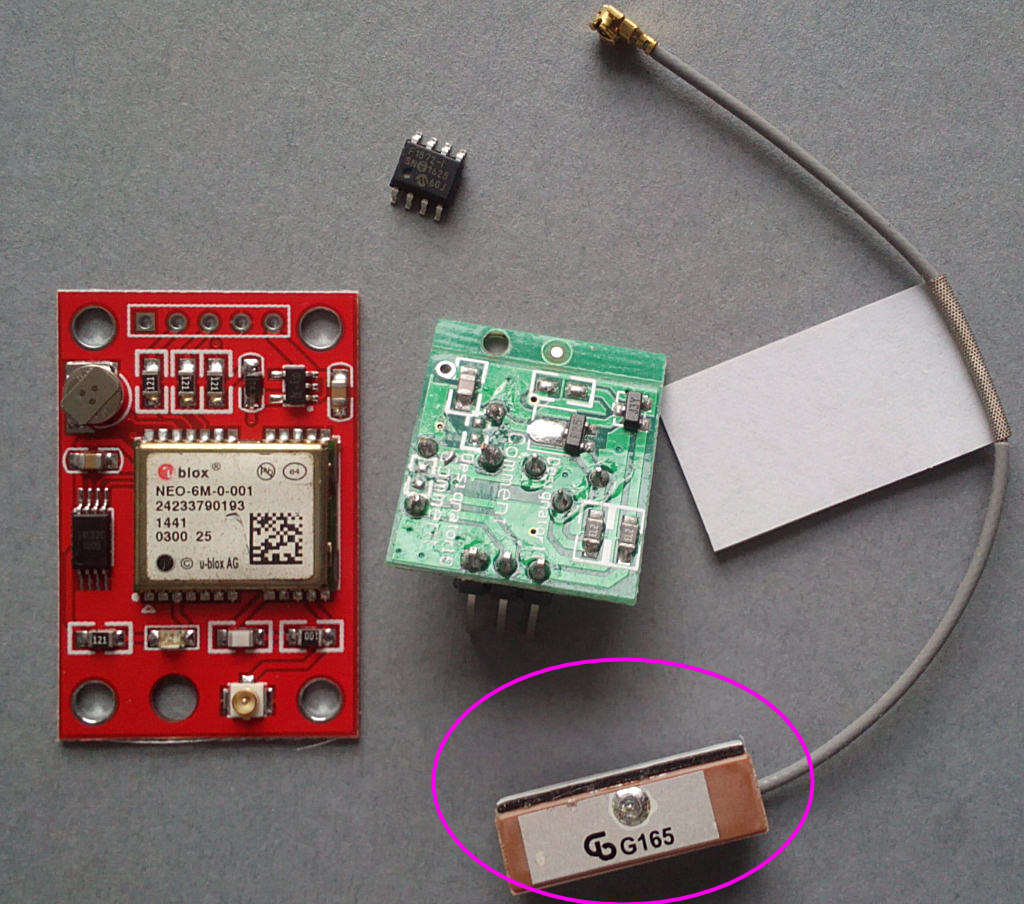
Connect the antenna to the GPS module:


Re: PCB assembly
DO NOT CONNECT THE GPS MODULE TO THE POWER SUPPLY/CONTROLLER PCB!
Time to test it - connect a voltmeter across the 12R resistor (you'll probably need to solder a couple of wire legs onto it to attach the probes). Connect it to the the 5V US-plug USB power supply using the included micro USB lead (For UK power supplies see the instructions on fitting the micro USB plug) and switch on, monitoring the voltage reading.
It should be around 0.5-1V, if it's significantly more switch off and look for mistakes.
You should now have a red LED on the GPS module and the red LED on the PCB lit. Set it up where it can receive a GPS signal. Agter about a minute the module red LED should start flashing, indicating packets received. The PCB red LED will start to flicker. Agter another minute or so the green LED will start to flash once a second - this indicates valid time packets have been received and are being retransmitted. After 3 minutes it will change to short flashes, this indicated valid time received but not retransmitted. Once every 250 seconds it will transmit, indicated by a longer flash.