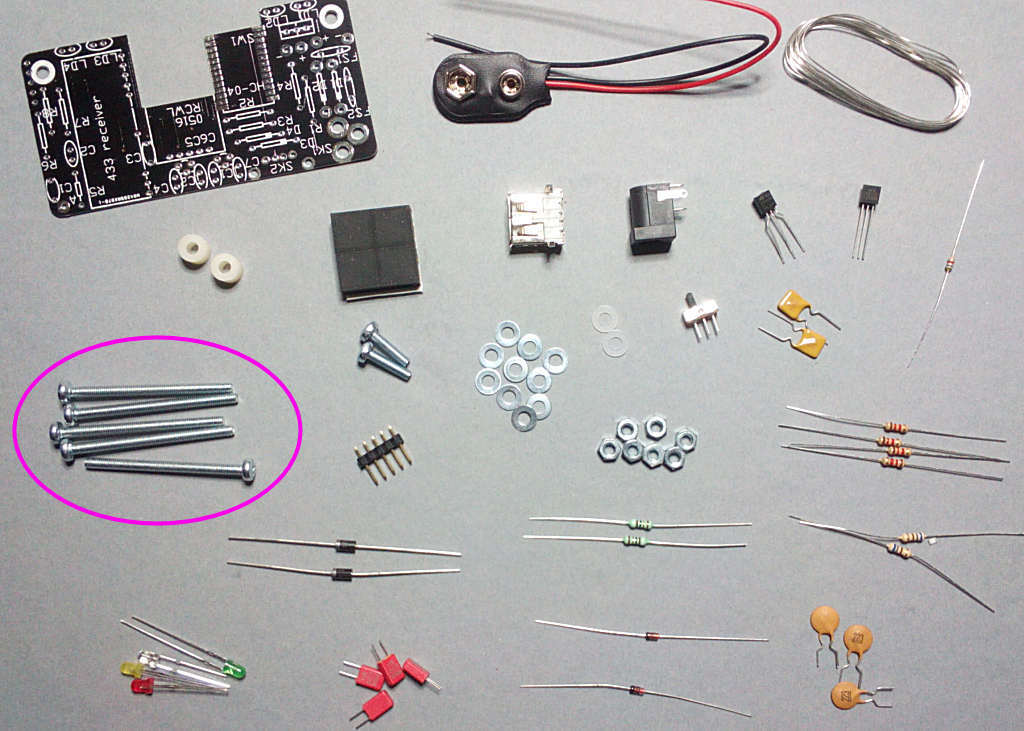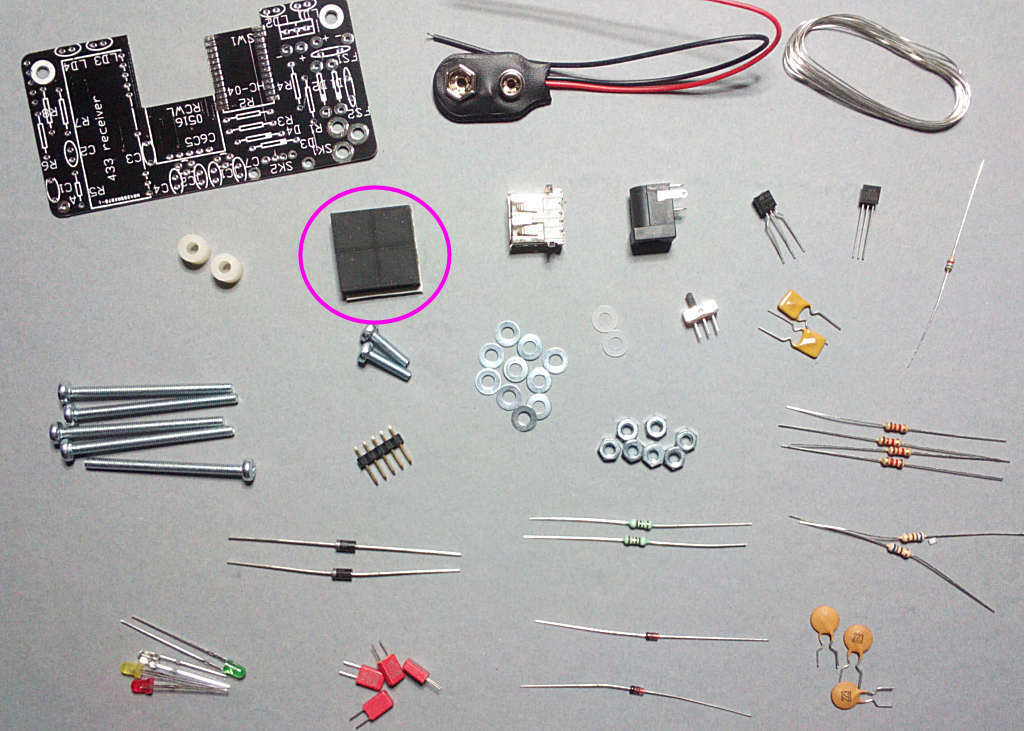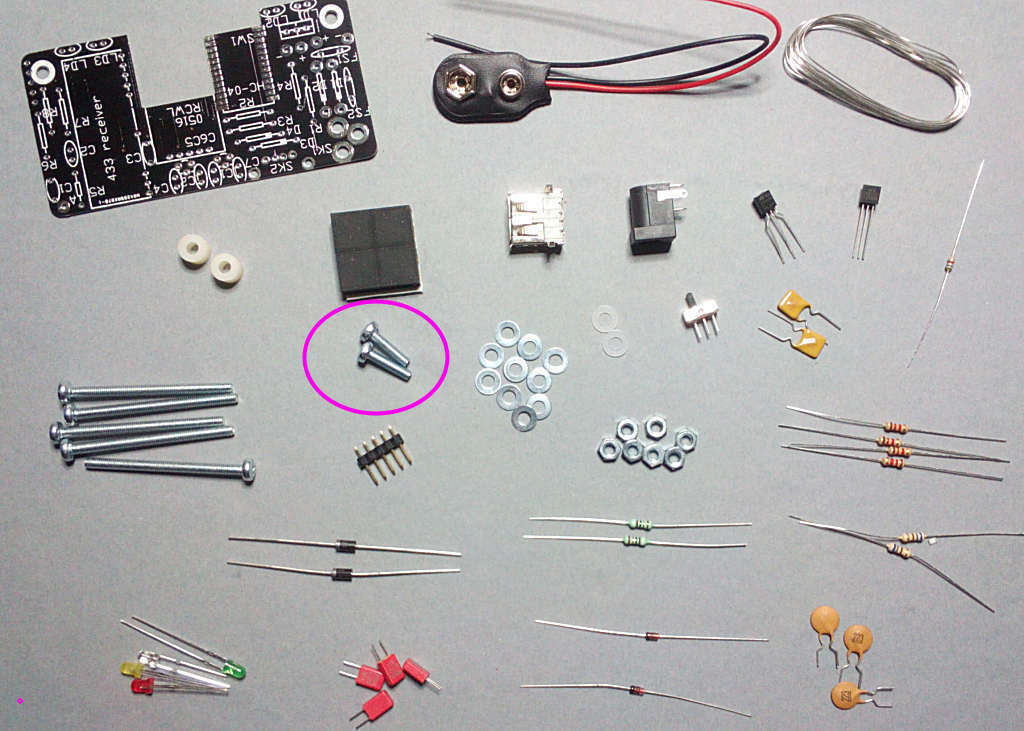
Once you've finished testing the PCB works it can be built into its case. This is made from laminate panels held together by tabs and 5x M3 bolts, they'll need to be sanded before use.
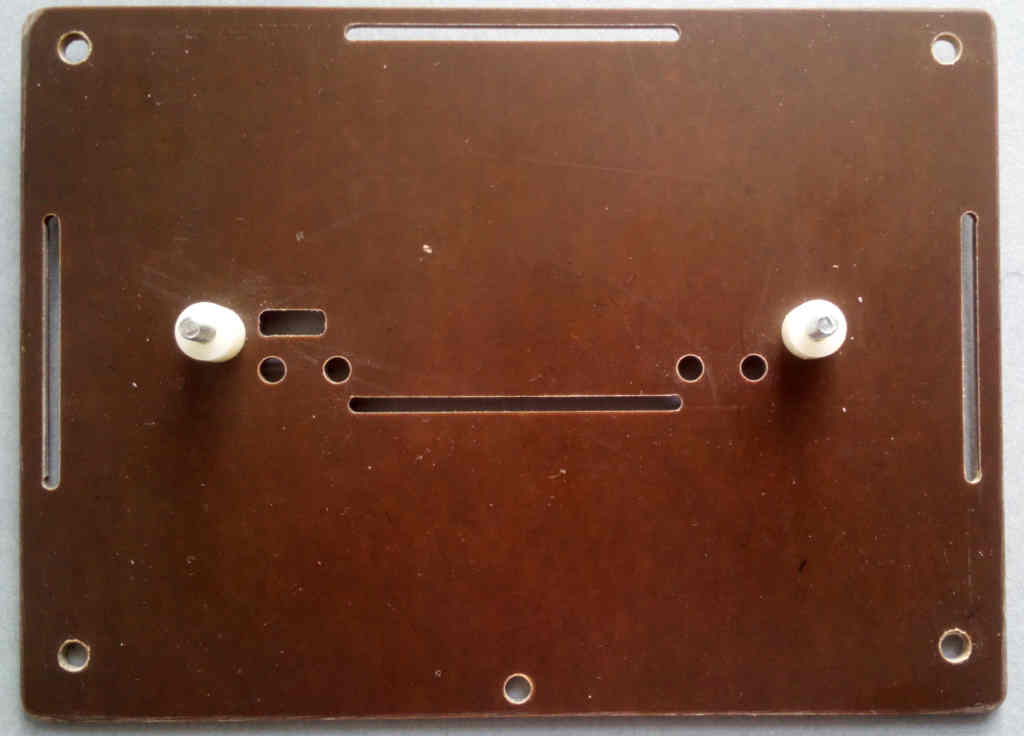
Start with the case front, push the 2x M3x12 bolts through the indicated holes, turn over and drop the nylon spacers onto them:
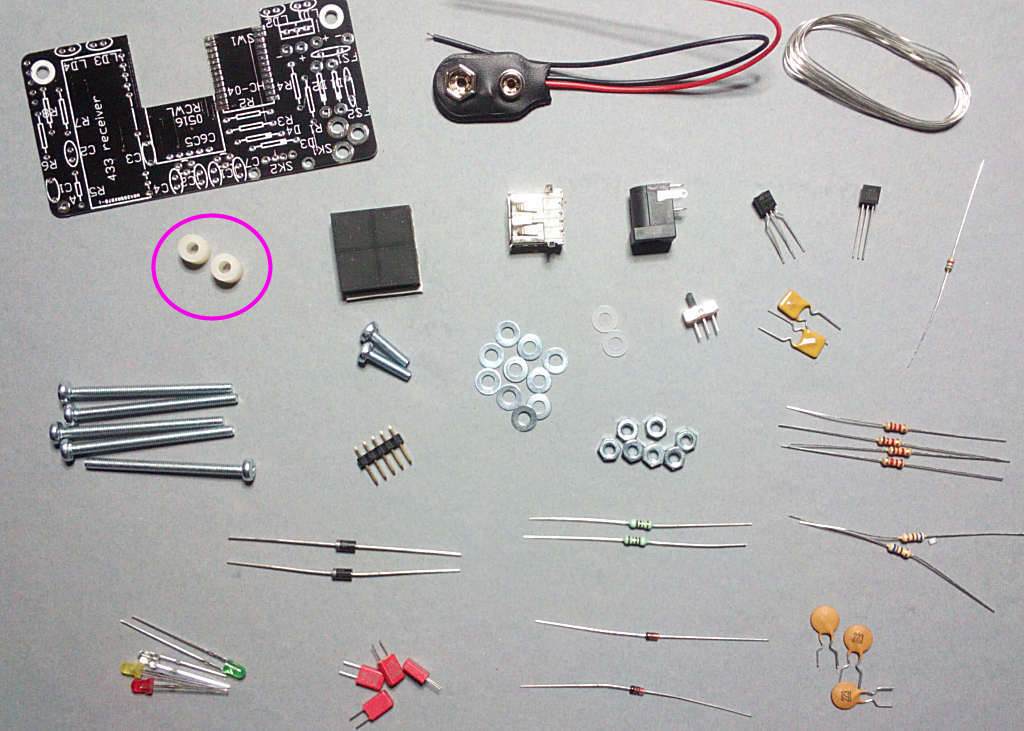
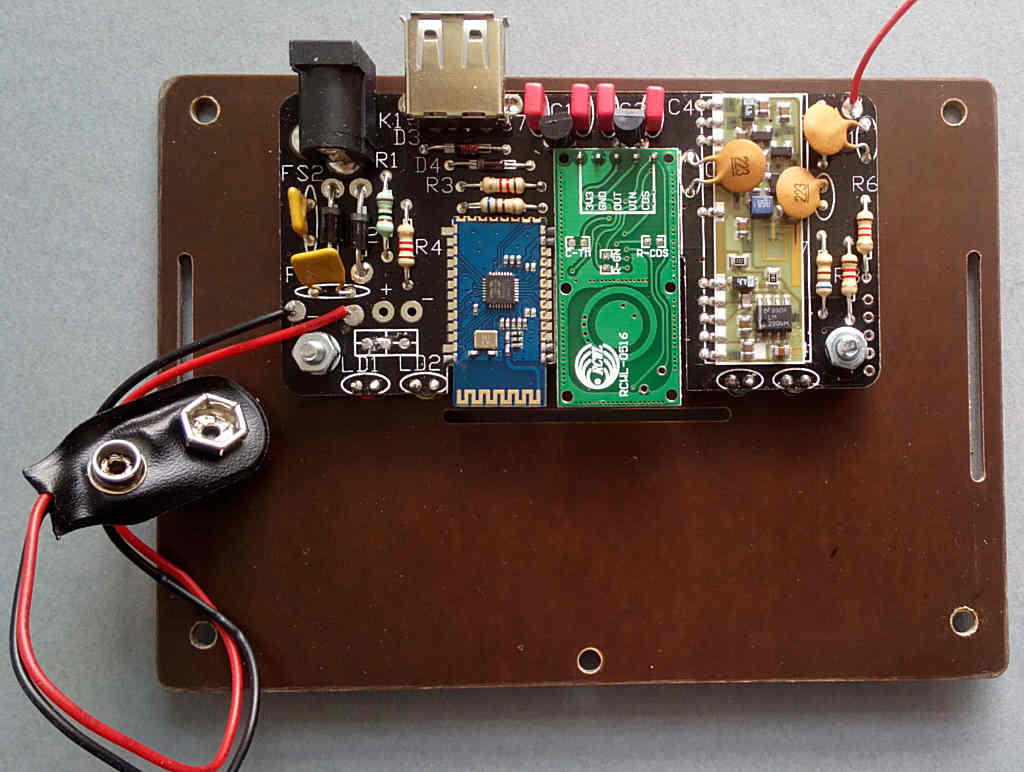
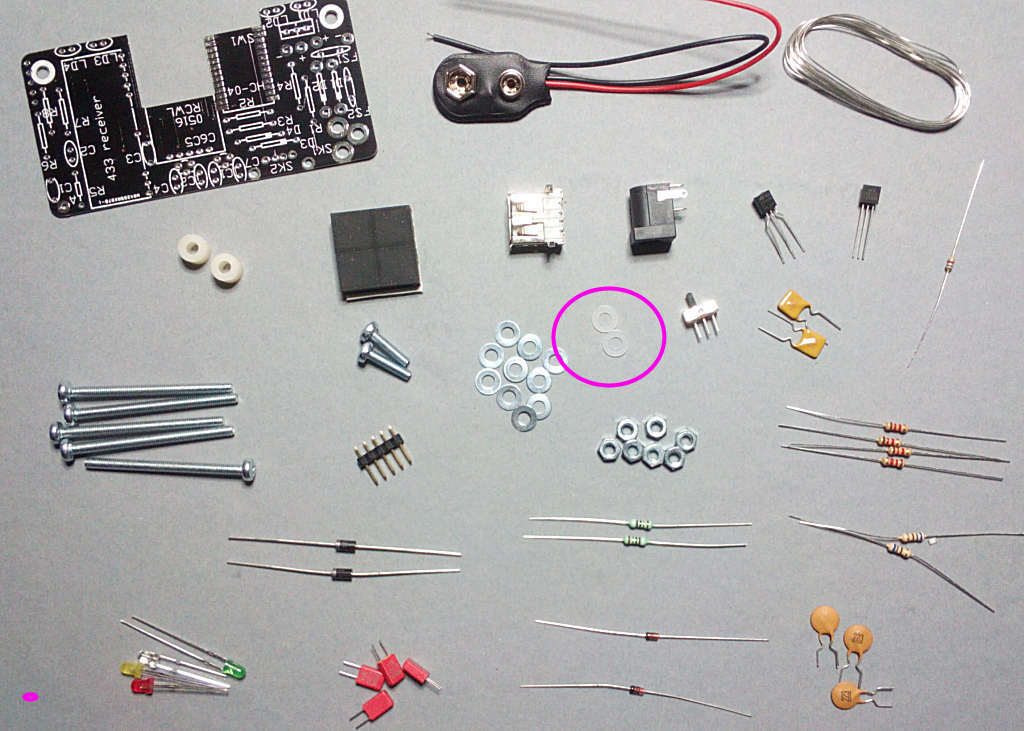
Fit the PCB onto them with the modules facing up, the LEDs will fit through the holes in the front panel. Put a plastic washer on each bolt to protect the PCB from the nuts, then fix down as shown:
3 - Case assembly
Re: Case assembly
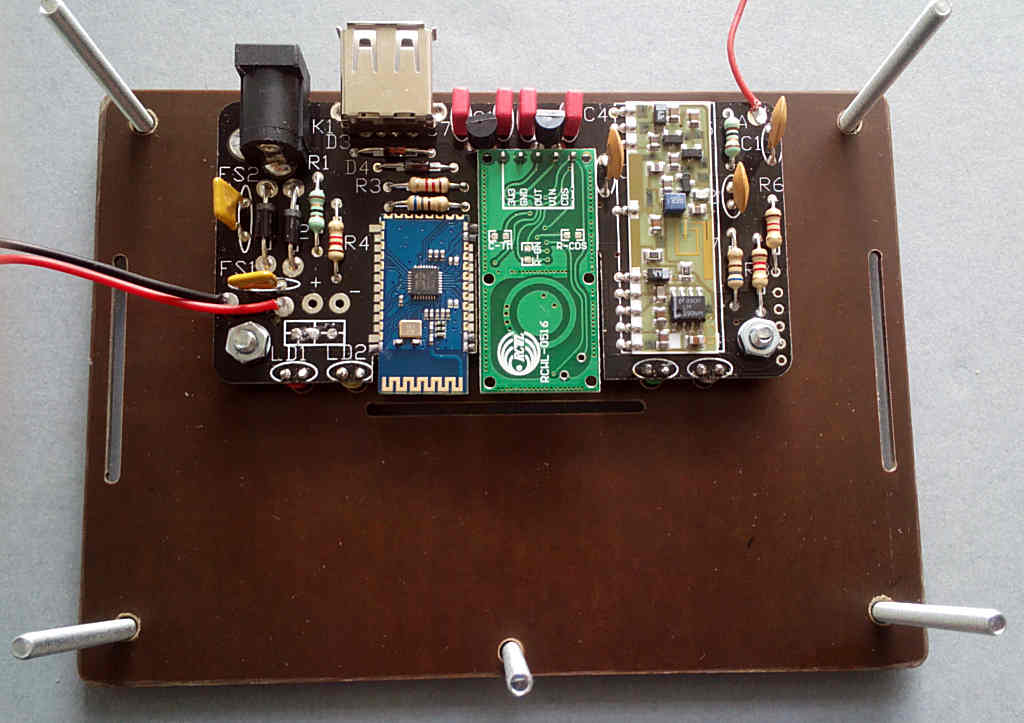
Put washers on 4 of the long M3 bolts and push them through the corner holes - leave the centre one for now:
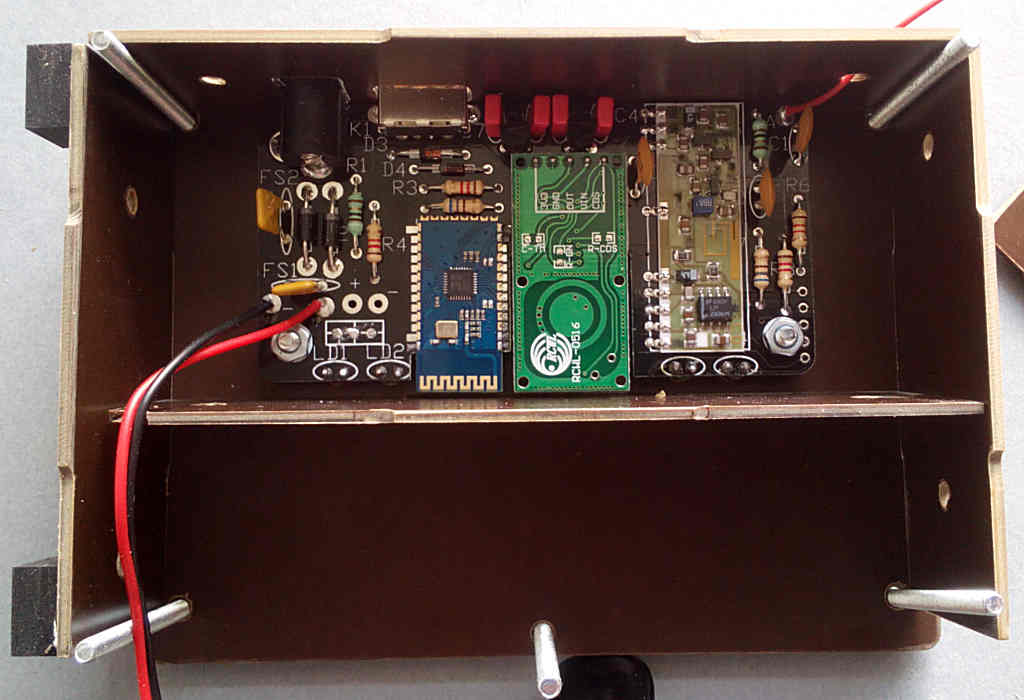
Put the 4 tabbed side panels in as shown, feeding the antenna wire through the hole nearby:
Re: Case assembly
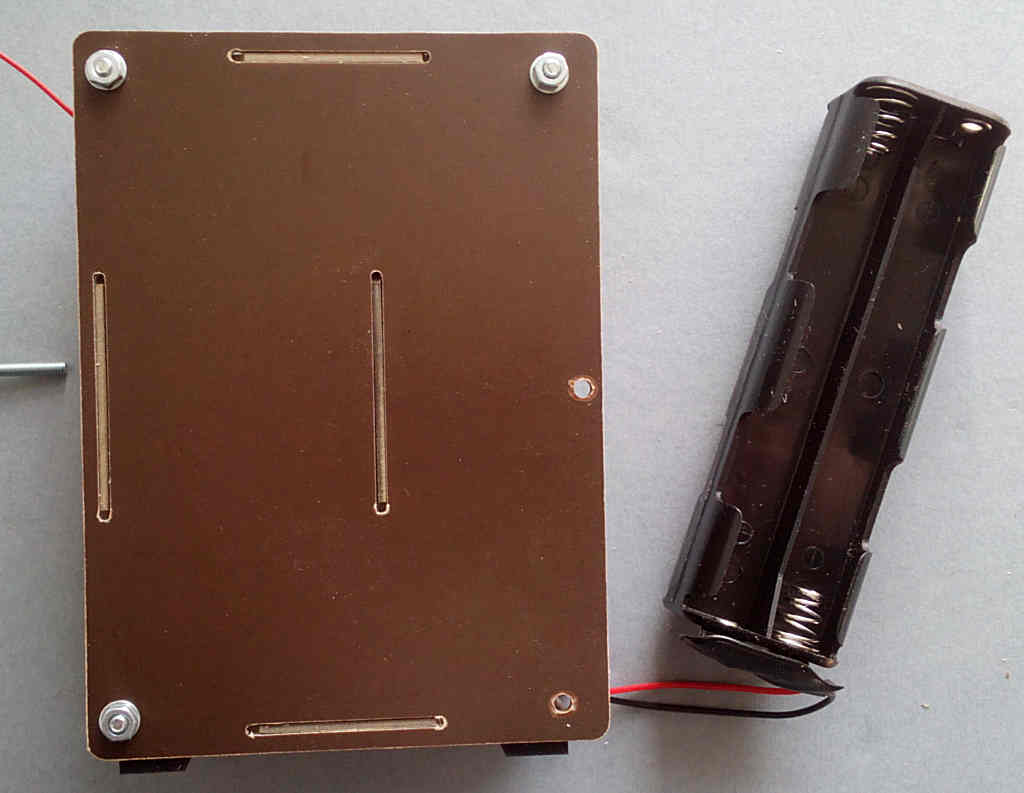
Then put the case back over them, making sure all the tabs fit into the slots in the back panel. Use a washer and nut in the 3 corners shown to hold it in place:
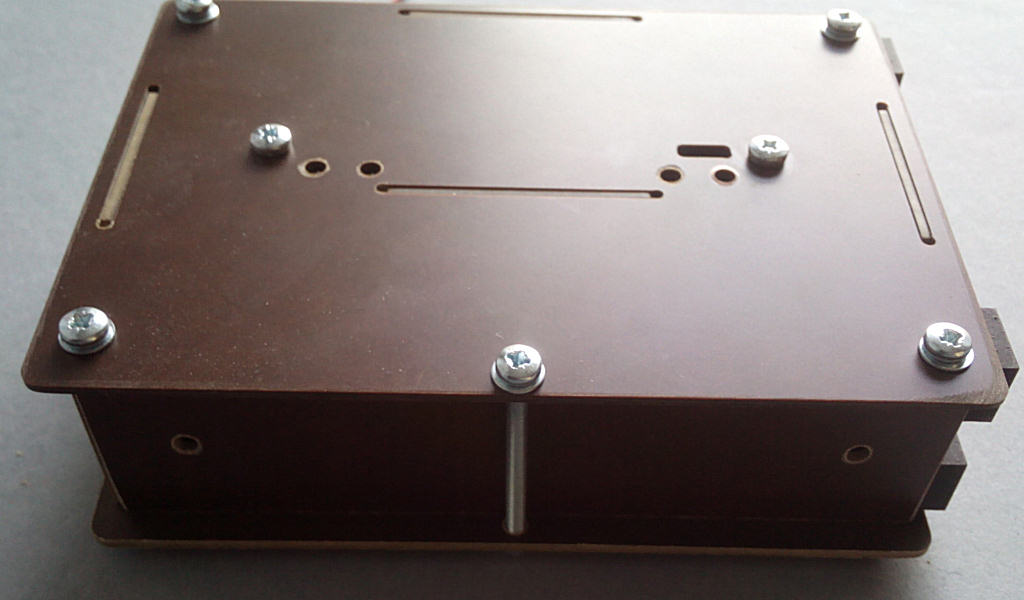
Clip the battery box onto the PP3 clip and push it into place - you won't be able to do this unless that bottom right bolt is removed. Once it's in, fit the 2 remaining bolts then slide the untabbed covering panel into place before tightening all the bolts. Put the 4 rubber feet on the bottom of the case - either the back panel or as shown in the picture as you prefer (experiment with what gives the best movement detection in your application).