
4 - Case Assembly
4 - Case Assembly
Put the 2x M3 bolts through the coil assembly end holes as shown:


Re: Case Assembly
Now the magnet. Every ferrous tool I own is now magnetic after 2 + years of working with these things. Keep it away from anything it can attract, that includes tiny components and wire offcuts.
As supplied it has a steel weight stuck to the top, this will need to be removed before using it. The glue used is quite weak but the magnetic hold is strong, you'll need to force it apart at this groove - how you do it is up to you - I've removed many of them easily but I can't suggest how just in case it causes injury.
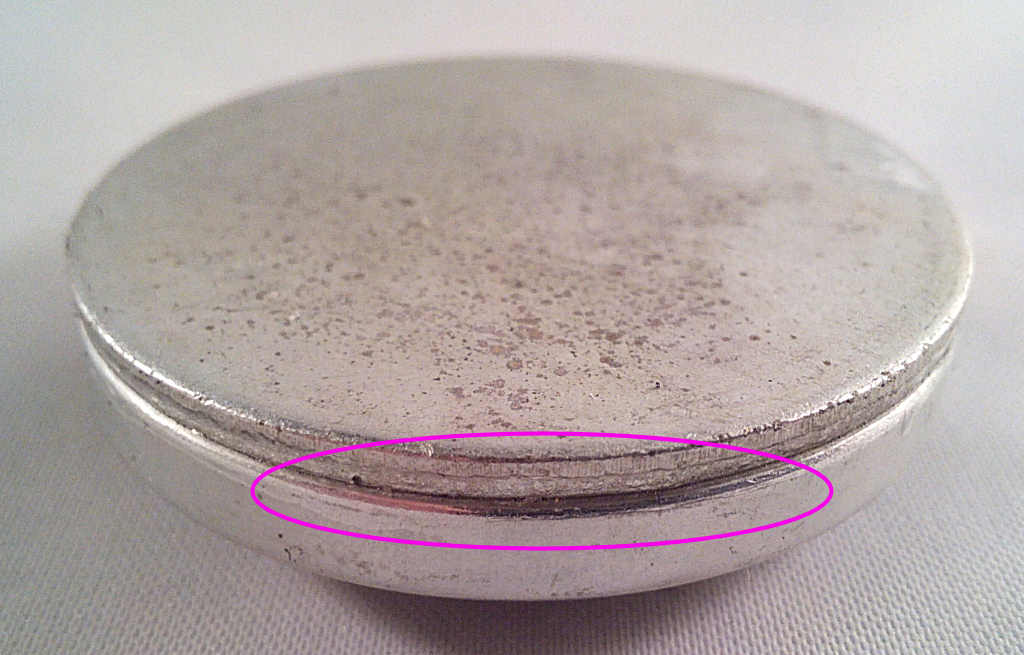
Do not heat it up to soften the glue, it doesn't need to be so just keep it at or close to room temperature as the Curie point for these super-strong magnets is quite low.
As supplied it has a steel weight stuck to the top, this will need to be removed before using it. The glue used is quite weak but the magnetic hold is strong, you'll need to force it apart at this groove - how you do it is up to you - I've removed many of them easily but I can't suggest how just in case it causes injury.

Do not heat it up to soften the glue, it doesn't need to be so just keep it at or close to room temperature as the Curie point for these super-strong magnets is quite low.
Re: Case Assembly
Push the magnet into the coil assembly as shown - you may need to sand or Dremel the edges of the hole slightly as there's very little clearance.:
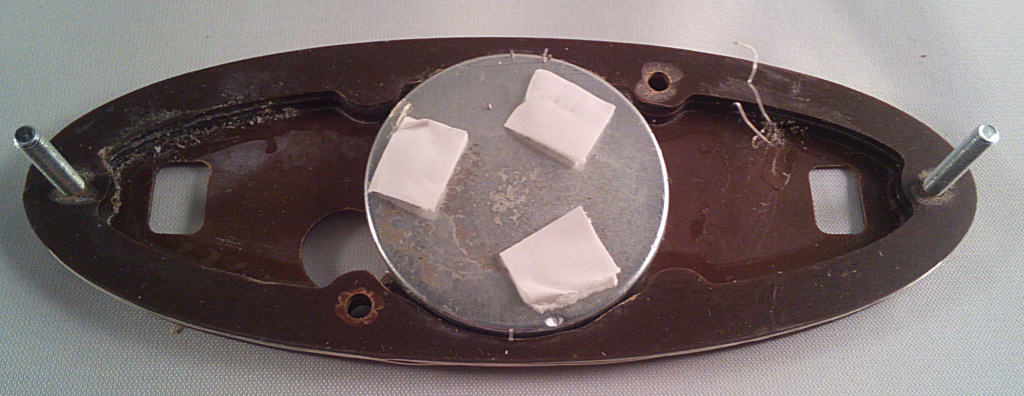
Stick the 3 double sided adhesive foam pads onto the magnet as shown above but leave the wax paper on the top side so they're not sticky:
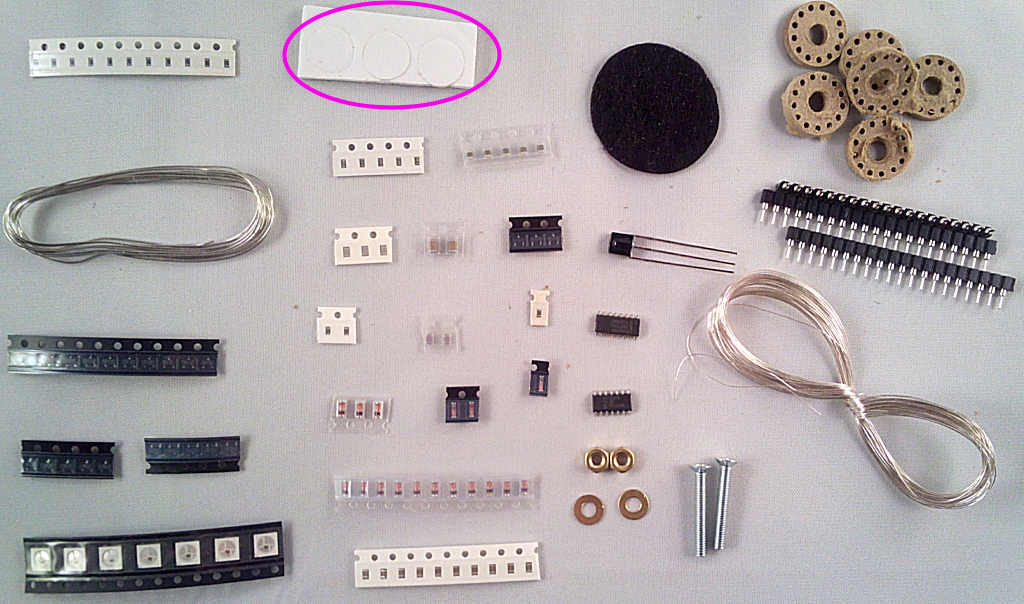

Stick the 3 double sided adhesive foam pads onto the magnet as shown above but leave the wax paper on the top side so they're not sticky:

Re: Case Assembly
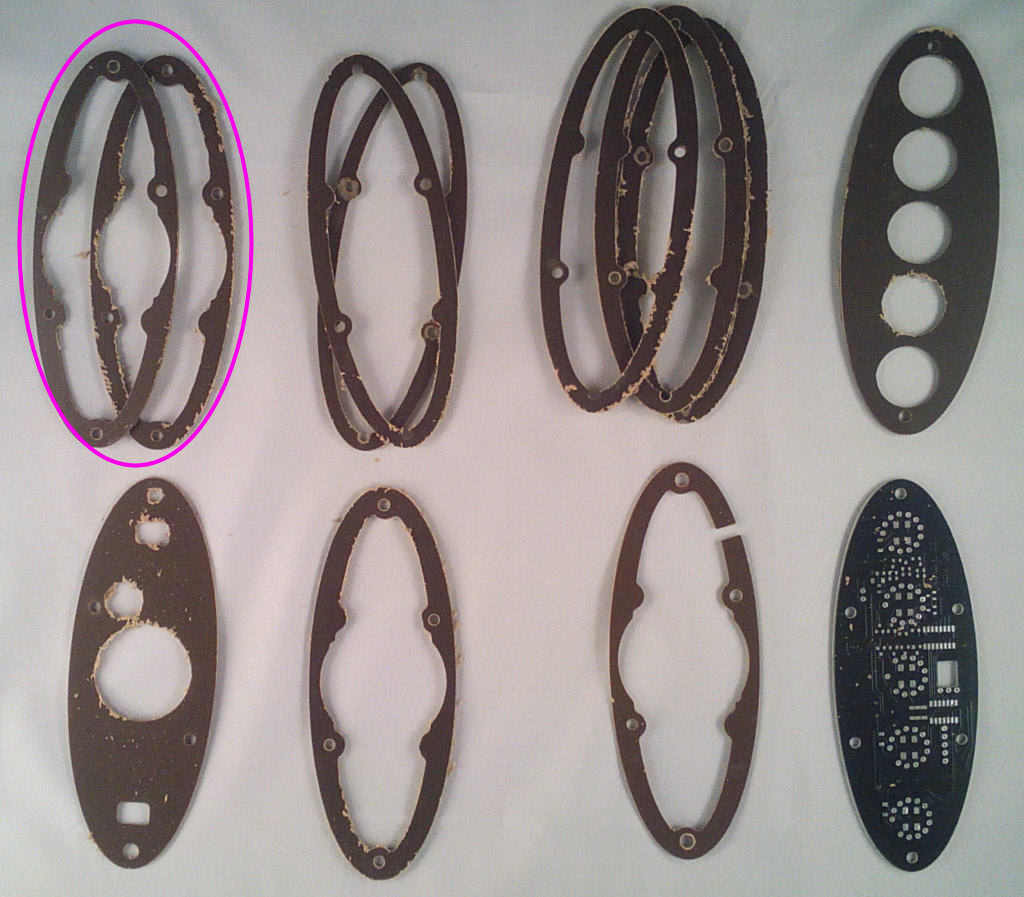
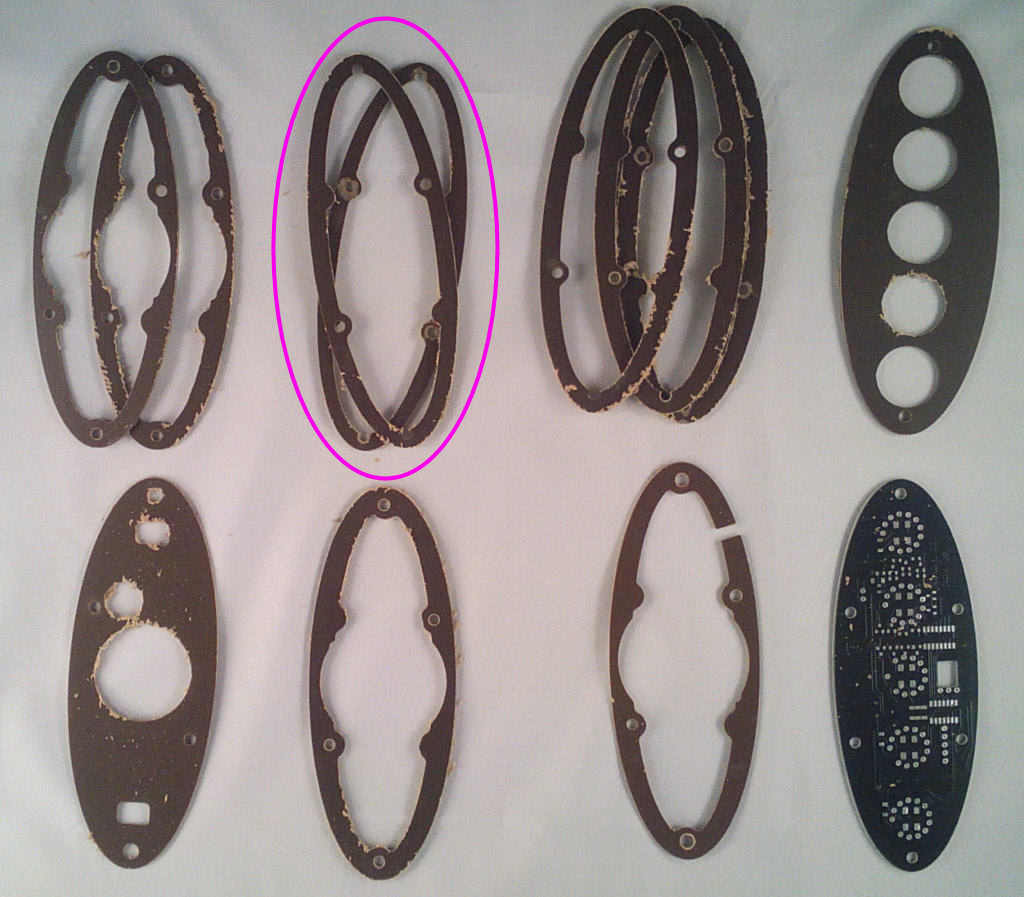
Now drop the second 'narrow, shaped' loop onto the coil assembly - you can now see they're shaped to fit around the magnet:
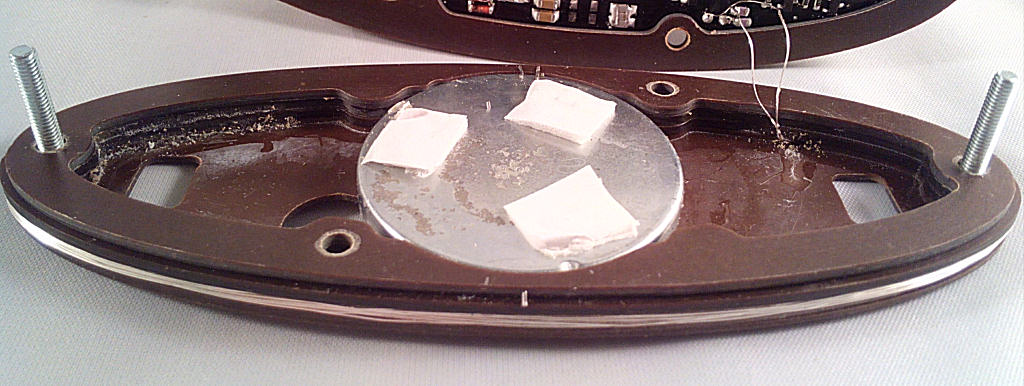


Re: Case Assembly
Now one of the 'Wide plain' loops:
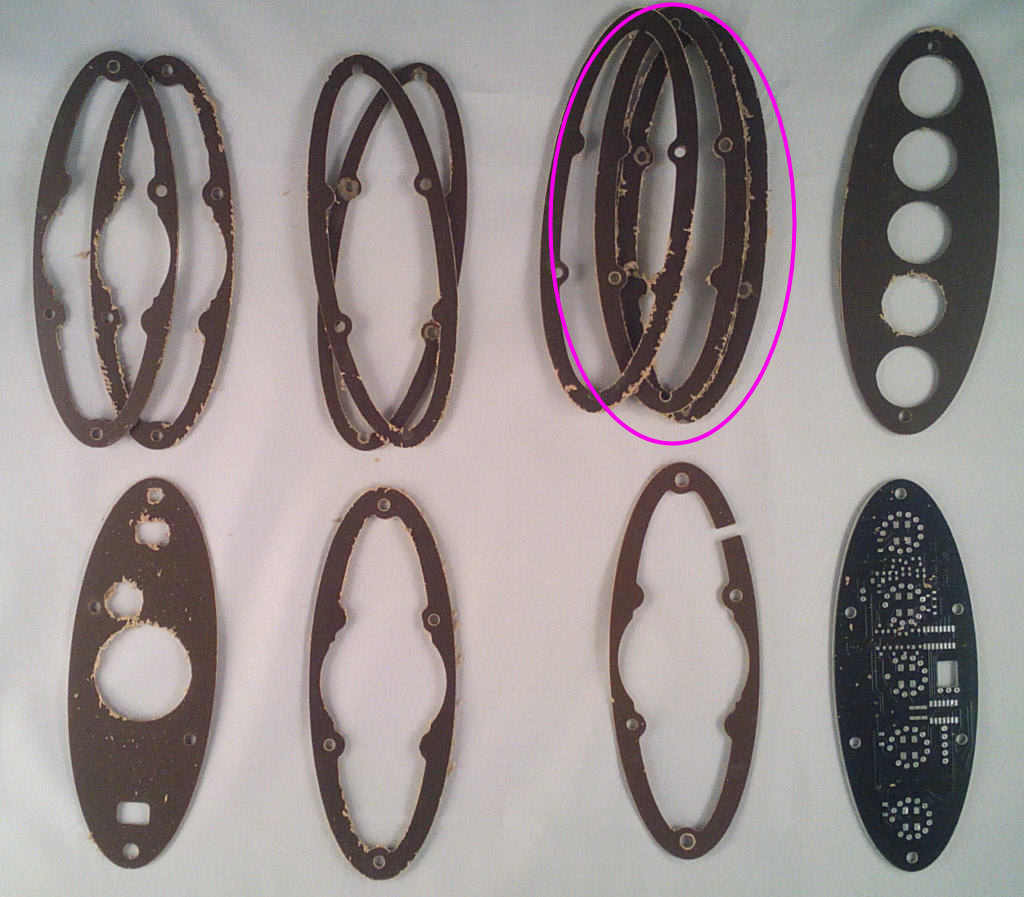
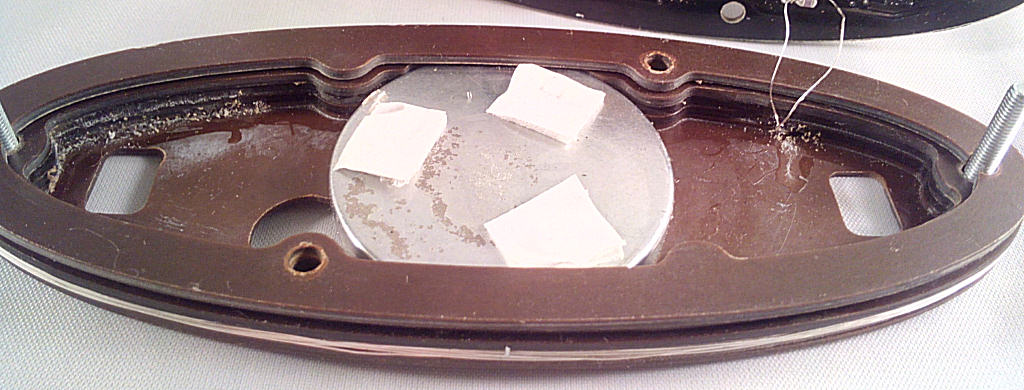


Re: Case Assembly
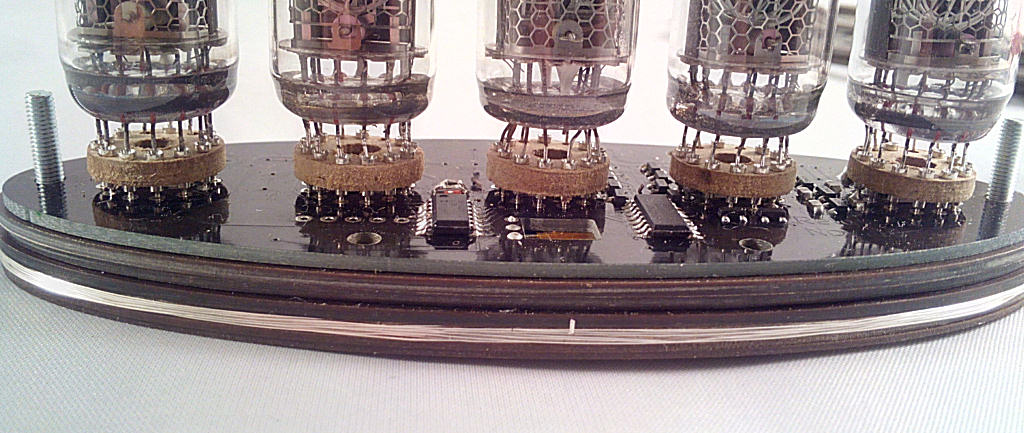
Solder the 2 coil wires to the clock PCB and drop it onto the stack, making sure the wires don't foul anything. There should be about 7mm of empty space for them under here:
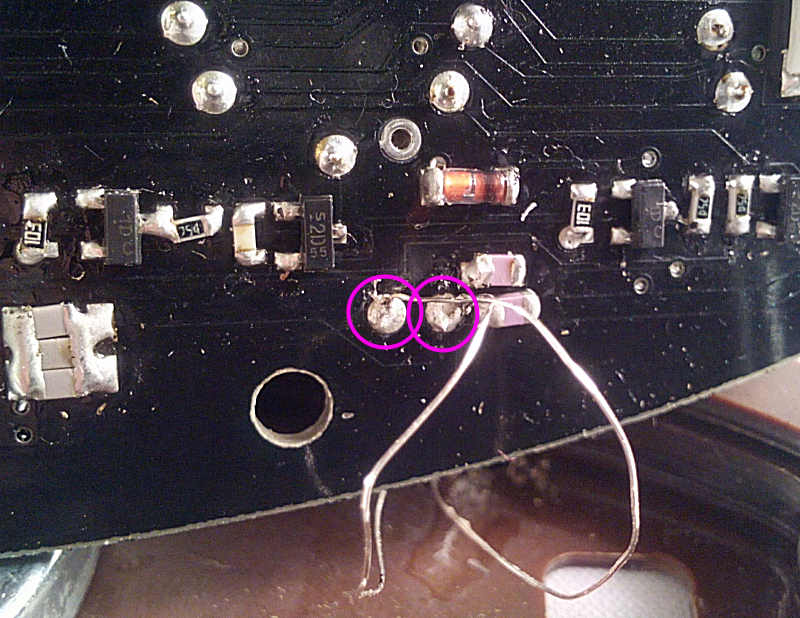


Re: Case Assembly
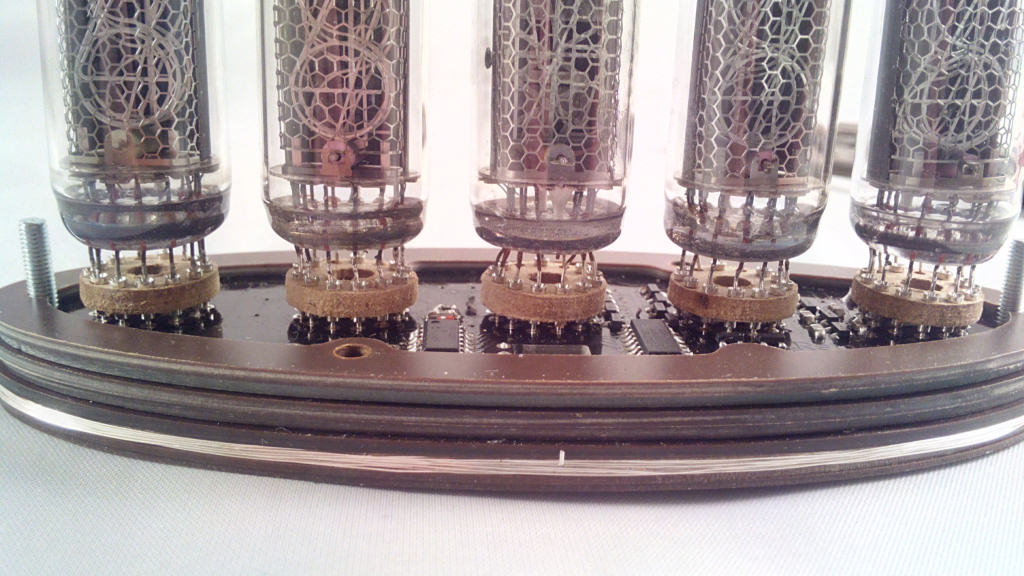
Followed by another 'wide plain' ring:



Re: Case Assembly
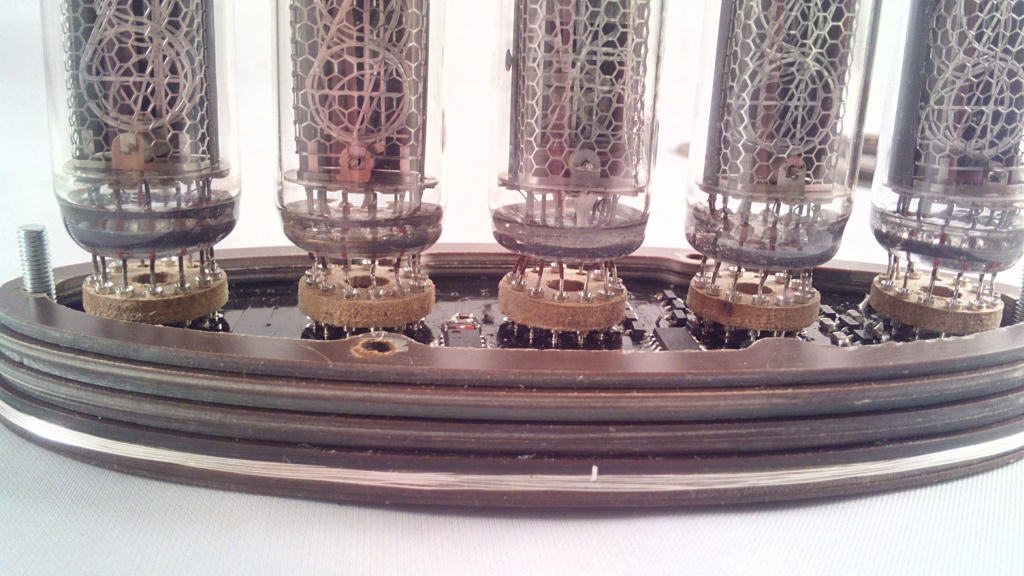
Followed by a 'narrow plain' ring:


Re: Case Assembly
And the last 'wide plain' ring:

Followed by the last 'narrow plain' ring:

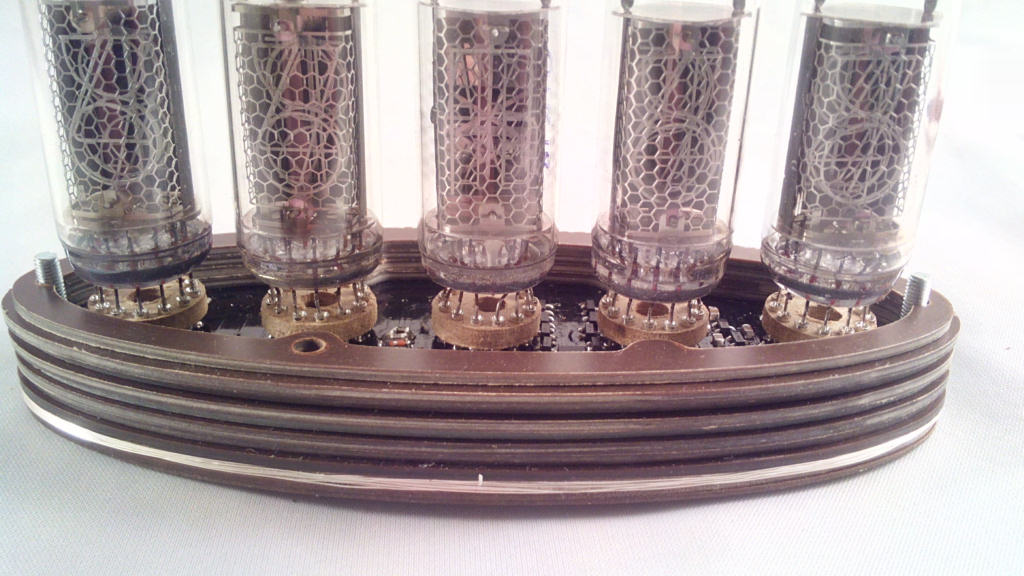
Should leave you with this:

Followed by the last 'narrow plain' ring:

Should leave you with this:

Re: Case Assembly
Finally the case lid:
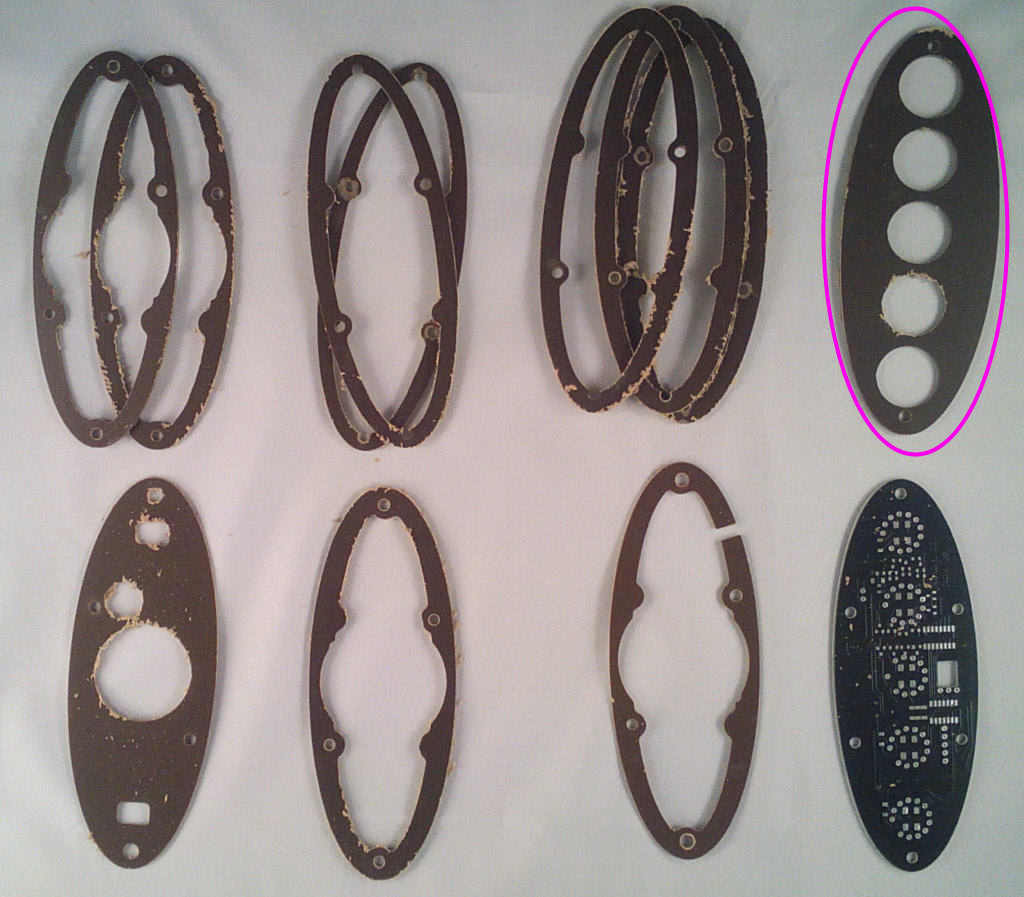
Bolt this down using the 2x brass washers and M3 nuts to complete the Beacon module assembly.
Finally, glue the felt disc to the smaller of the magnets under the Relay base. This provides some protection for the base lid when the clock inevitably drops into it.

Bolt this down using the 2x brass washers and M3 nuts to complete the Beacon module assembly.
Finally, glue the felt disc to the smaller of the magnets under the Relay base. This provides some protection for the base lid when the clock inevitably drops into it.