Board coils
Board coils
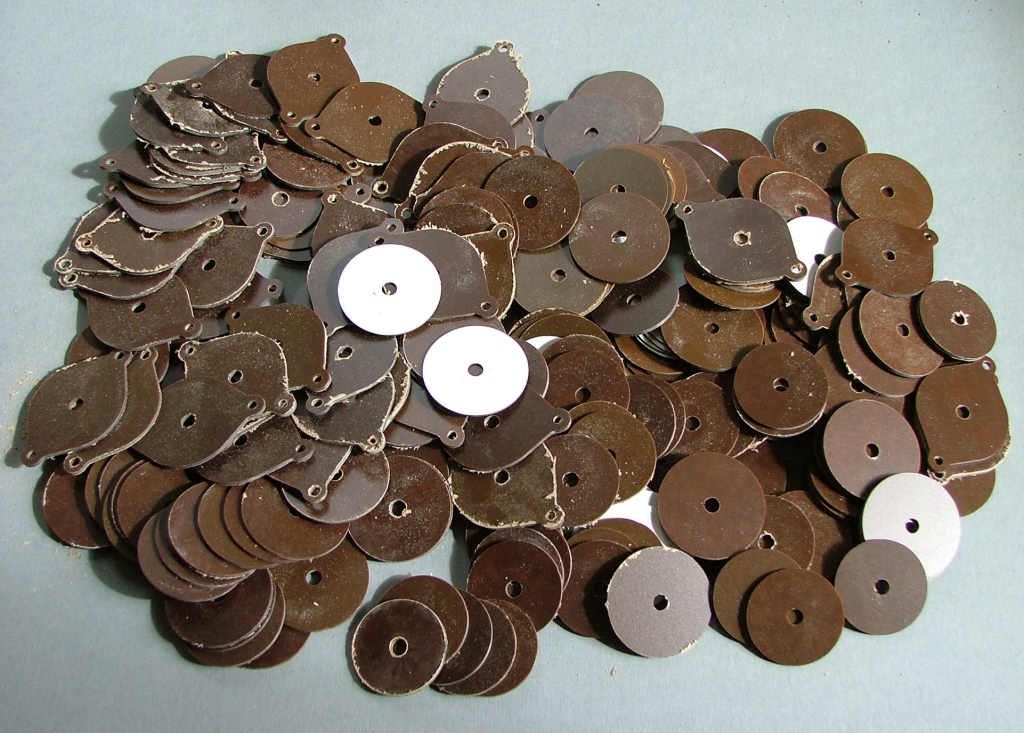
For this you will need the entire contents of BAG 2 plus the M5 nuts and bolts from BAG 1 and copper wire.


Re: Board coils
Assembling the coil former:
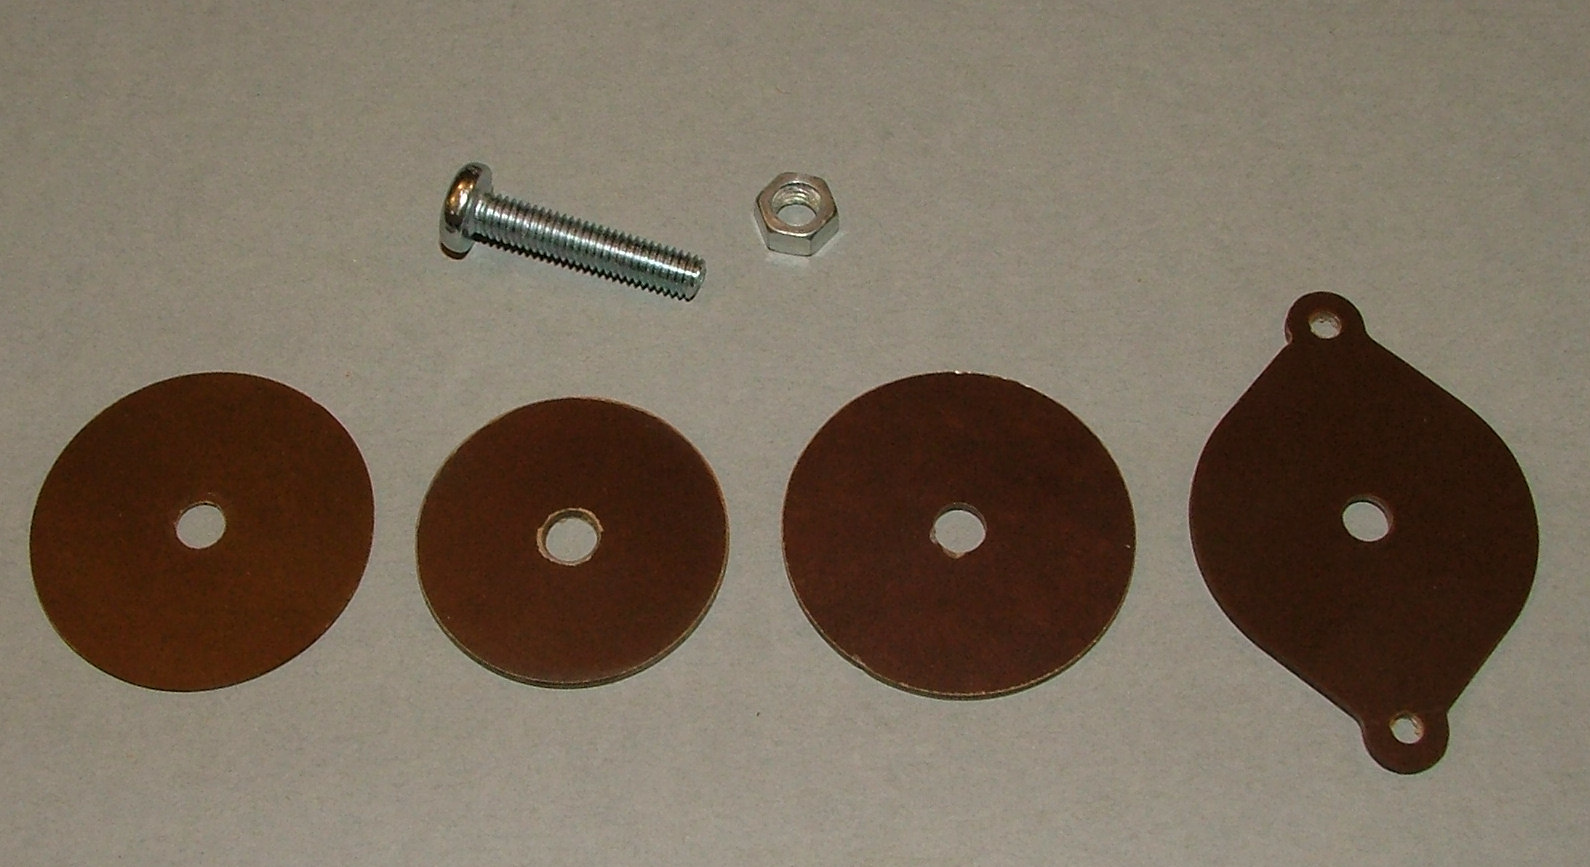
You will need one 0.8mm coil top either brown or white, one 1.5mm thick spacer, one 1.5mm base and one 1.5mm thick terminal holder:
Clean up any loose material using sandpaper or a knife.

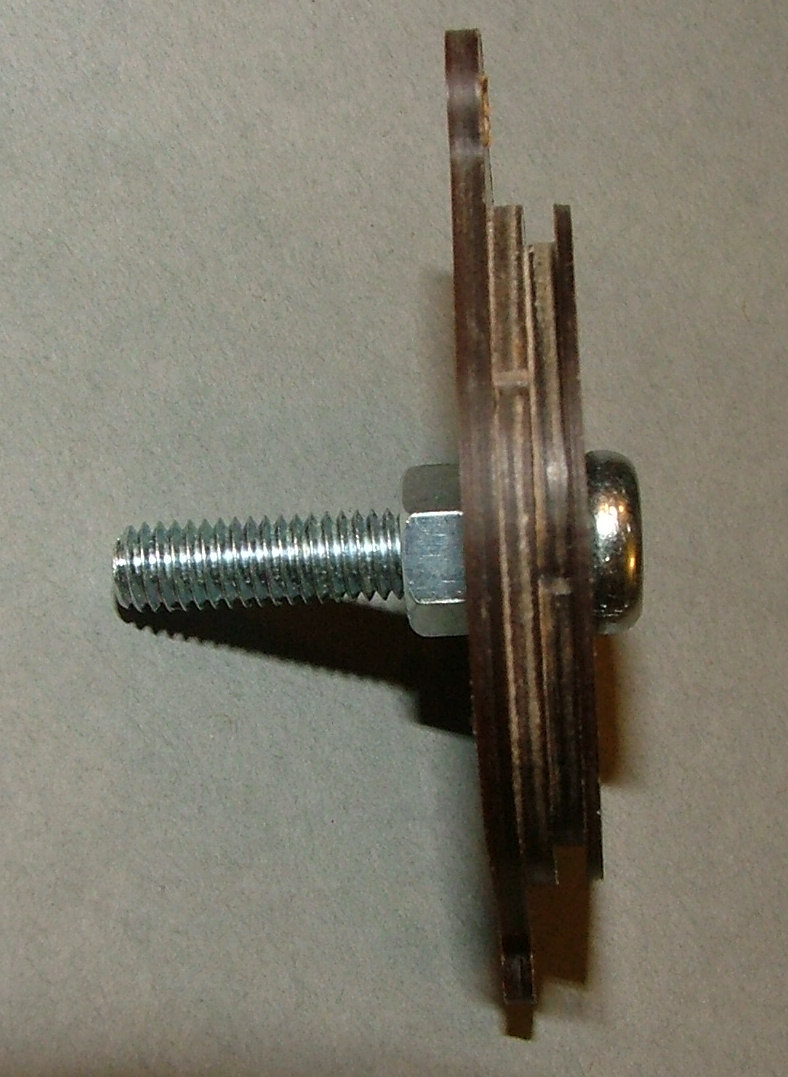
Assemble the pieces onto one of the M5 bolts in this order then run a couple of drops of superglue into the groove and round the edge of the terminal holder to hold the pieces together:

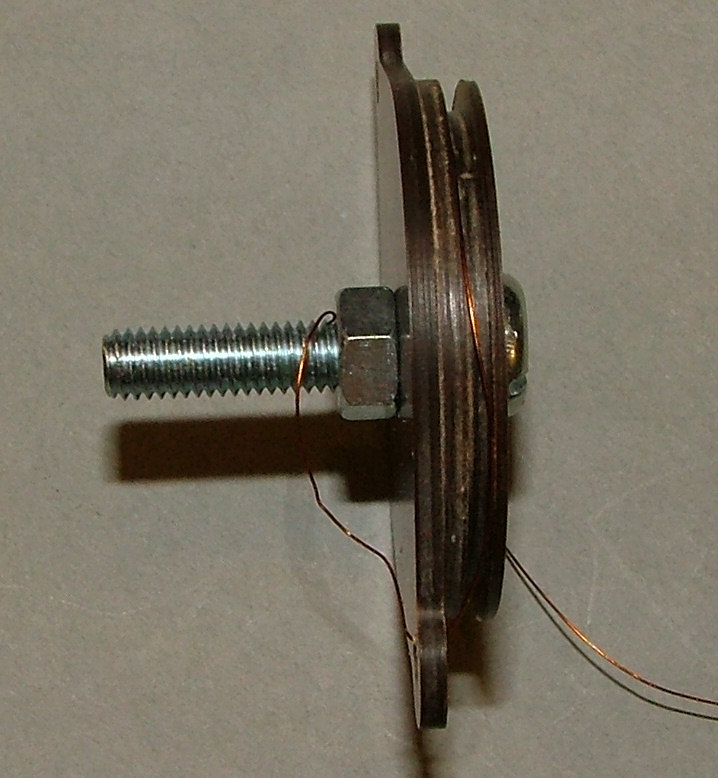
Thread the copper wire through one of the terminal holder holes and wrap enough around the bolt to hold it in place:

Wind 55 turns around the spacer in the groove formed between the coil ends as you did with the display piece coils, cut leaving a couple of inches of wire and feed this end through the other terminal holder hole. If you find the resulting display a little dim reduce to 54. (Try a couple before winding the whole batch)
Varnish or glue the windings in place. Once the glue has dried remove the bolt.
Repeat this another 64 times.
You will need one 0.8mm coil top either brown or white, one 1.5mm thick spacer, one 1.5mm base and one 1.5mm thick terminal holder:
Clean up any loose material using sandpaper or a knife.

Assemble the pieces onto one of the M5 bolts in this order then run a couple of drops of superglue into the groove and round the edge of the terminal holder to hold the pieces together:

Thread the copper wire through one of the terminal holder holes and wrap enough around the bolt to hold it in place:

Wind 55 turns around the spacer in the groove formed between the coil ends as you did with the display piece coils, cut leaving a couple of inches of wire and feed this end through the other terminal holder hole. If you find the resulting display a little dim reduce to 54. (Try a couple before winding the whole batch)
Varnish or glue the windings in place. Once the glue has dried remove the bolt.
Repeat this another 64 times.