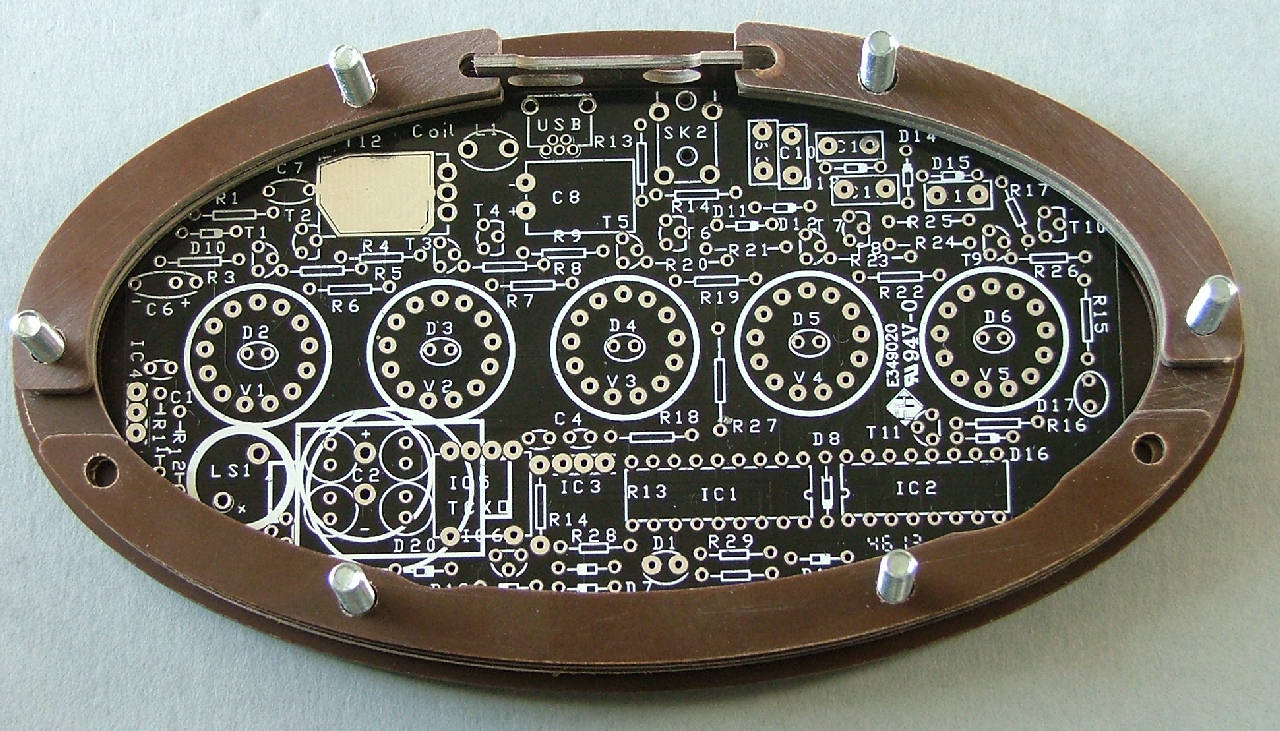
4- Case Assembly instructions

Tony
Site Admin
Posts: 948
Joined: Tue Jul 24, 2012 8:05 pm

4- Case Assembly instructions

Post by Tony »

Unpack the case piece bag and seperate the laminate parts for sanding. Spending some time here wet sanding with fine emery paper will give a *much* smoother rounded finish and if you're really patient the bakelite top can be polished to a gloss finish with a fine polishing paste such as car paint restorer. If you bought the brass or zinc version the metal parts will need filing and sanding to clean them up before polishing.

Carefully sand the case top and bottom making sure not to scratch them, the side rings will be hidden so scratches aren't so much of a problem but they are fragile so don't put too much pressure on them.
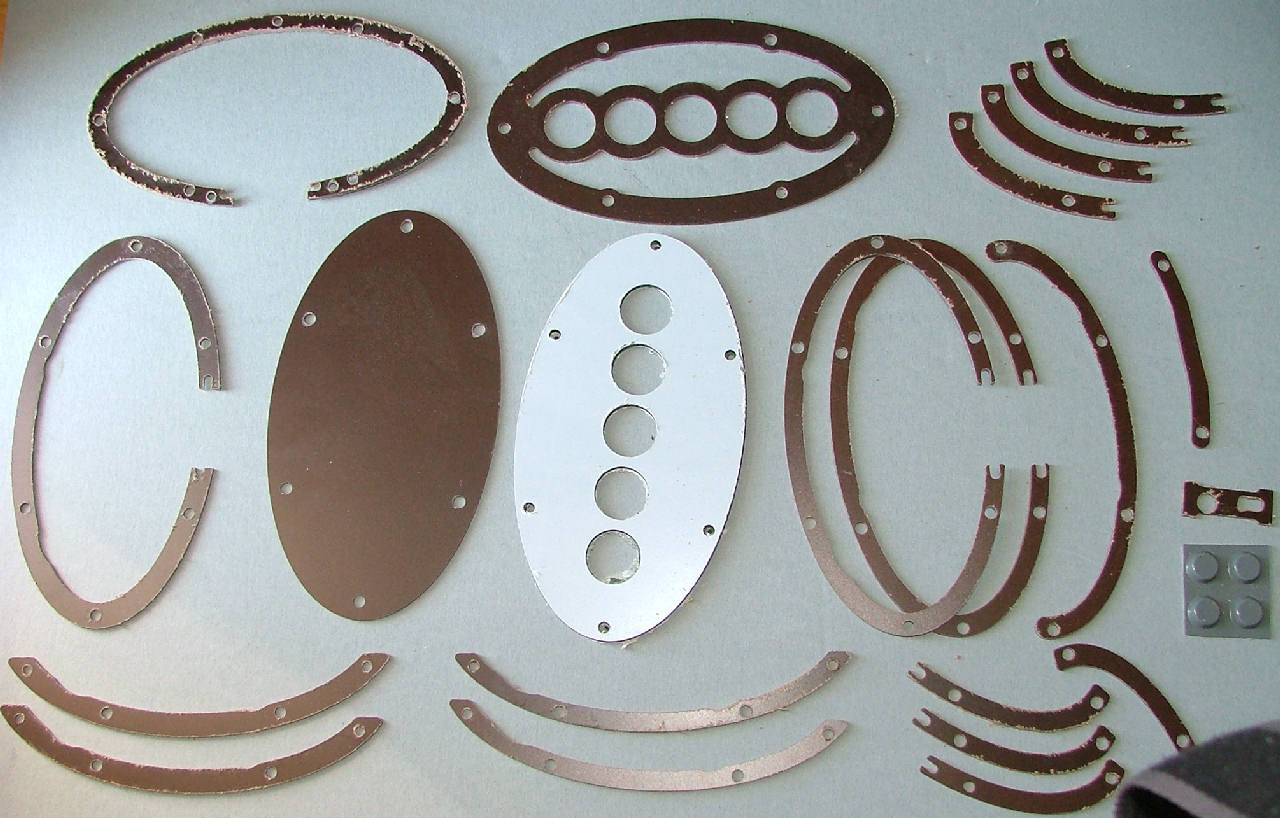
Image

Top row, from the left:

PCB ring
Bakelite top
Wide quarter rings

Middle:

Wide ring
Base
IR plastic lid
Narrow rings
Half ring
Bridge,back and feet

Bottom:

Wide half rings
Narrow half rings
Narrow quarter rings
Tony
Site Admin
Posts: 948
Joined: Tue Jul 24, 2012 8:05 pm

Re: Case Assembly instructions

Post by Tony »

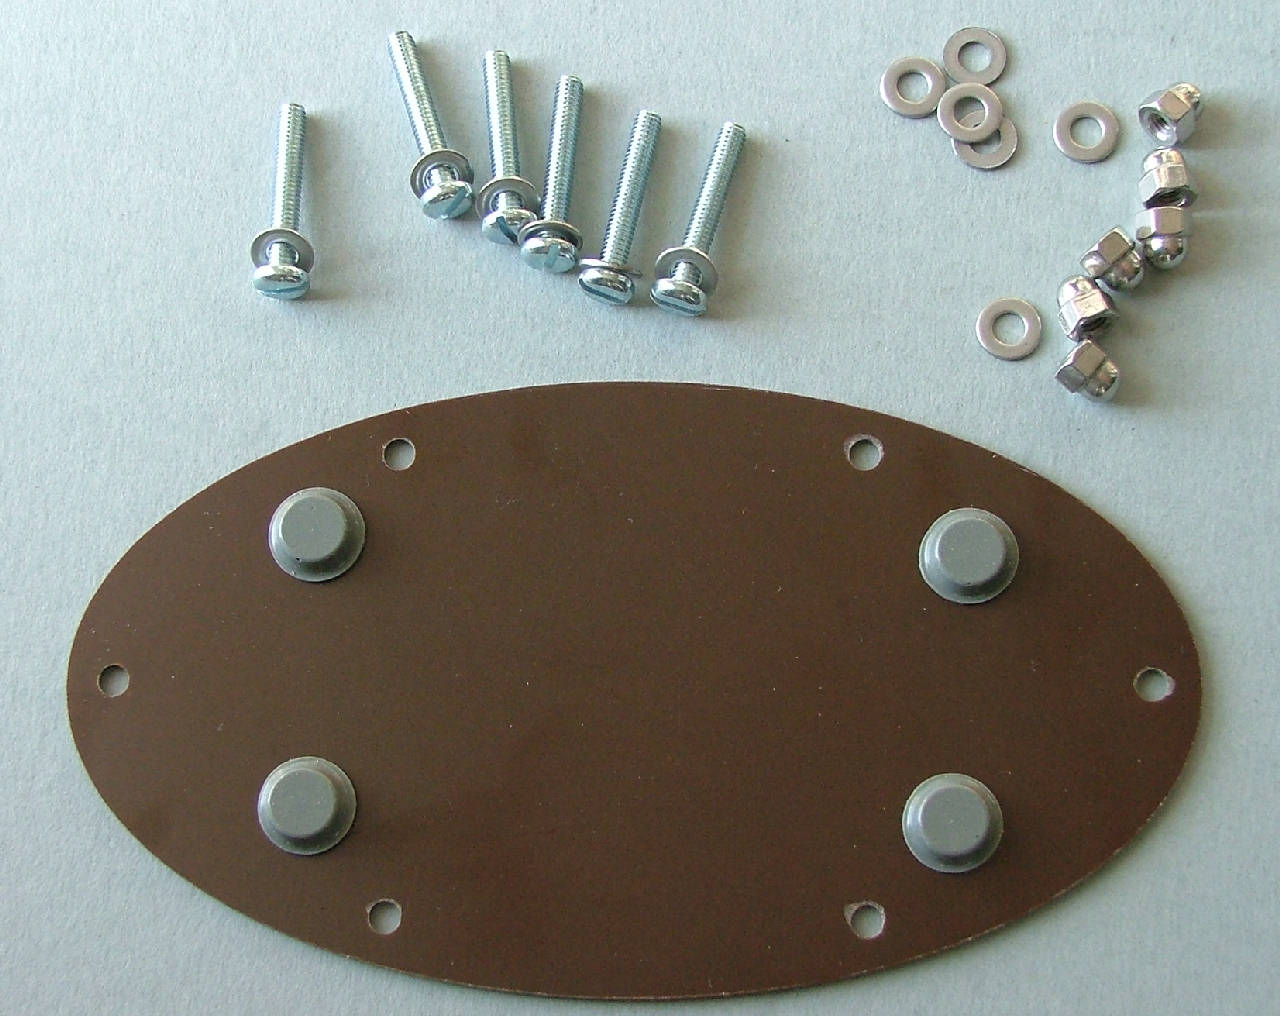
Starting with the case bottom, choose the best side to face out and stick the 4 rubber feet on as shown:

Image

Prepare the 6 bolts by putting a washer on each.
Tony
Site Admin
Posts: 948
Joined: Tue Jul 24, 2012 8:05 pm

Re: Case Assembly instructions

Post by Tony »

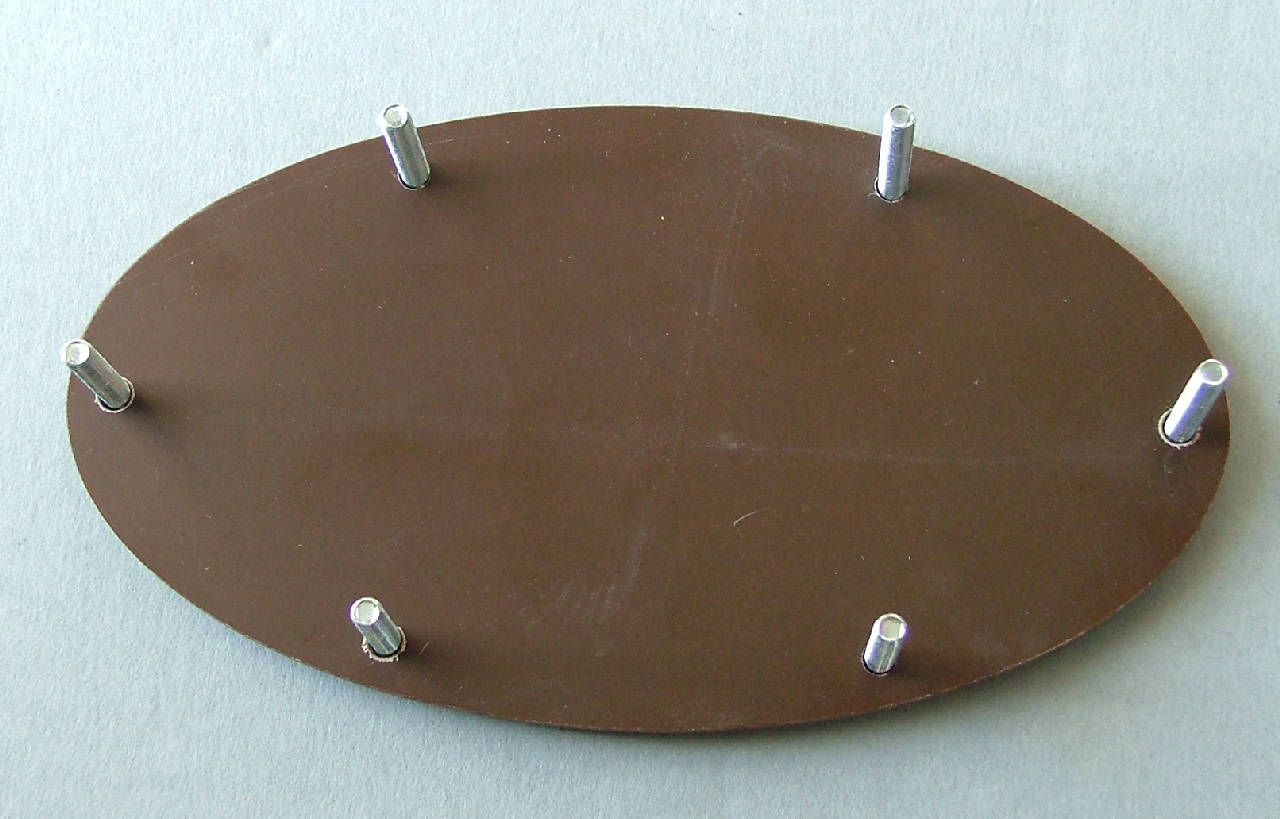
Feed one M4 bolt with washer through each hole - use some masking tape to keep them in place if needed.

Image
Tony
Site Admin
Posts: 948
Joined: Tue Jul 24, 2012 8:05 pm

Re: Case Assembly instructions

Post by Tony »

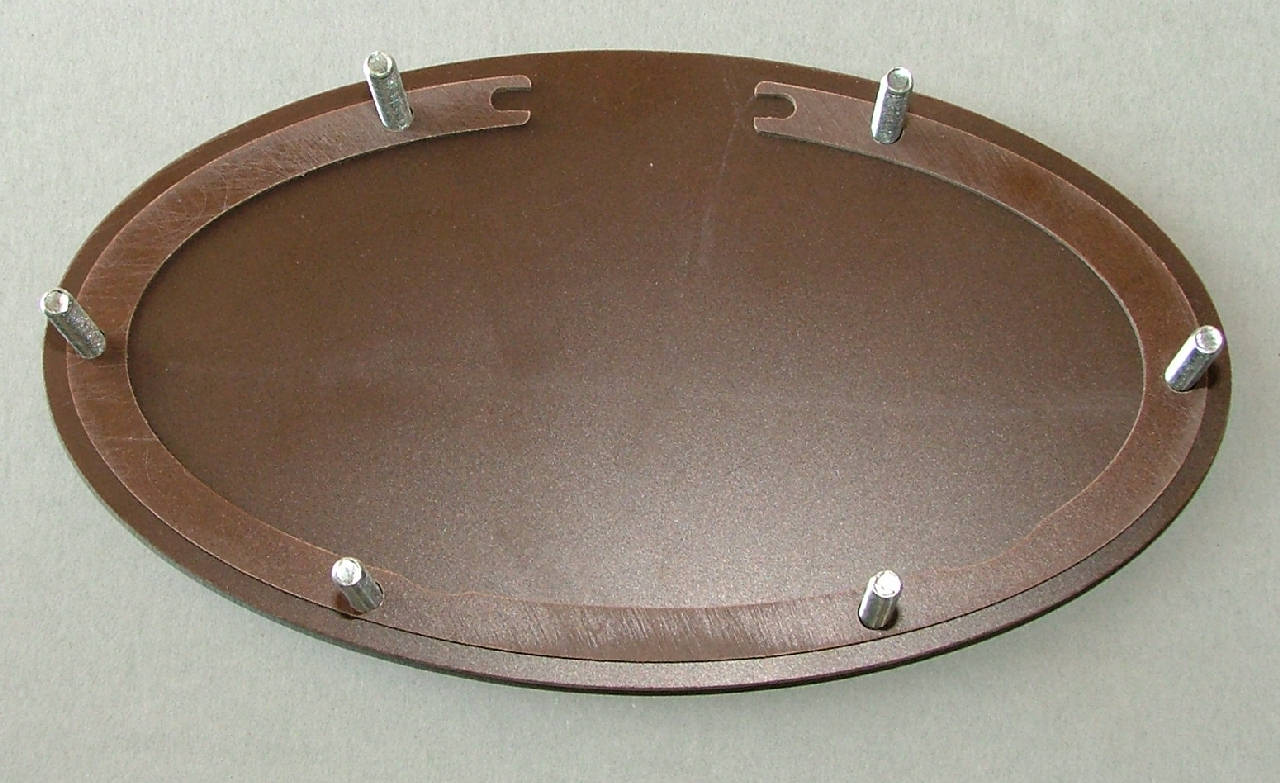
Fit one of the 'narrow' rings onto the bolts - these are the rings withe very little space between the bolt hole and the outer edge:


Image
Tony
Site Admin
Posts: 948
Joined: Tue Jul 24, 2012 8:05 pm

Re: Case Assembly instructions

Post by Tony »

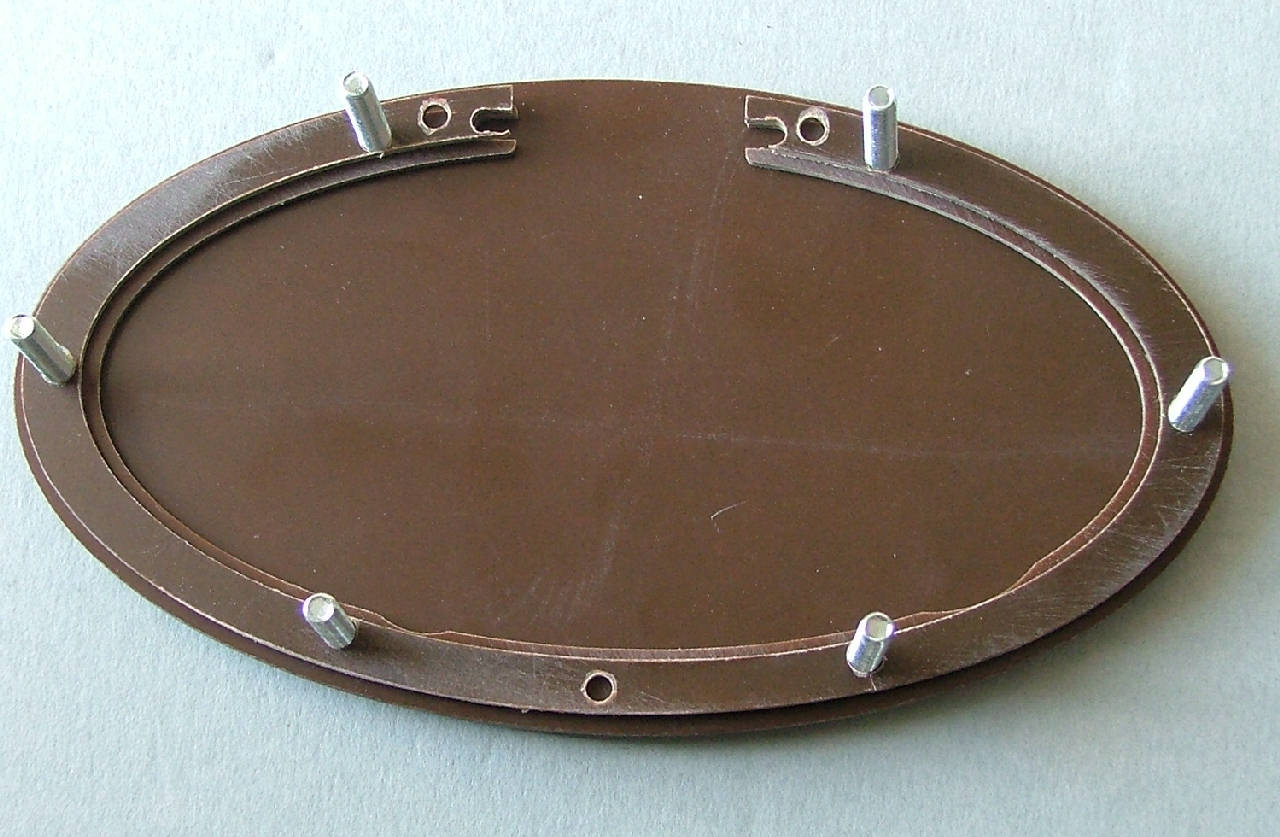
Now fit the PCB spacer ring - this has 2 small holes next to the back panel notches:


Image
Tony
Site Admin
Posts: 948
Joined: Tue Jul 24, 2012 8:05 pm

Re: Case Assembly instructions

Post by Tony »

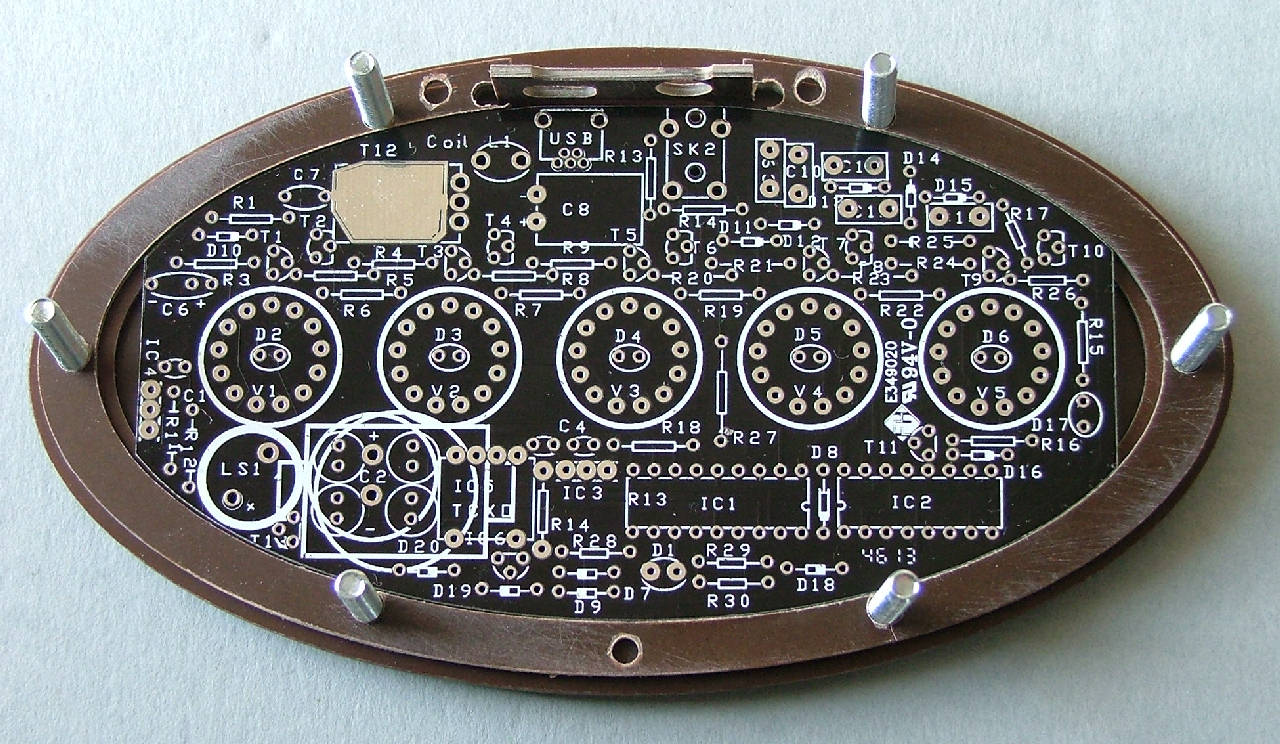
The PCB should now drop inside the second ring and rest on the edge of the first. Now don't forget to fit the back panel:

Image

A blank PCB is shown to make it easier to see where the smaller pieces fit.
Tony
Site Admin
Posts: 948
Joined: Tue Jul 24, 2012 8:05 pm

Re: Case Assembly instructions

Post by Tony »

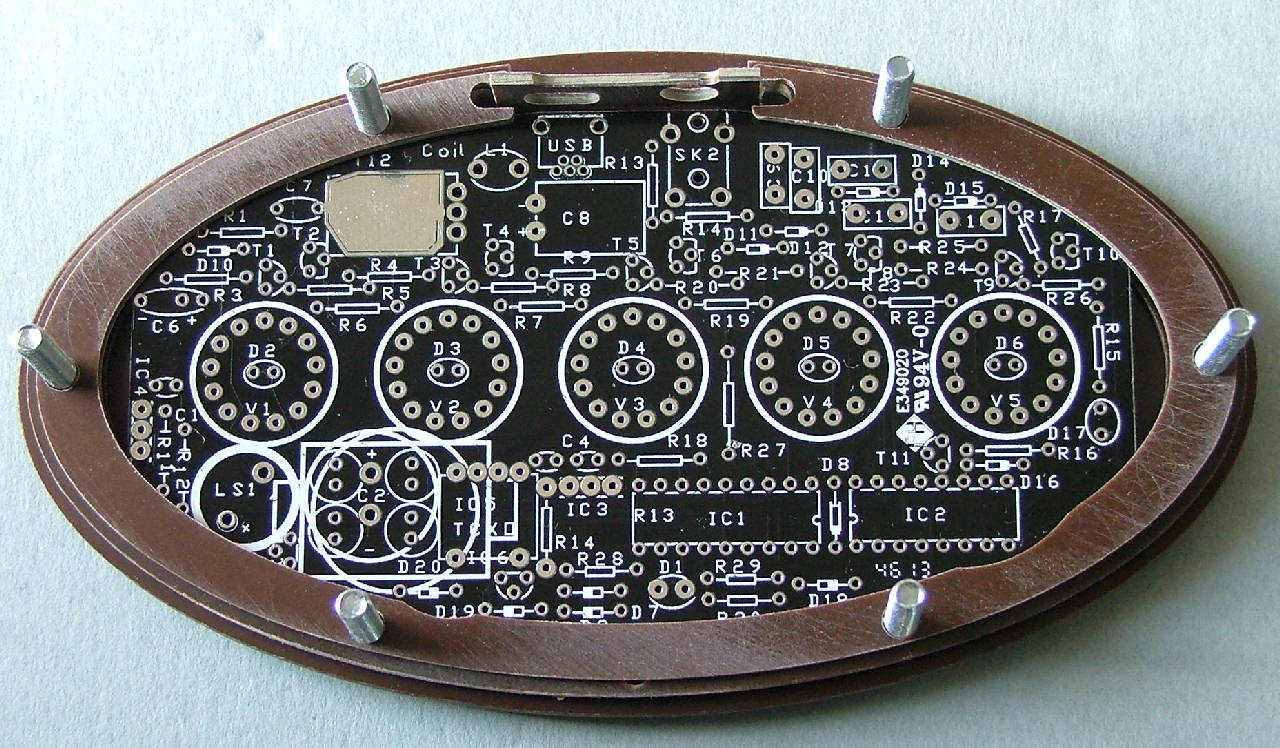
Now drop the other 'narrow' ring on, this will cover the edge of the PCB and hold it in place when it's bolted together:

Image
Tony
Site Admin
Posts: 948
Joined: Tue Jul 24, 2012 8:05 pm

Re: Case Assembly instructions

Post by Tony »

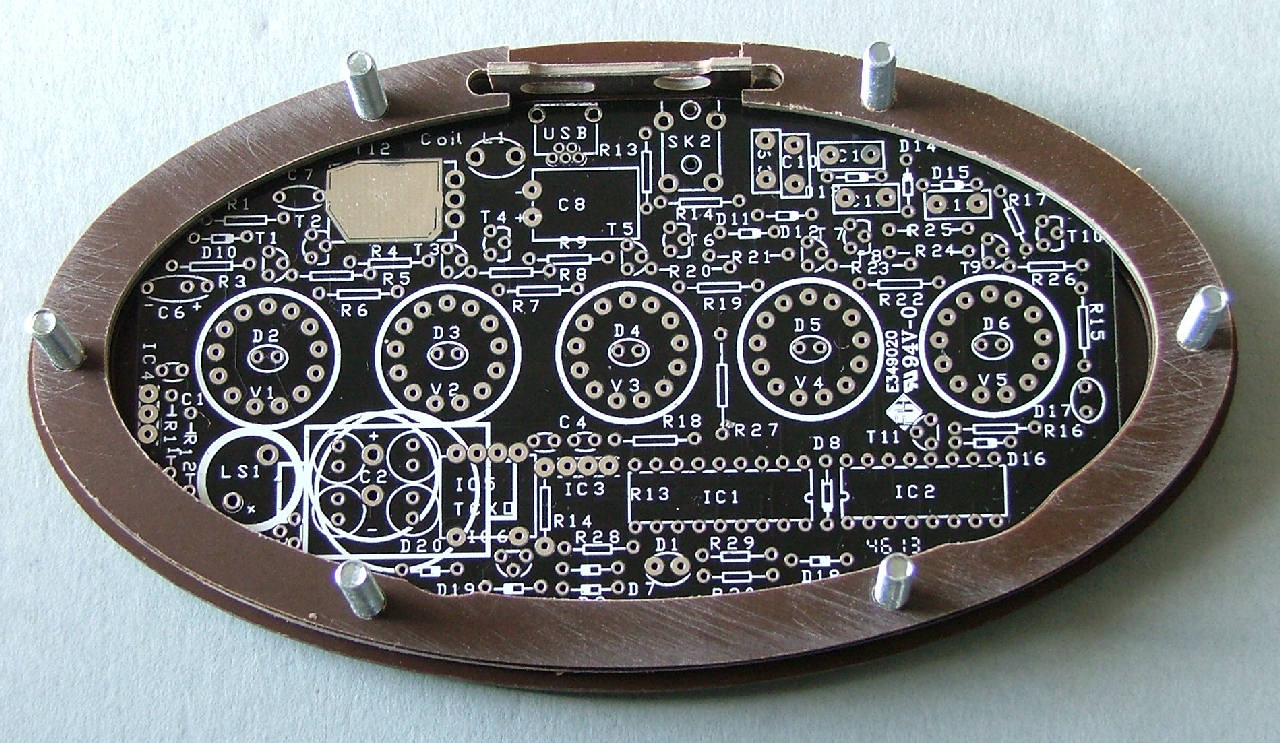
Now drop the 'wide' ring on, this is the last of the complete ring pieces:


Image
Tony
Site Admin
Posts: 948
Joined: Tue Jul 24, 2012 8:05 pm

Re: Case Assembly instructions

Post by Tony »

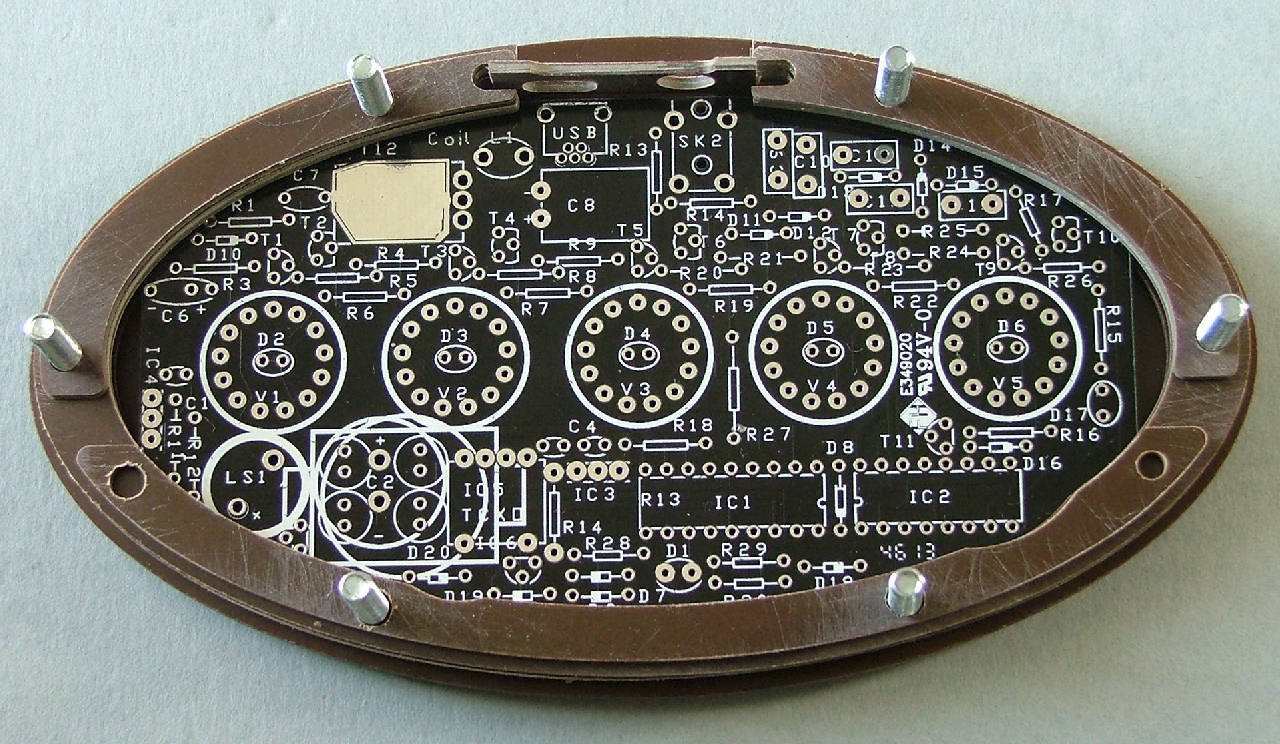
Now fit 2 of the narrow quarter pieces and one half piece:


Image
Tony
Site Admin
Posts: 948
Joined: Tue Jul 24, 2012 8:05 pm

Re: Case Assembly instructions

Post by Tony »

Followed by 2 wide quarter pieces and 1 half piece:

Image
Post Reply