5 - Case assembly instructions

Tony
Site Admin
Posts: 948
Joined: Tue Jul 24, 2012 8:05 pm

5 - Case assembly instructions

Post by Tony »

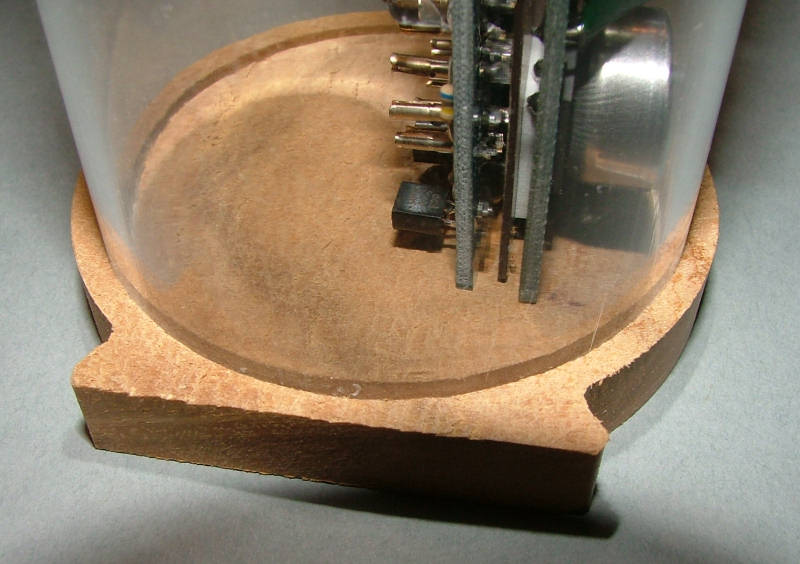
Before starting on the case assembly you'll need to sand and polish/varnish the end pieces as they are supplied in rough cut/rout condition. You may find the thin piece of wood seperating the PCB grooves has crumbled on some pieces, don't worry as it's only the outer edges that hold the board sandwich in place.

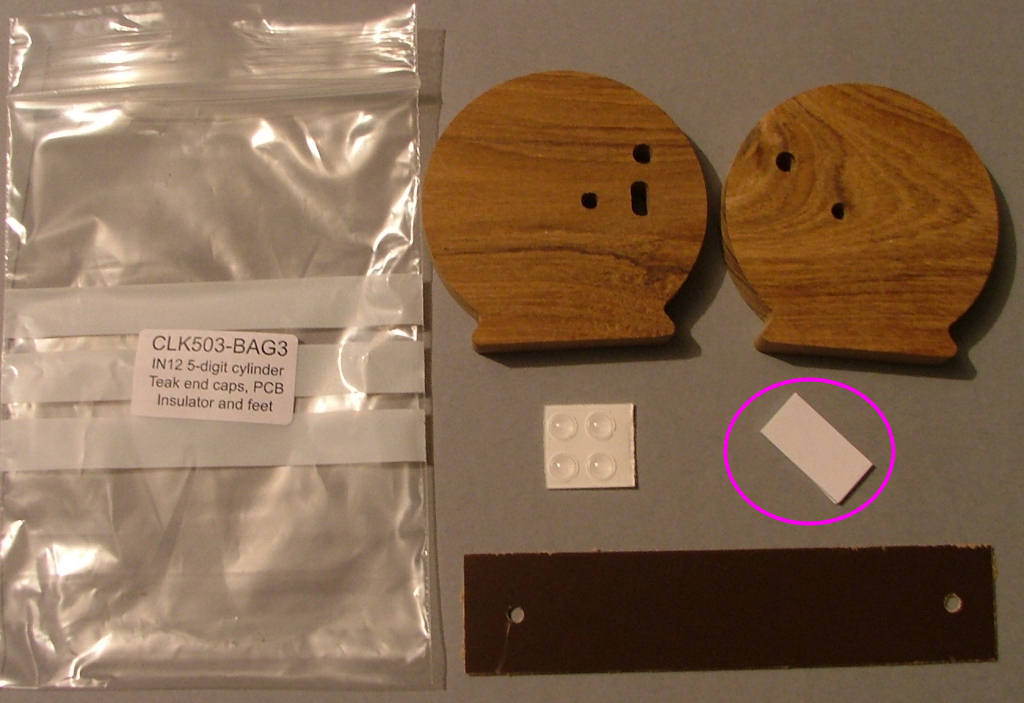
Take the sticky pad from BAG3 and cut it in half, then stick them on the back of the clock PCB, one either side:

Image
Tony
Site Admin
Posts: 948
Joined: Tue Jul 24, 2012 8:05 pm

Re: Case assembly instructions

Post by Tony »

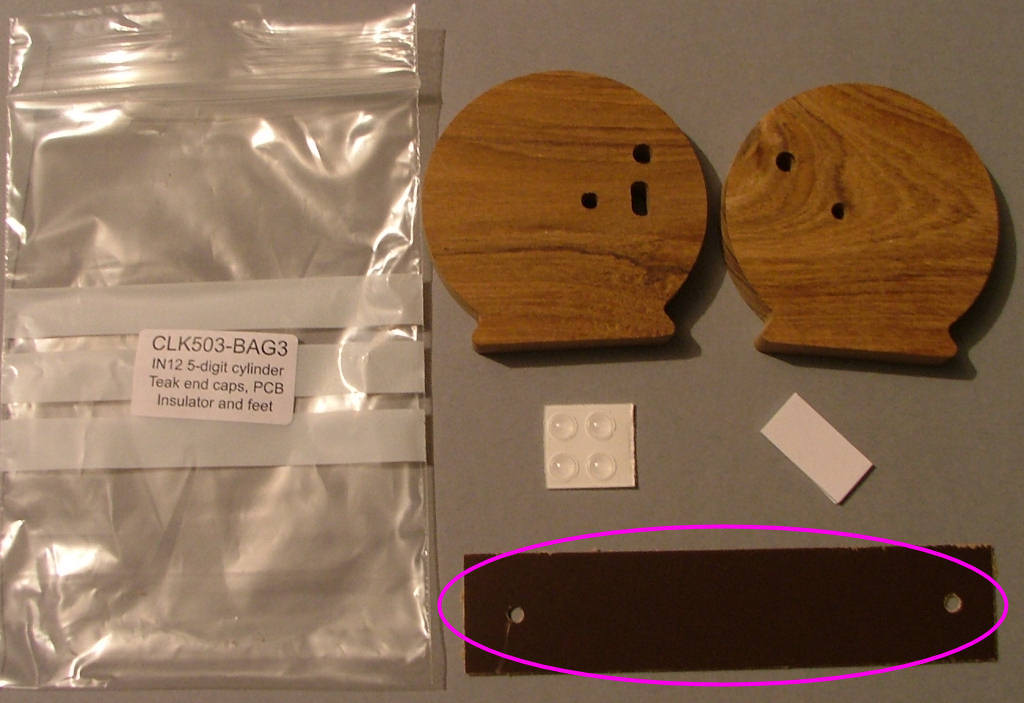
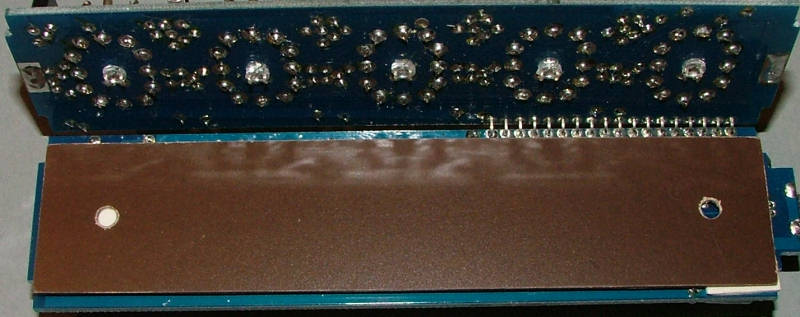
Stick the paxolin insulator on top as shown:

Image

Image
Tony
Site Admin
Posts: 948
Joined: Tue Jul 24, 2012 8:05 pm

Re: Case assembly instructions

Post by Tony »

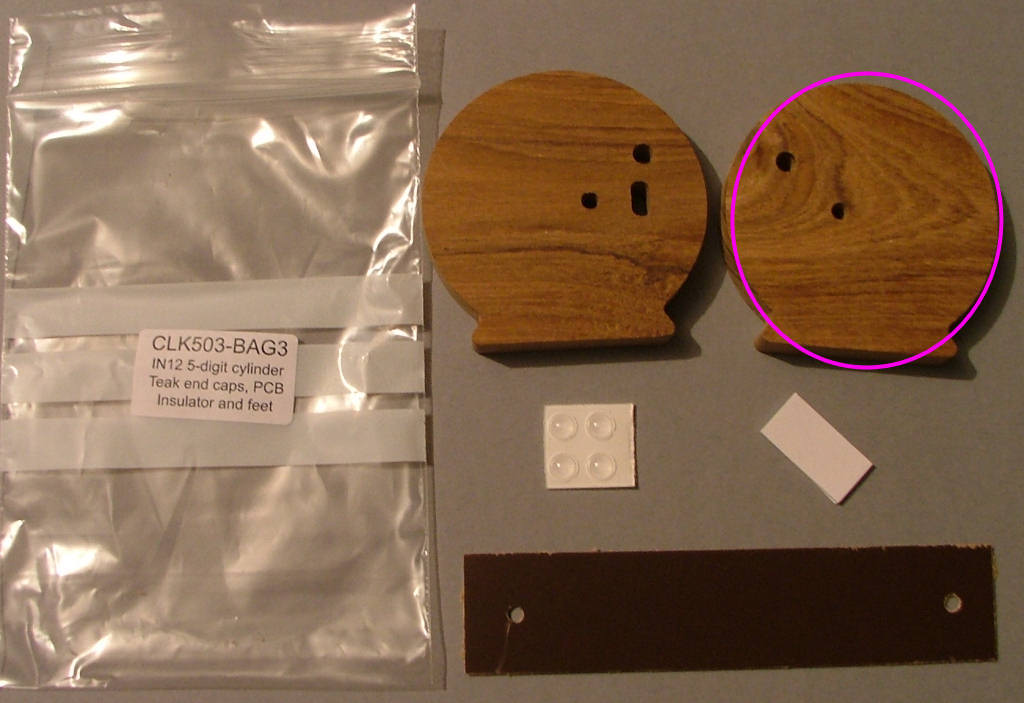
Take the left hand end piece from BAG3 and slot the PCB tabs into the grooves then push the cylinder into the machined outer groove - it's a tight fit which will hold it in place for now:

Image

Image

Note the PCB is shown without nixies for clarity.
Tony
Site Admin
Posts: 948
Joined: Tue Jul 24, 2012 8:05 pm

Re: Case assembly instructions

Post by Tony »

Now the tricky part - you'll need to push the right hand end over the cylinder whilst lining up the PCB grooves.
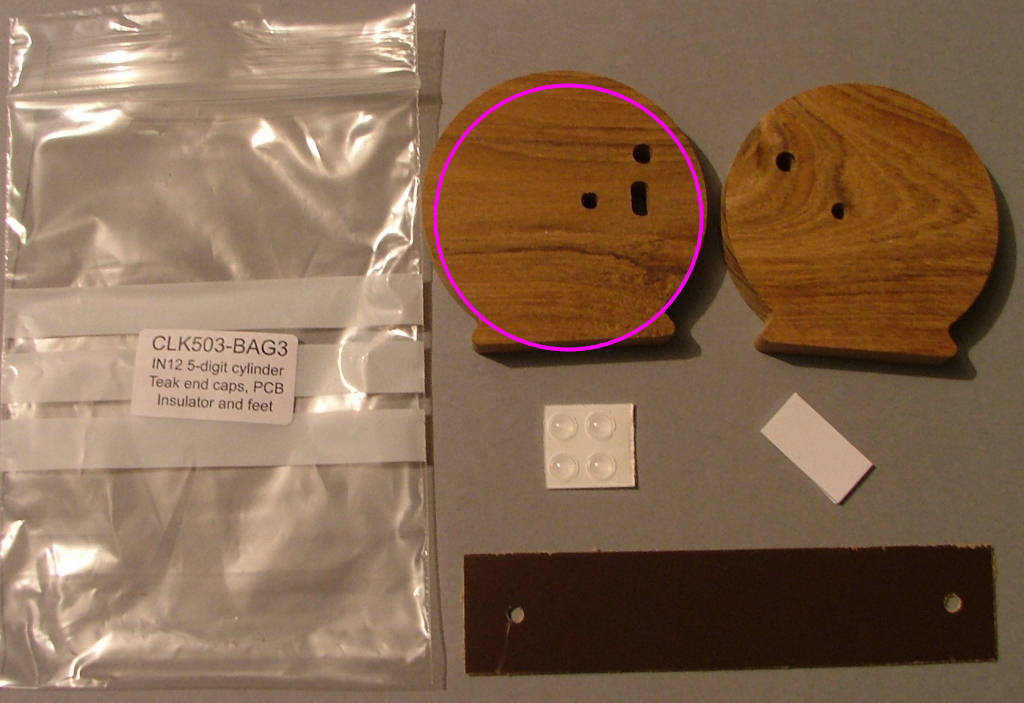
Image

Once it's in place quickly connect the USB power to make sure the plug fits and check the IR sensor still works when your hand is about 4-6 inches above the cylinder.

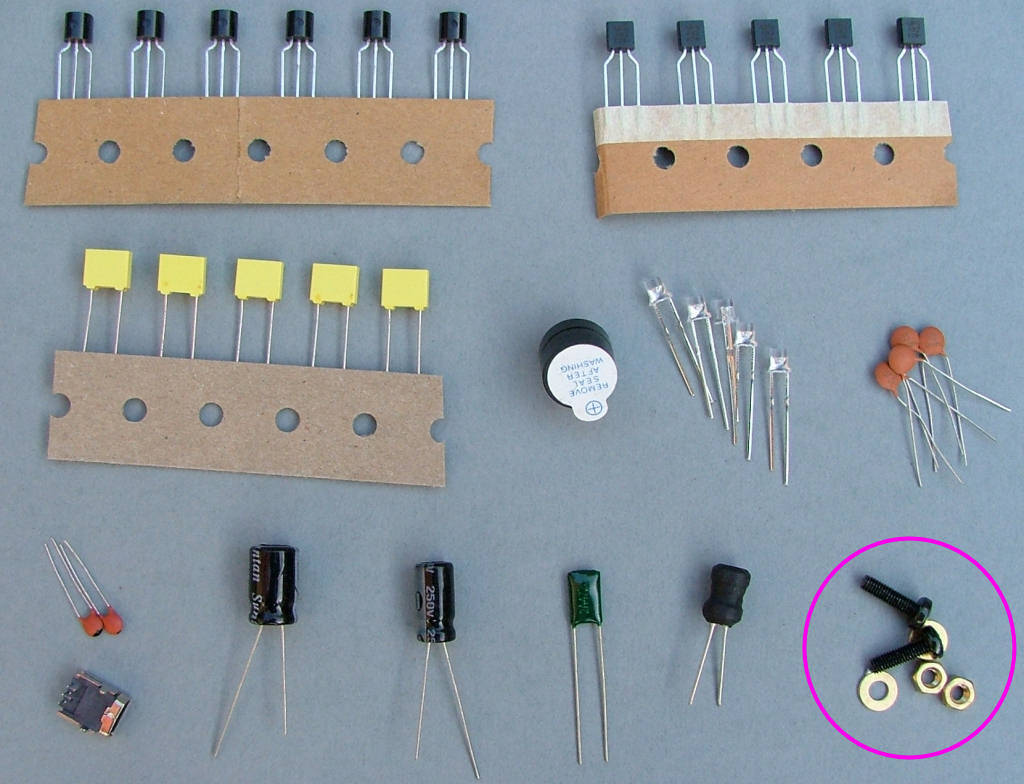
If everything is OK use the screws from BAG1 to hold each end in place. Some kits are supplied with raised head bolts as shown, others have countersunk bolts, for these you'll need to countersink the bolt holes in the ends by about 3-4mm.
Image

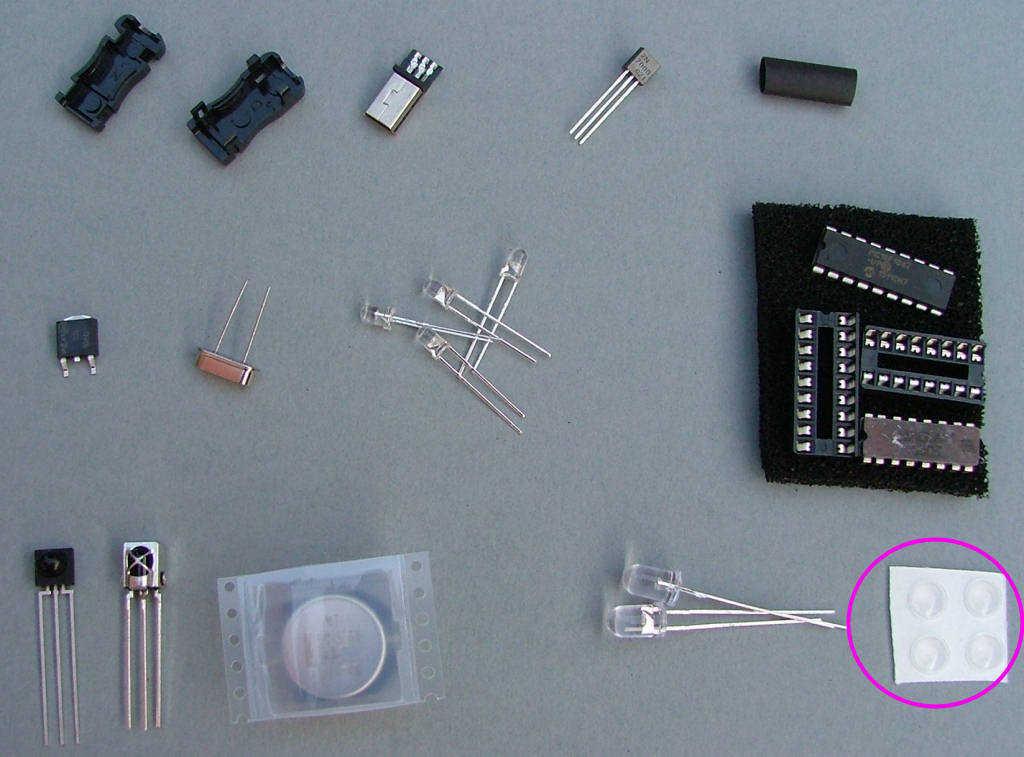
Finally stick 2 rubber feet onto the underside of each end piece. That's it!.
Image
Locked