Page 2 of 2
Re: 4 - Case Assembly
Posted: Mon Jan 08, 2018 4:50 am
by Tony
Re: 4 - Case Assembly
Posted: Mon Jan 08, 2018 4:57 am
by Tony
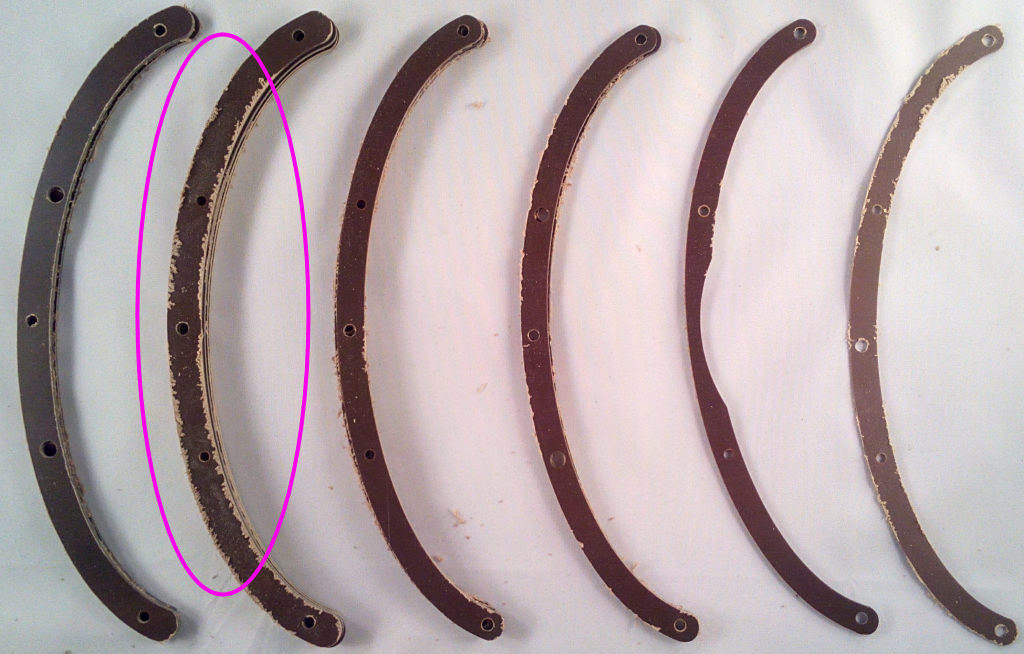
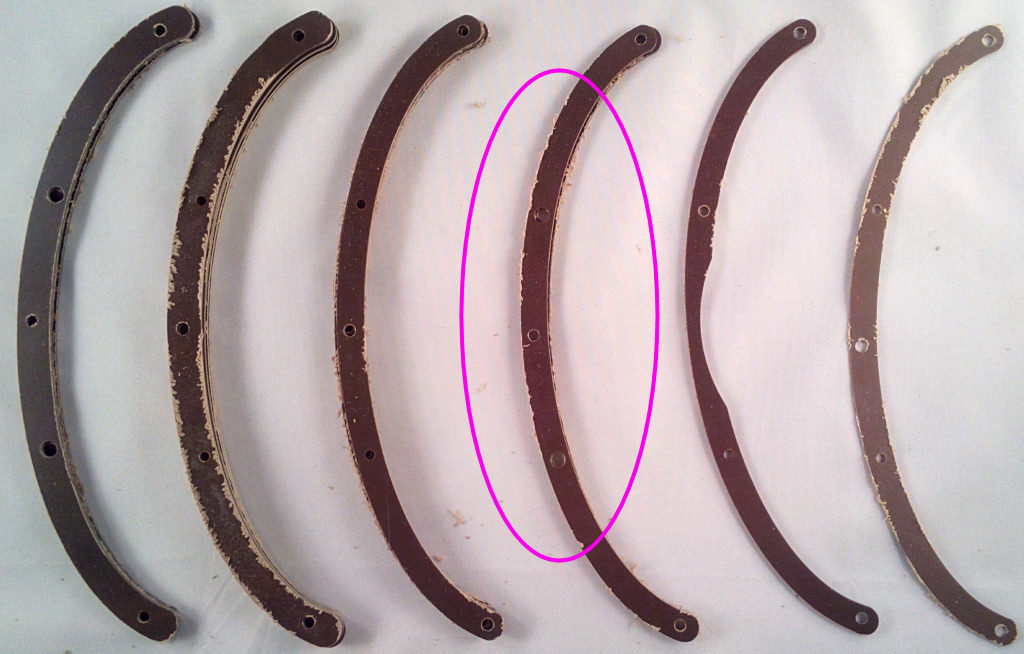
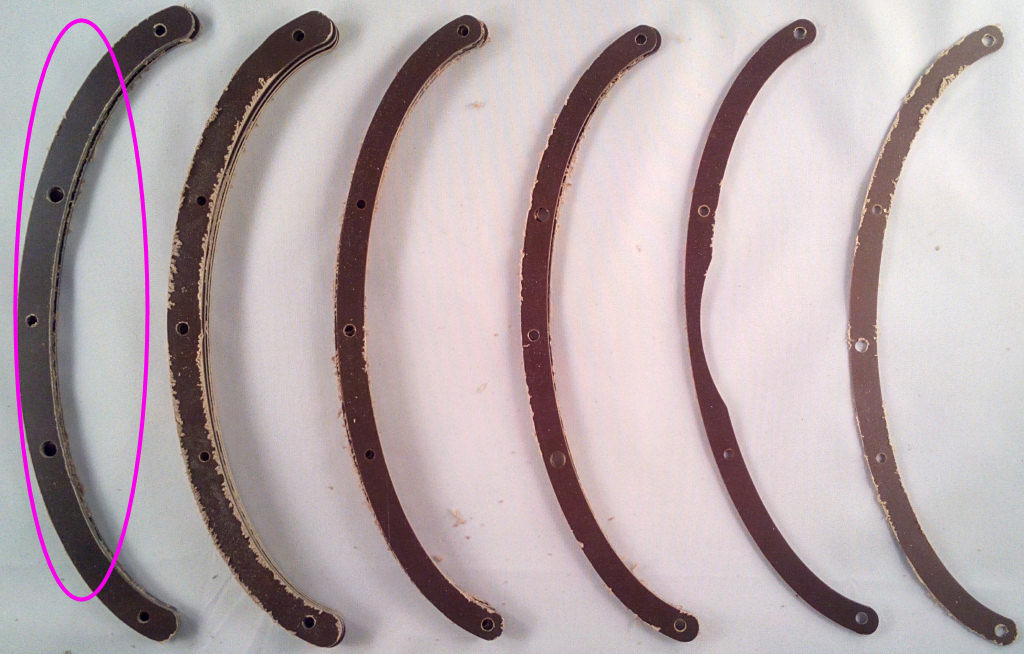
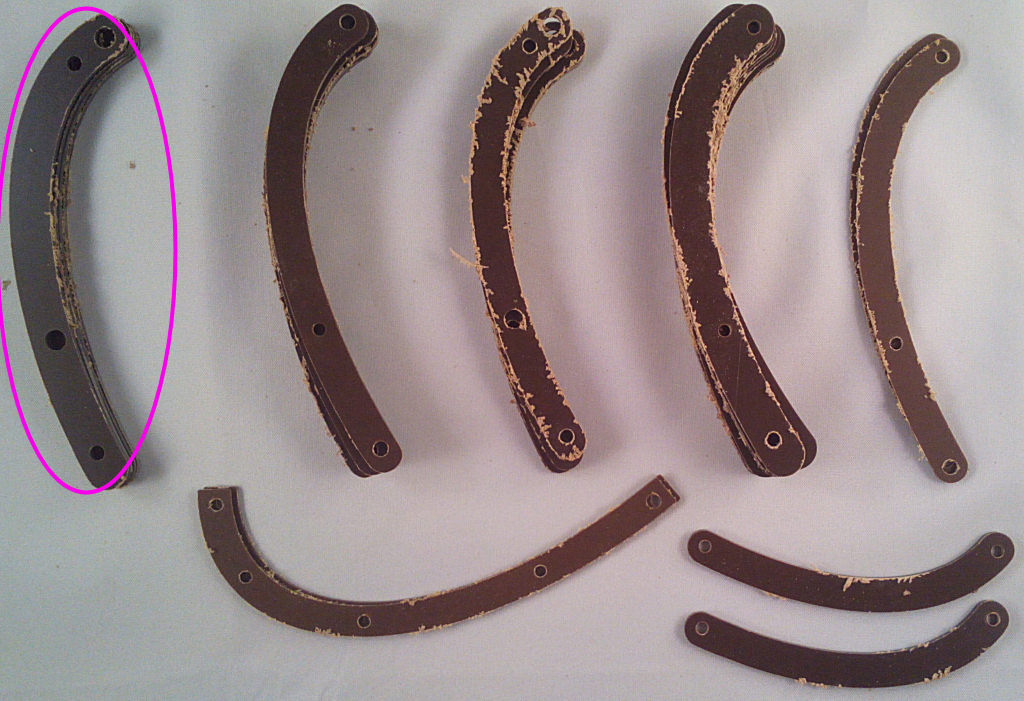
Then a layer of narrow strips:
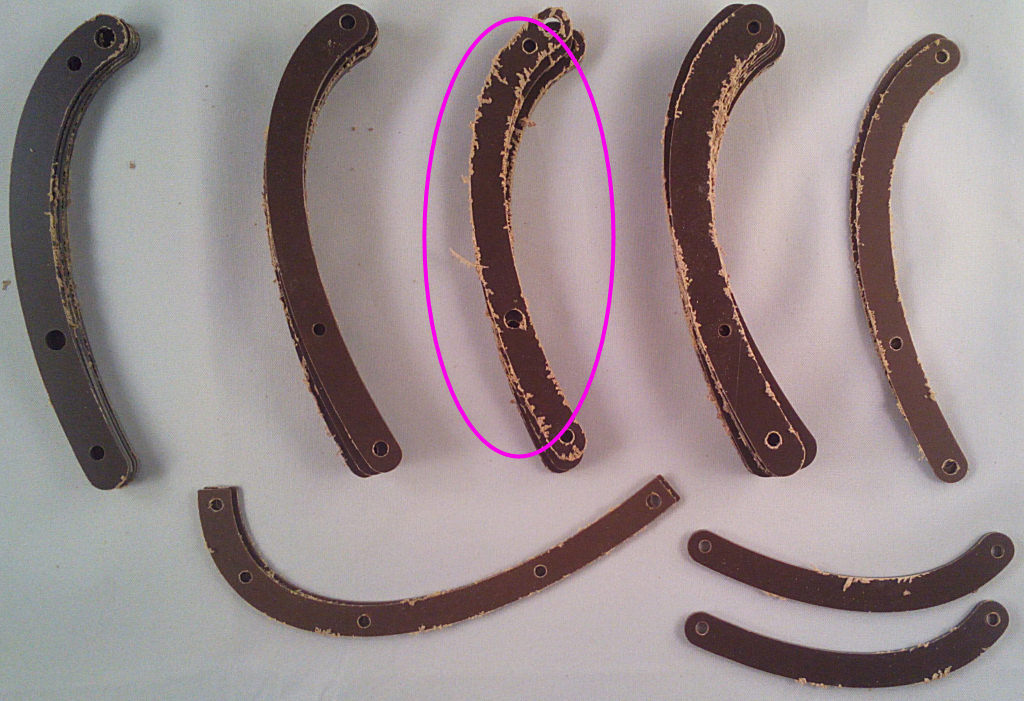
Followed by another wide:
Re: 4 - Case Assembly
Posted: Mon Jan 08, 2018 4:59 am
by Tony
Yes it's more narrow strips!
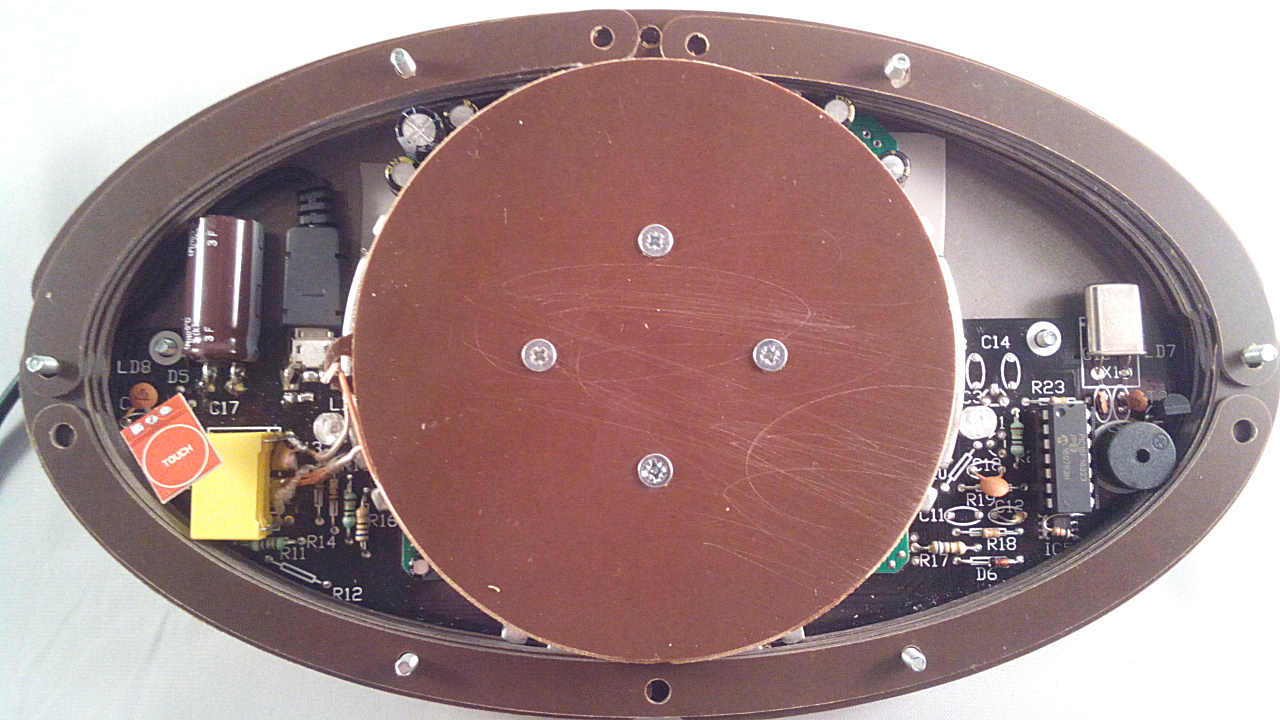
Followed by another layer of wide strips:
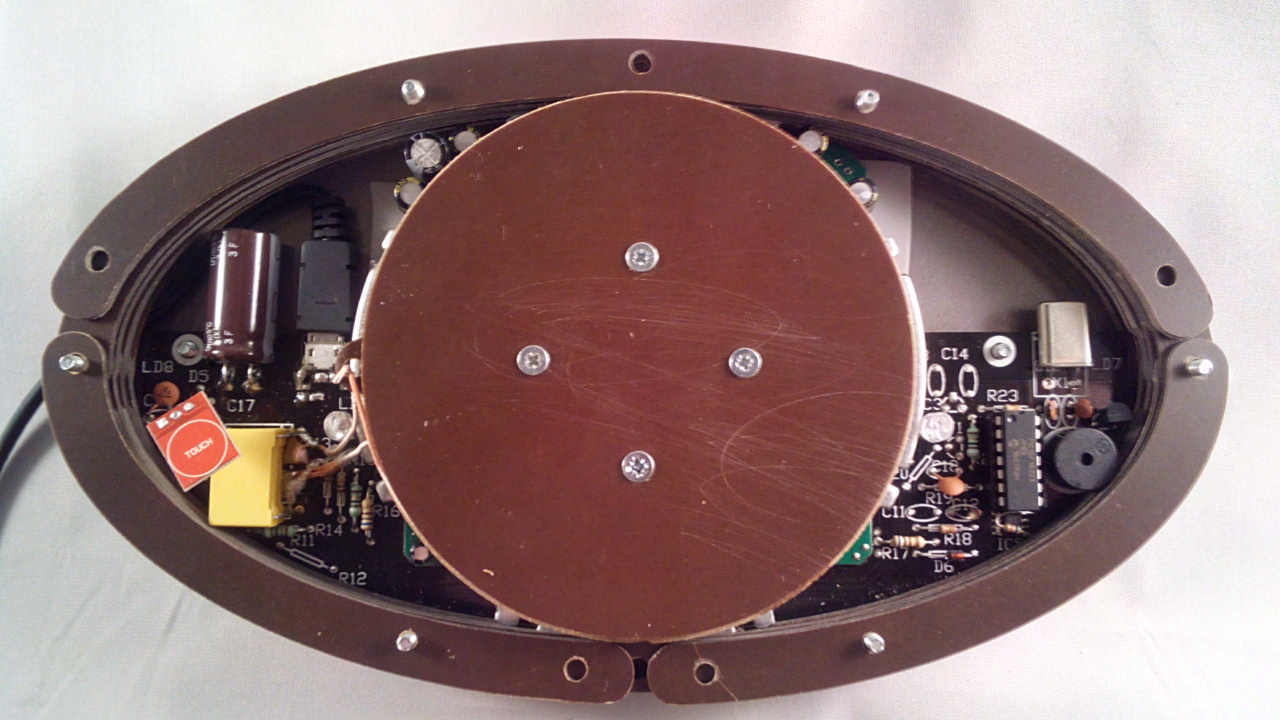
And a final layer of narrow strips. The bolts will be almost covered by now.
Re: 4 - Case Assembly
Posted: Mon Jan 08, 2018 5:02 am
by Tony
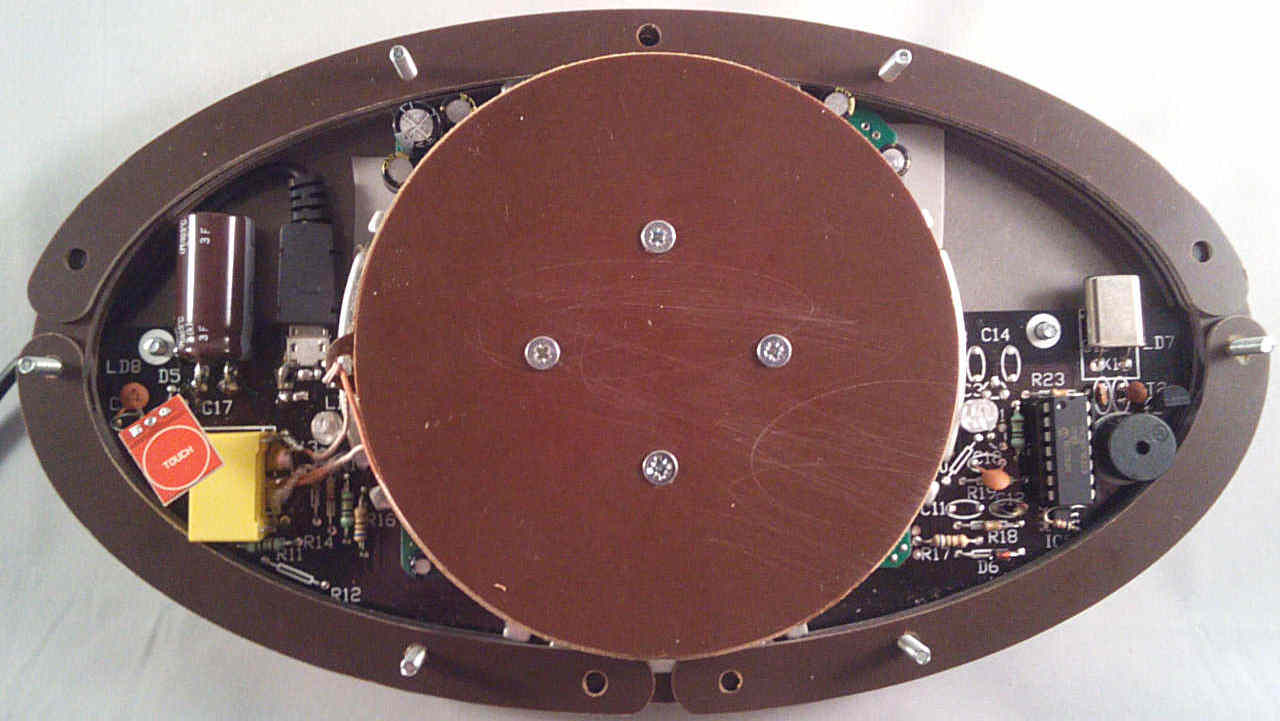
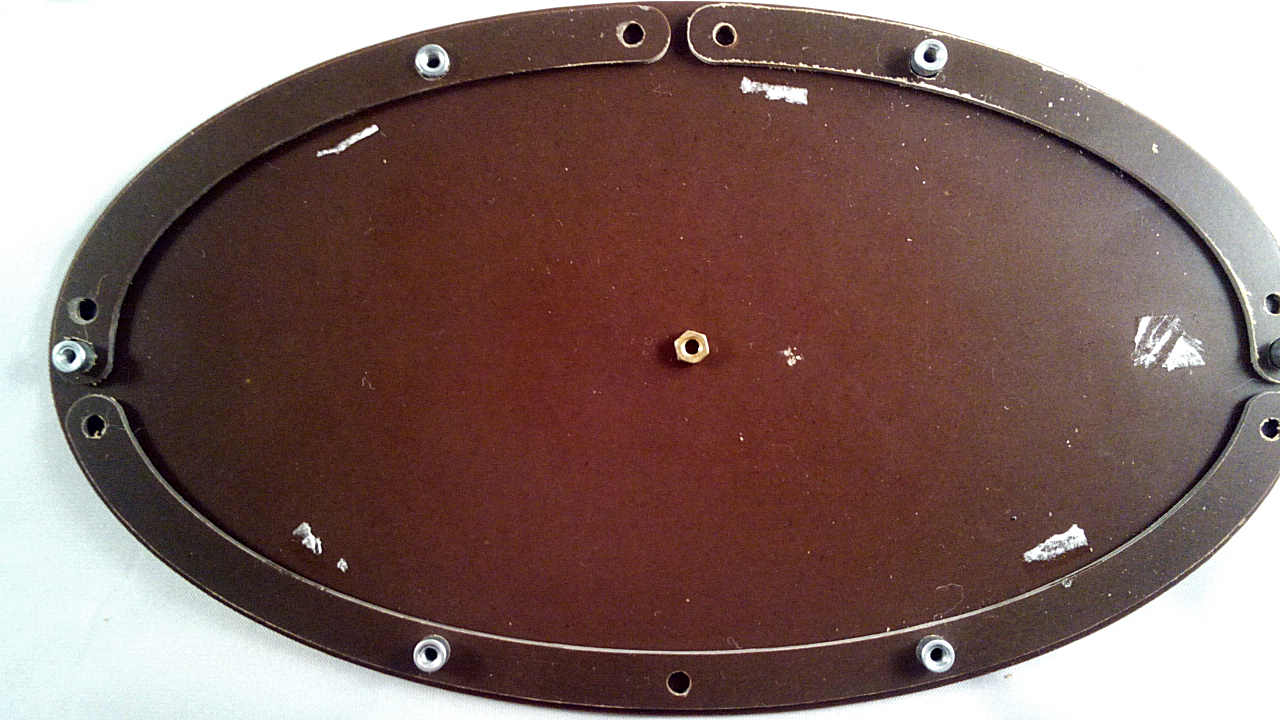
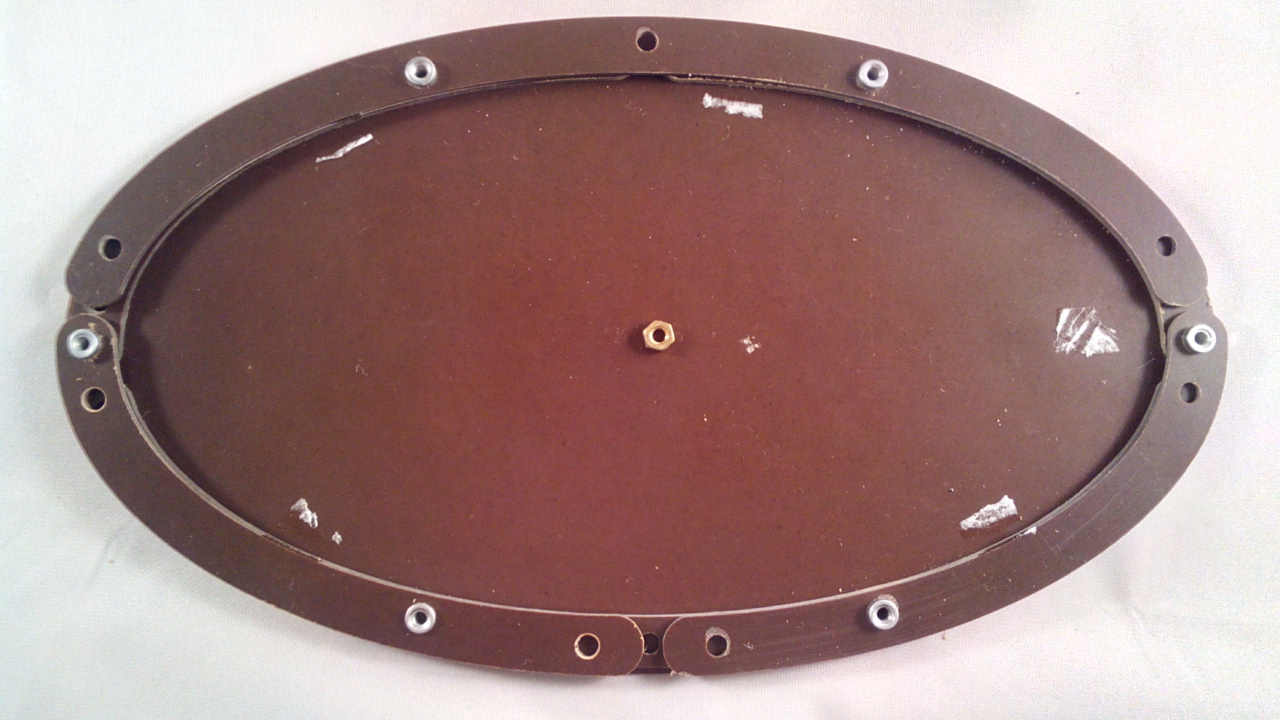
The next part is built up on the underside of the lid. Starting with the paxolin lid, put the 6x blind hex nuts through the outer holes and turn upside down. Ignore the nut in the centre, it's just to allow the camera to focus.

Re: 4 - Case Assembly
Posted: Mon Jan 08, 2018 5:04 am
by Tony
Re: 4 - Case Assembly
Posted: Mon Jan 08, 2018 5:06 am
by Tony
Re: 4 - Case Assembly
Posted: Mon Jan 08, 2018 5:07 am
by Tony
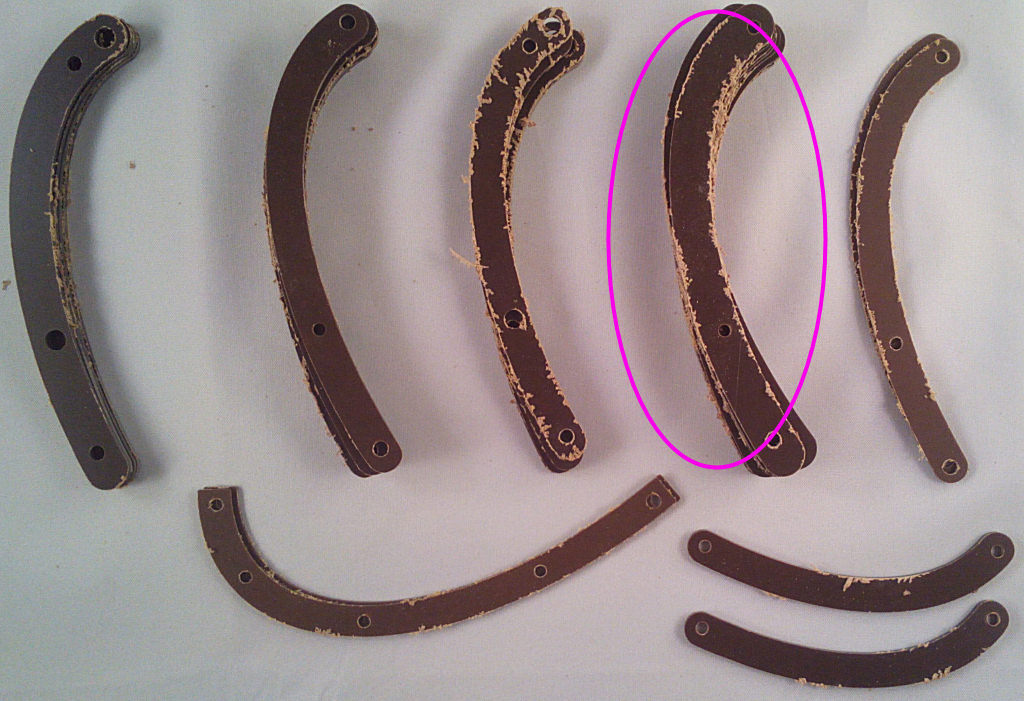
Repeat for another narrow and wide layer. You'll have 4 layers at this point, with the last just over the nuts.
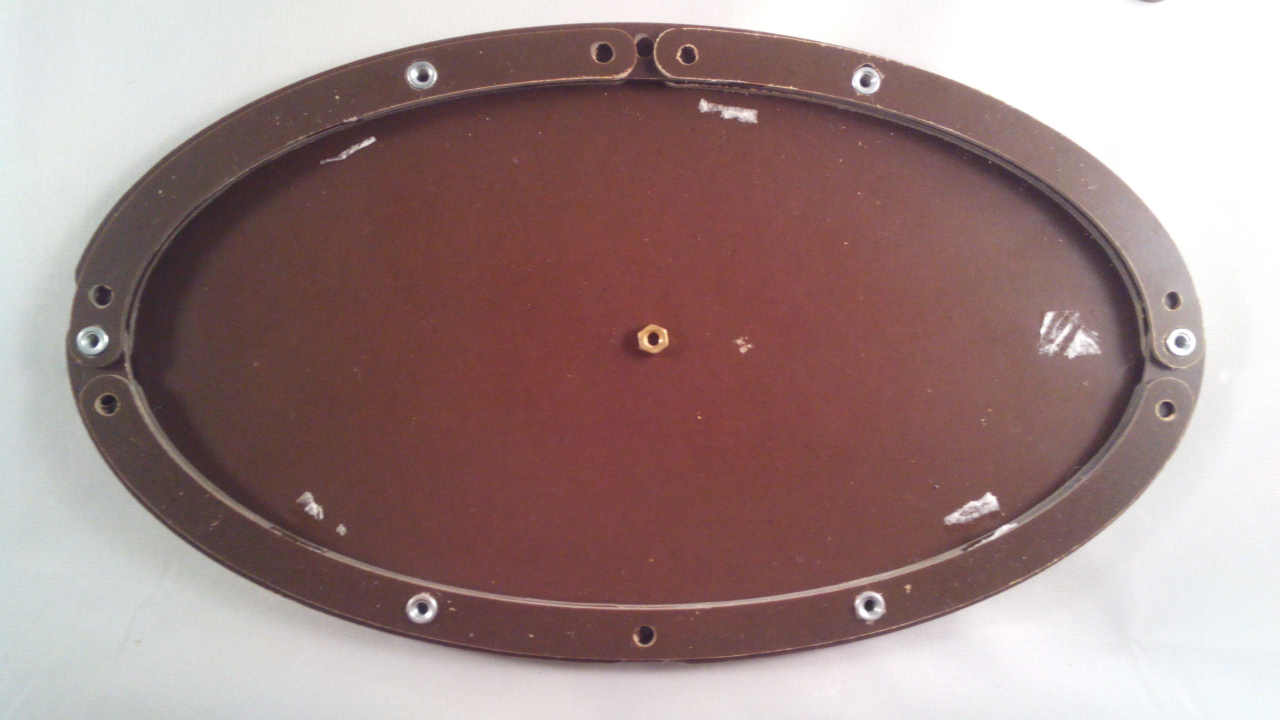
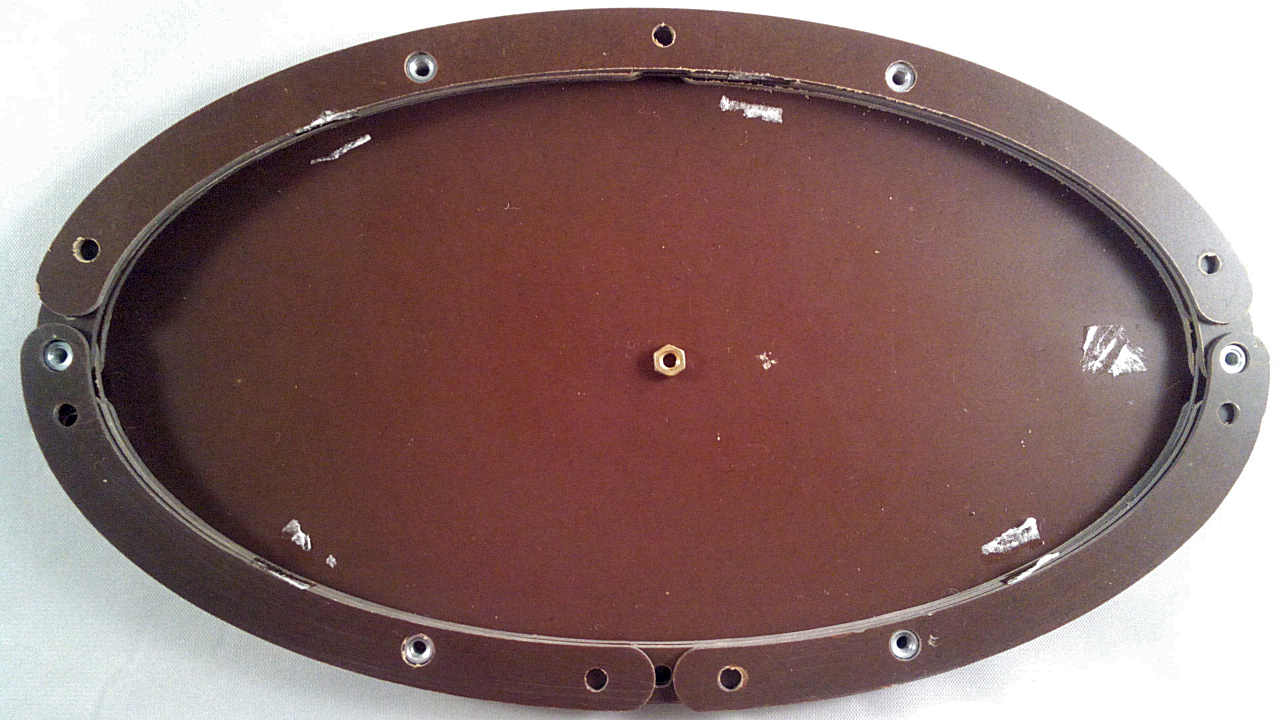
You'll probably want to tack them in place with hot melt glue or foam pads.
Re: 4 - Case Assembly
Posted: Mon Jan 08, 2018 5:15 am
by Tony
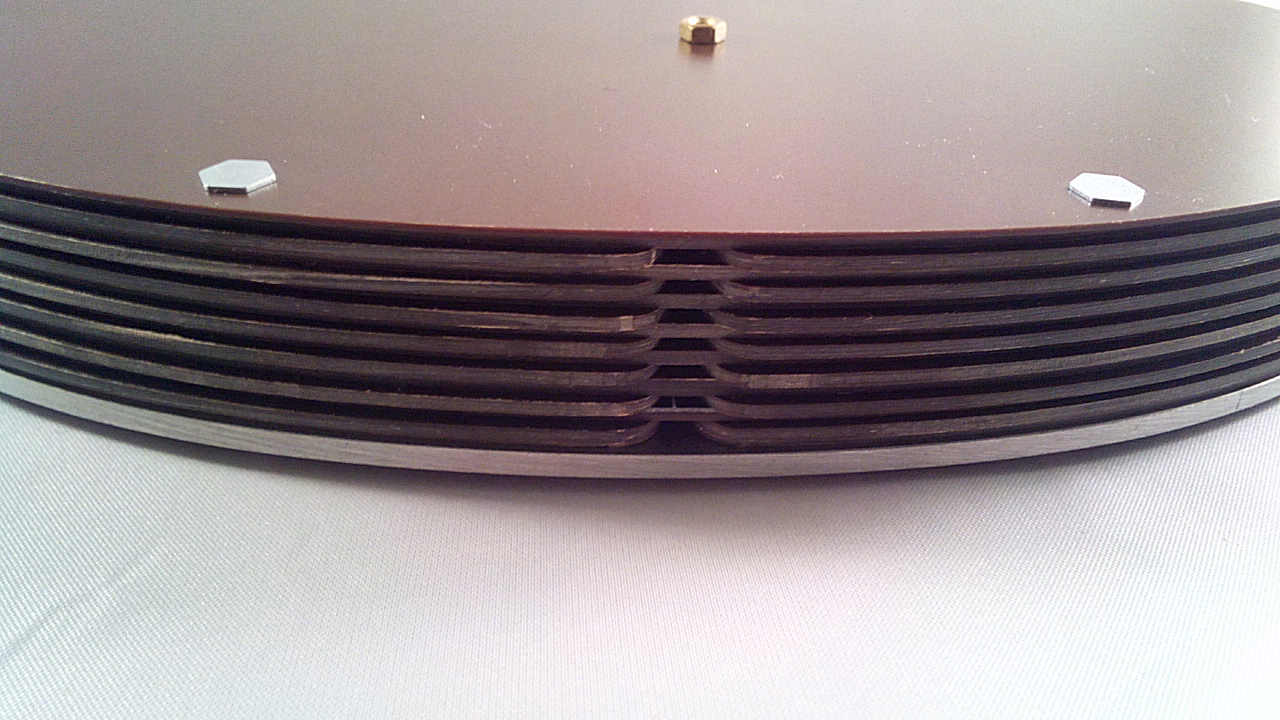
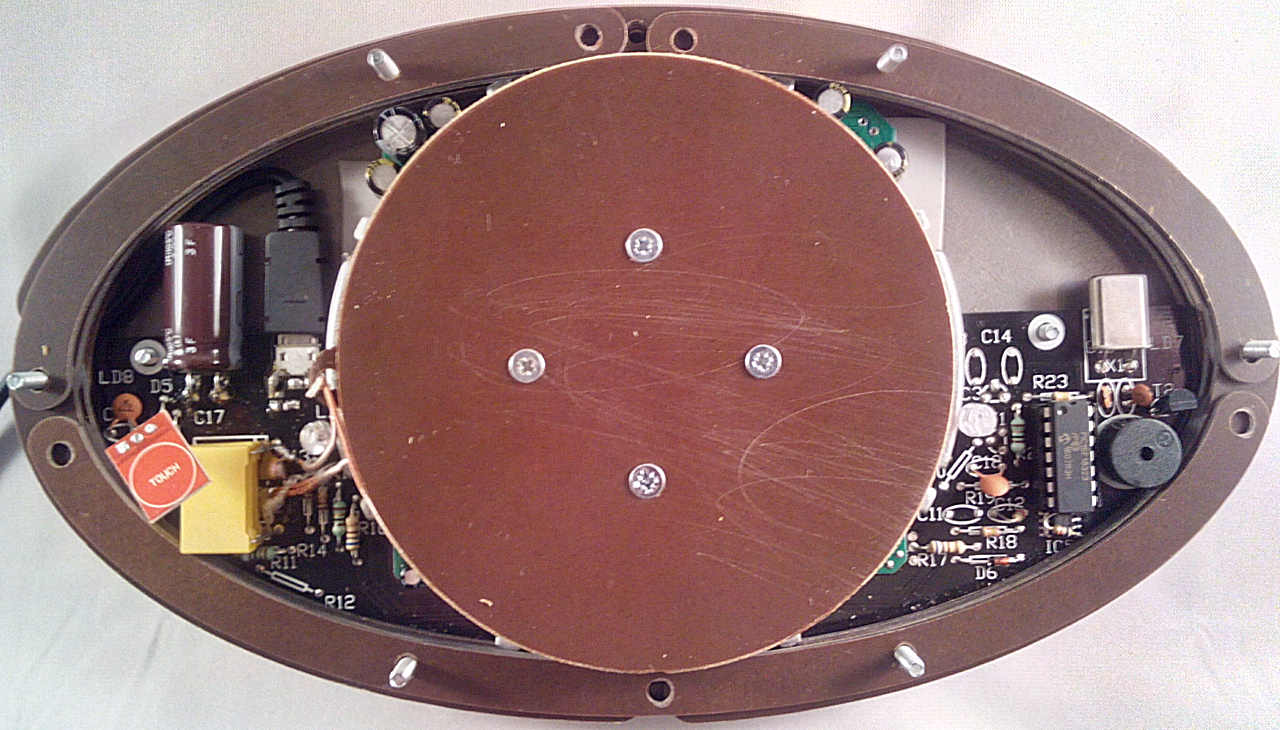
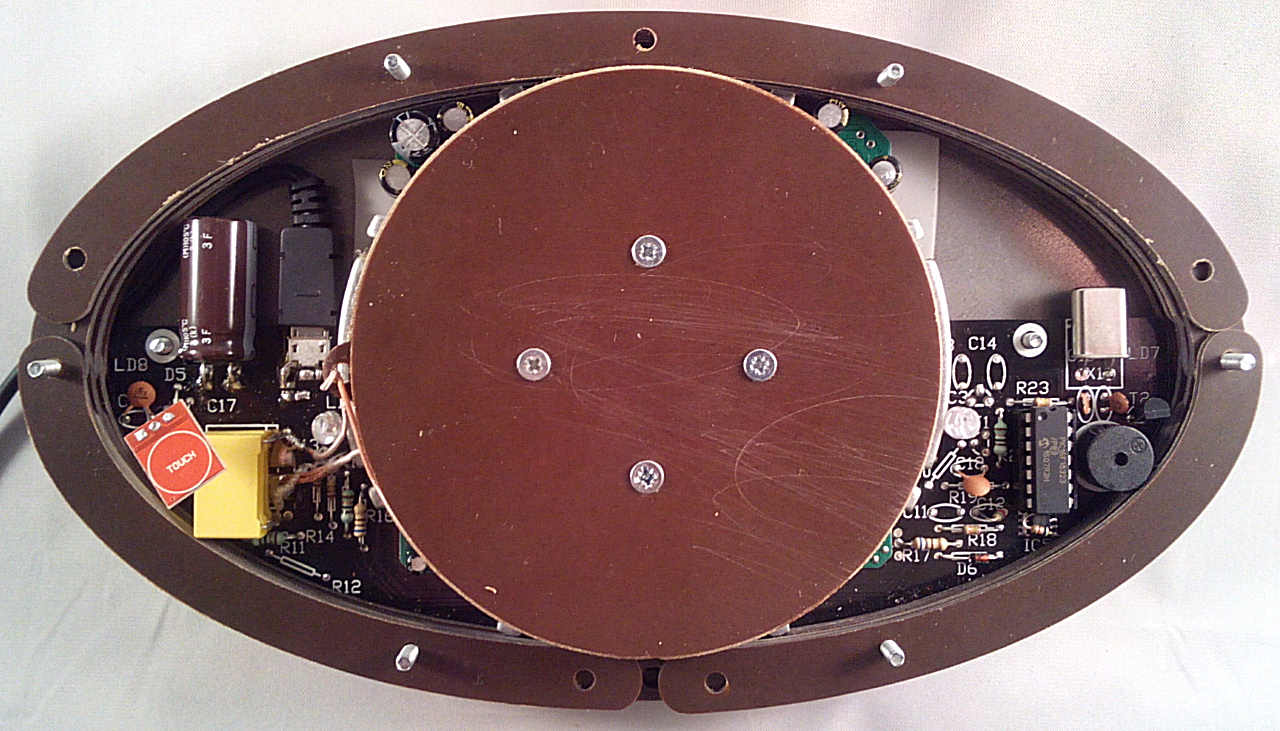
Line up the base and lid sections so the short and long strips overlap as shown:
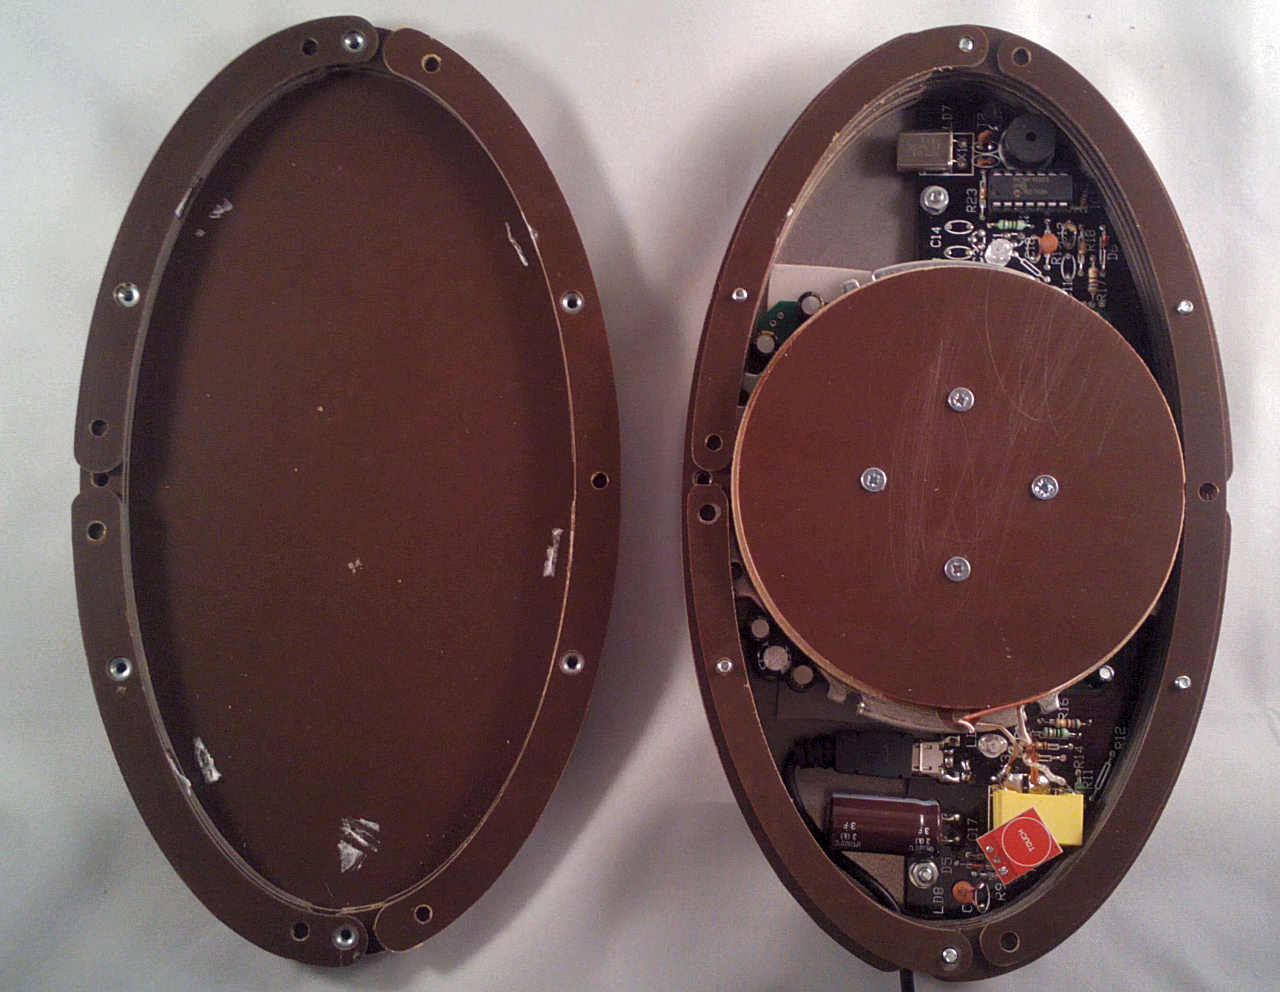
Drop the lid onto the base and start fighting to get the 3mm bolts into the blind nuts before it falls apart. It'll need a bit of wriggling but you should feel them drop into place. Tighten each a couple of turns to prevent it falling out then check nothing has dropped out of place. If it's OK, tighten the bolts up but not too much or it will distort the lid.
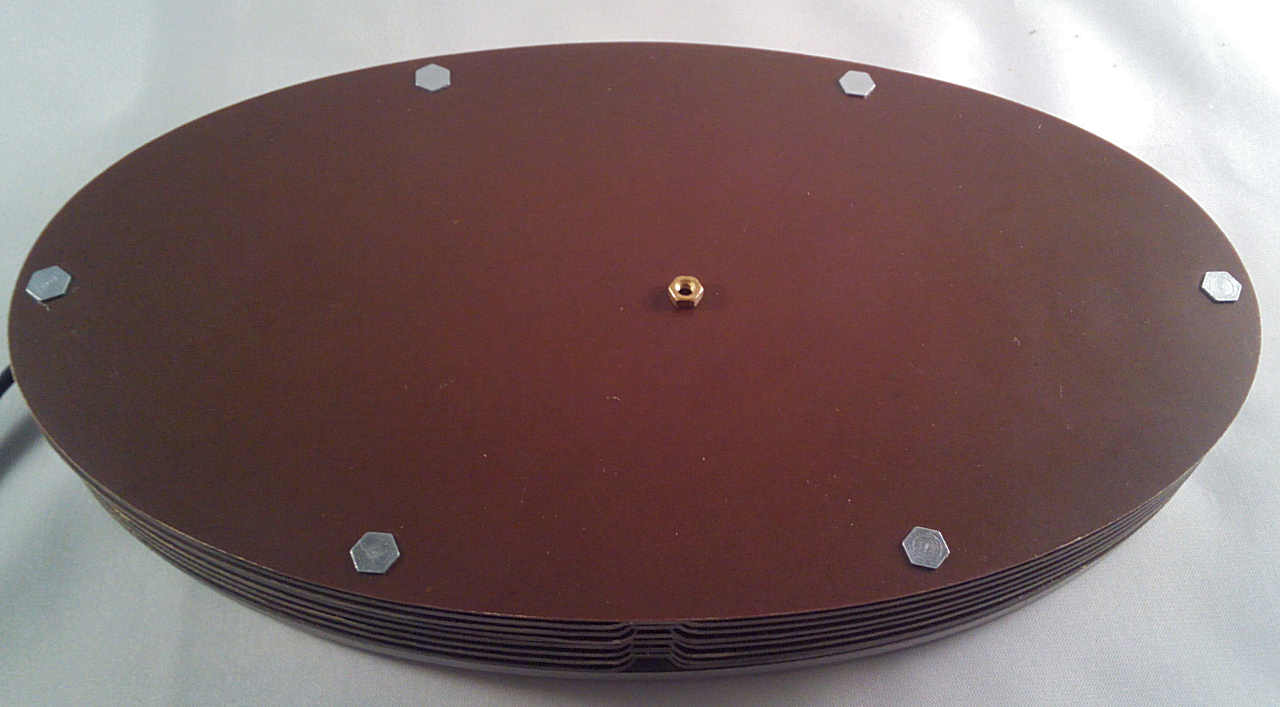
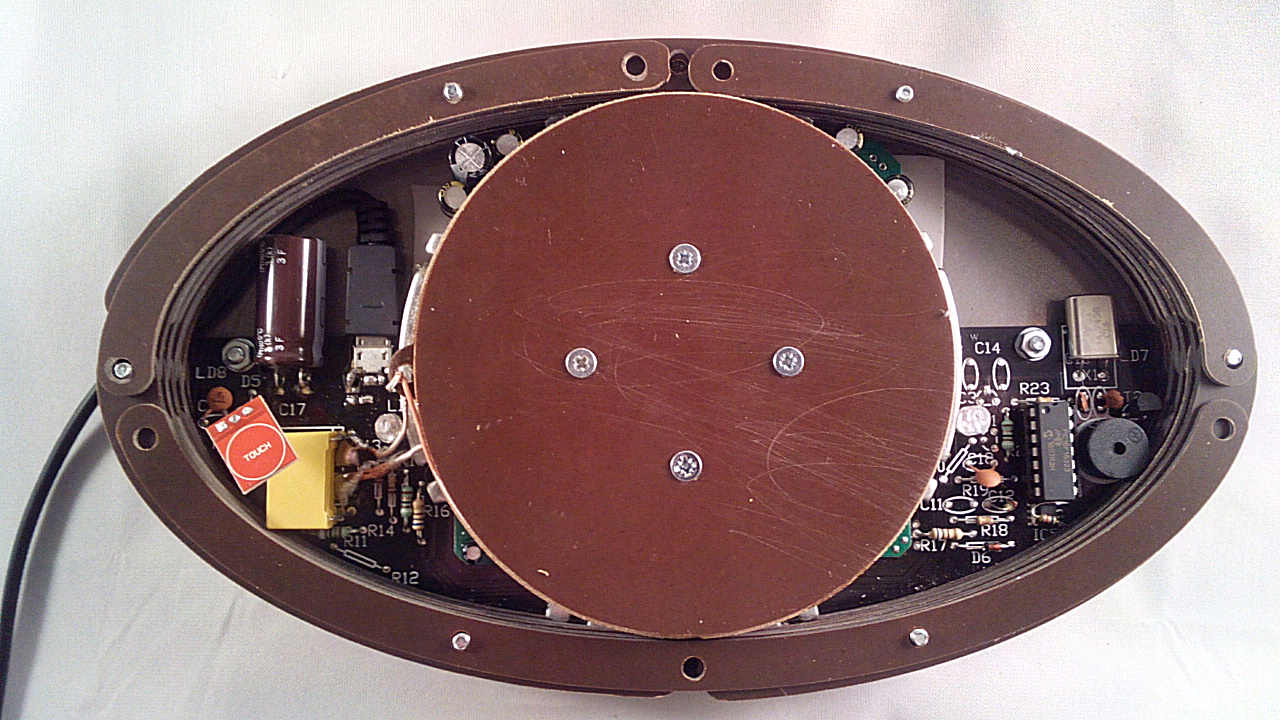
The stack of strips should look like this:
