Re: Board PCBs
Posted: Mon Nov 18, 2013 2:11 am
Connect the meter again across the points for R1 and power up. You should read about 40-50mA now. If not, check the soldering around the components connected to T1 and T2.
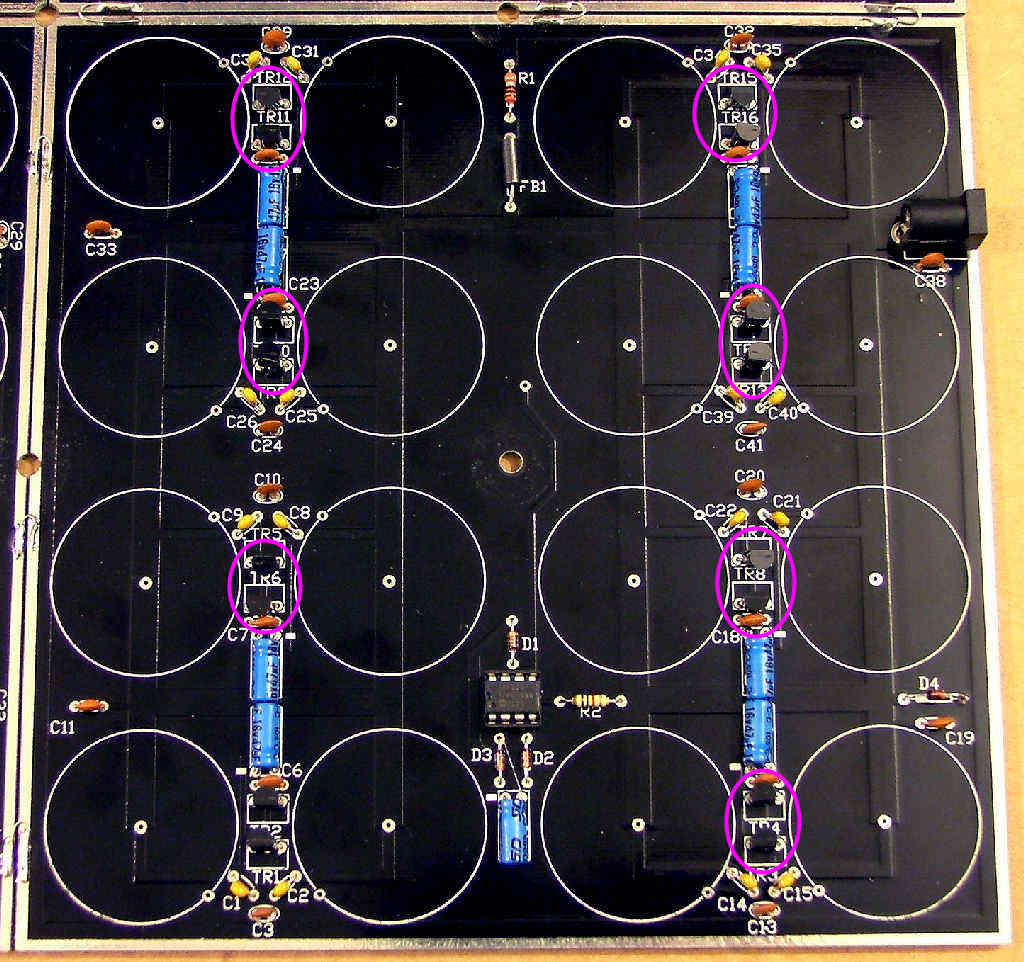
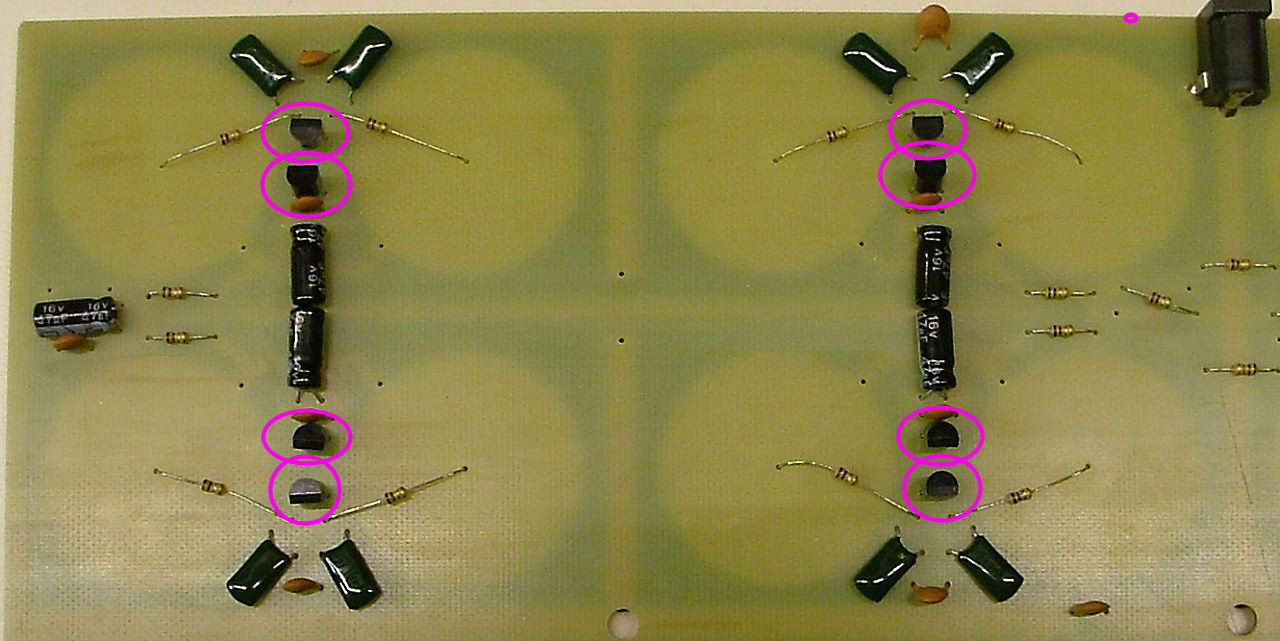
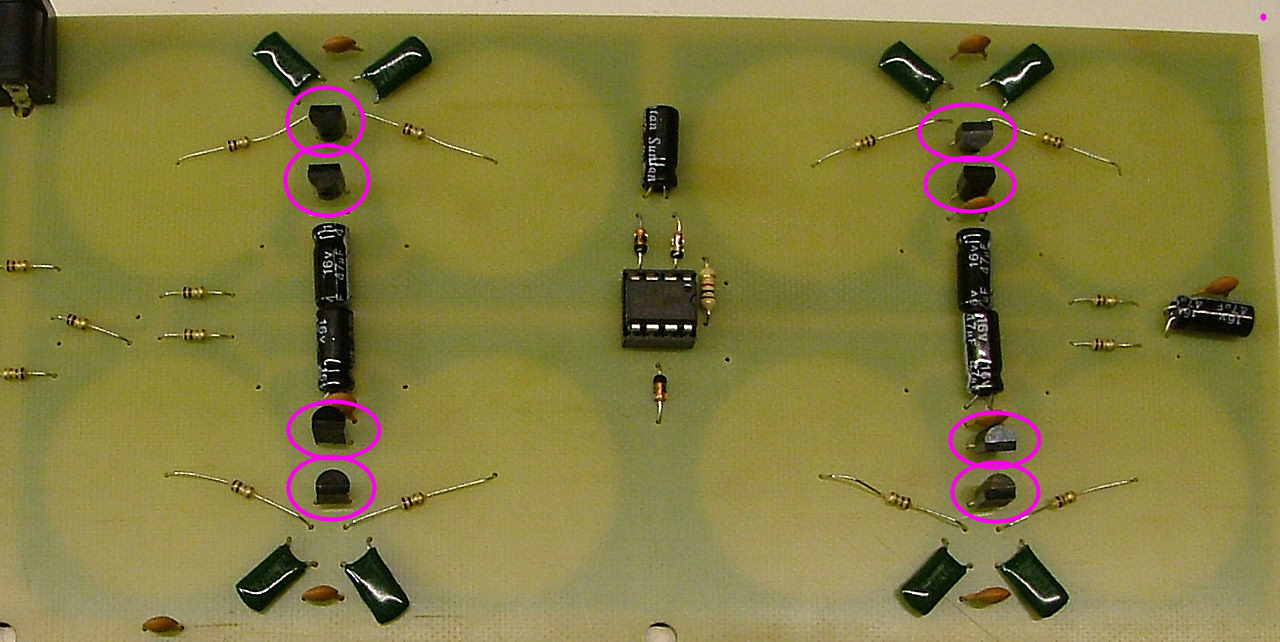
You can now repeat this with each pair of transistors, the reading should rise by about 50mA each time you add a pair.


Repeat for all 4 boards or for the x64 board, all 4 identical strips.
You can now repeat this with each pair of transistors, the reading should rise by about 50mA each time you add a pair.


Repeat for all 4 boards or for the x64 board, all 4 identical strips.