Page 3 of 3
Re: Clock PCB assembly
Posted: Mon Oct 19, 2015 4:09 am
by Tony
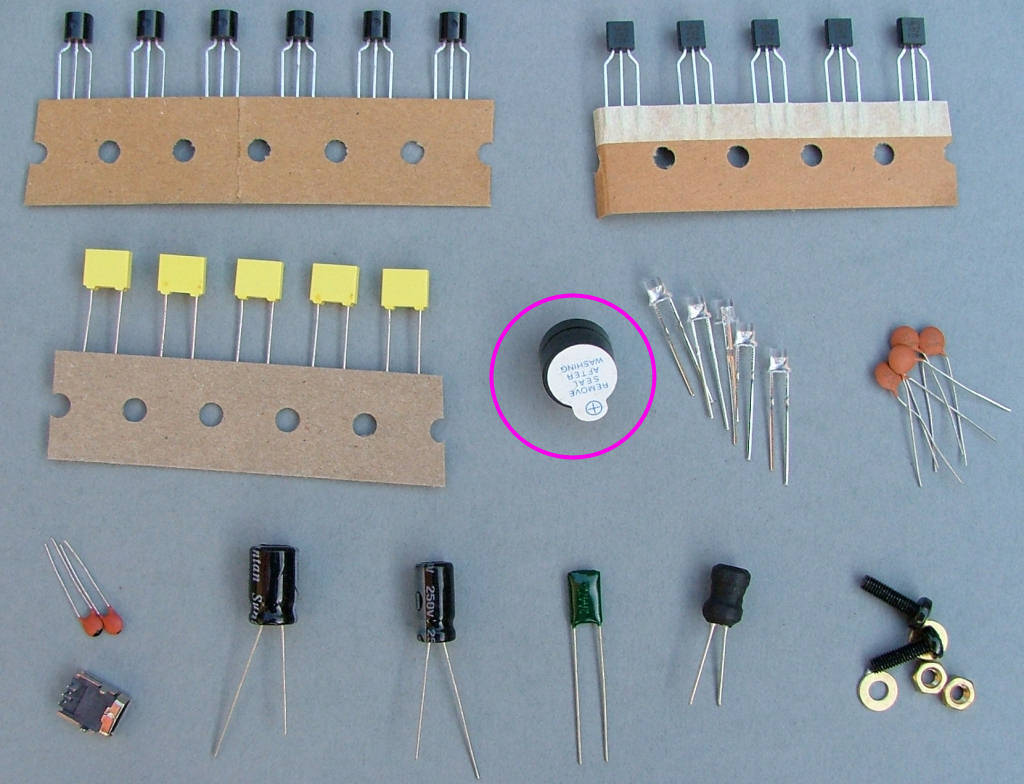
One more part from BAG1 - the speaker (LS1). Make sure the '+' faces to the right as in the picture:

Re: Clock PCB assembly
Posted: Mon Oct 19, 2015 4:11 am
by Tony
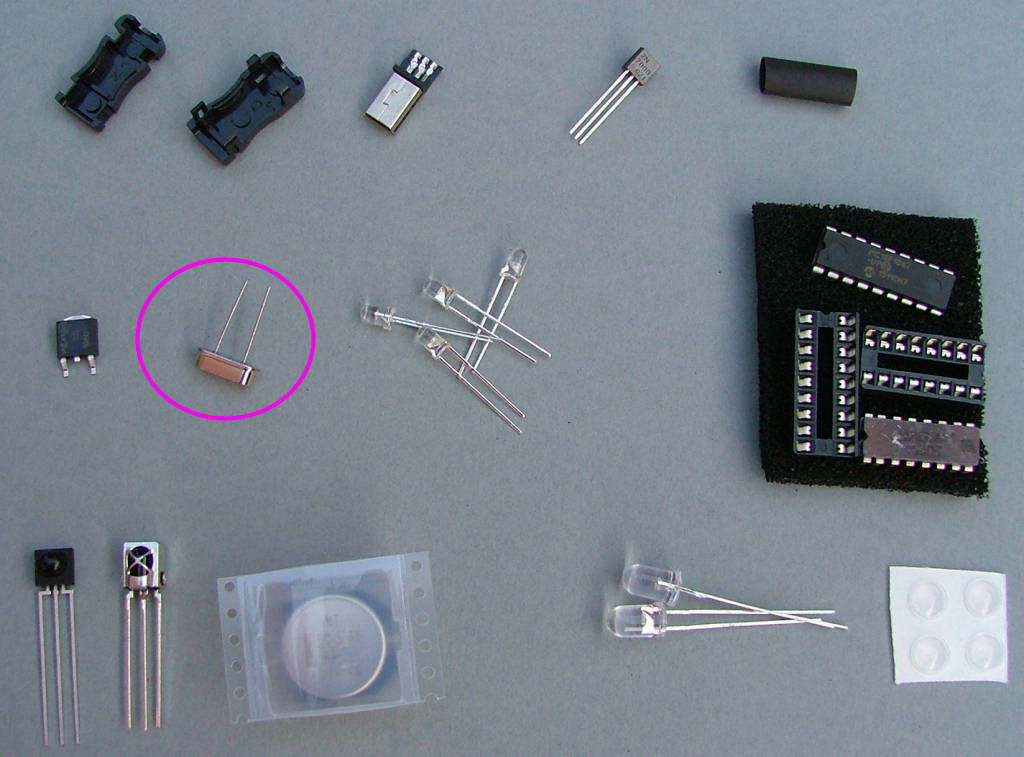
Fit the 16.000 crystal (steel box with 2 legs) in the position marked X1:

Re: Clock PCB assembly
Posted: Mon Oct 19, 2015 4:15 am
by Tony
Strip the outer insulation from the USB cable and cut off the 2 wires that ARE NOT red and black. Strip the ends of the red and black wires then tin them.
Feed the wires through one of the large holes in the PCB marked for SK1
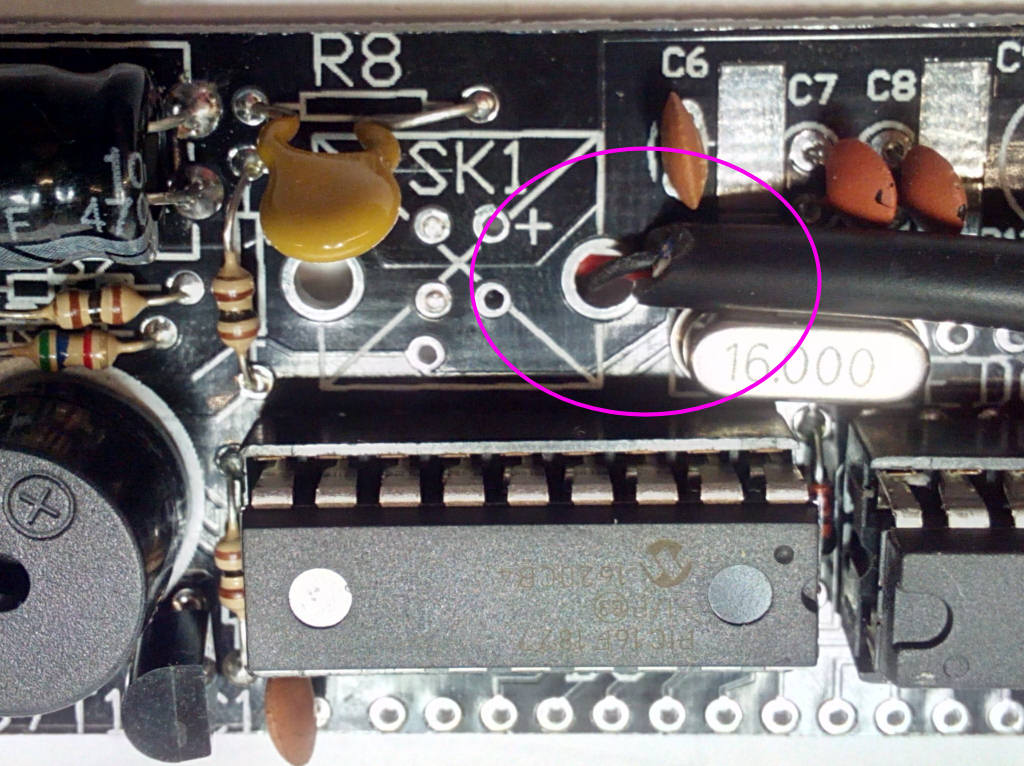
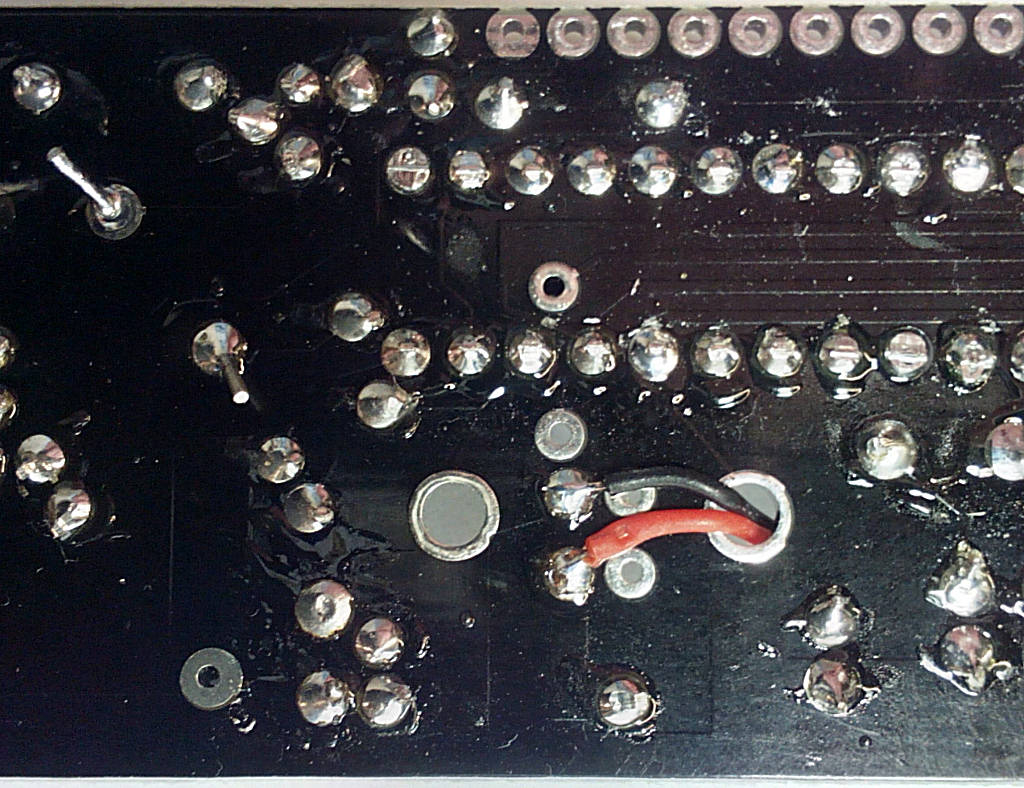
Solder the 2 wires onto the pads shown here - the red wire connects to R8 and the black wire to ground.
Now it's time to try power for the first time. Connect a multimeter on a current range (about 0-500mA) between the pads where R8 will be - this is just to the right of C5. Connect the - black lead to the left pad and the + red lead to the right pad.
Plug in the USB power supply and switch on.
You should have a reading of a few mA which rapidly drops to less than 1mA as C5 charges. Switch off and disconnect everything. If the test was OK move onto the next stage, if not check for solder bridges. If there was no reading at all make sure your meter is working and connected correctly, fluaty meter fuses are a commpn problem here.
Re: Clock PCB assembly
Posted: Mon Oct 19, 2015 4:16 am
by Tony
Fit IC1 (PIC 16F1827) and IC2 (KM155ID1) into their sockets and reconnect the multimeter and USB supply. Make sure both notches point towards D10 in between them, IC1 is 'upside down' relative to IC2.

This time the current reading should be about 20-25mA. If it's reached this stage you now know the CPU is running.
Now test the IR detector is working - hold your hand about 6" in front of IC4/LED8 for a few seconds - there should be a beep. If not check around IC4 and try using a phone camera to view LED8 to make sure it's lighting up. If it's not, check you have it fitted the right way round.
Re: Clock PCB assembly
Posted: Mon Oct 19, 2015 4:23 am
by Tony
Now the two boards need to be linked together. If you have a link strip cut it in half and to the correct number of pins if needed:
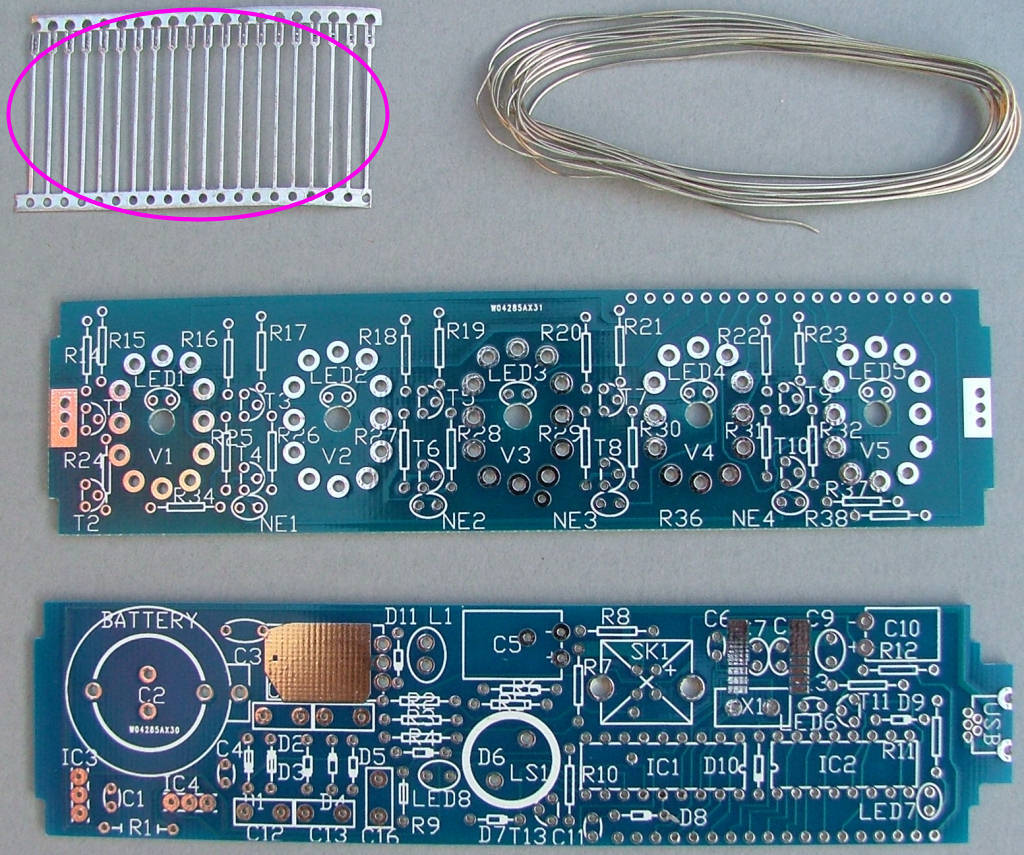
If you don't have a strip (yes there is a story as to why they're no longer supplied...) , use component offcut leads instead. Leave about 10-12mm between the boards, once it's time to fit them in the case the leads can be curved outwards to provide a hinge.
Fit the strip through both PCBs with both top sides facing out and position them about 3mm apart. Temporarily solder one wire at each end of the strip until you're sure the boards are lined up correctly, then solder the rest.
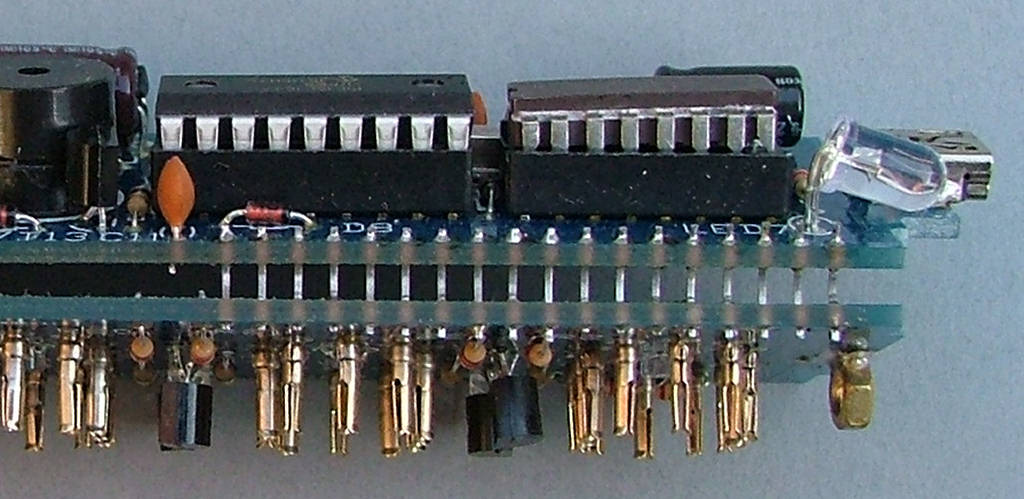
For now bend the PCBs apart to allow access to the solder sides, when they're ready to be cased there's a paxolin insulator that will keep them separated.


