2 - PCB Assembly

Tony
Site Admin
Posts: 948
Joined: Tue Jul 24, 2012 8:05 pm

Re: 2 - PCB Assembly

Post by Tony »

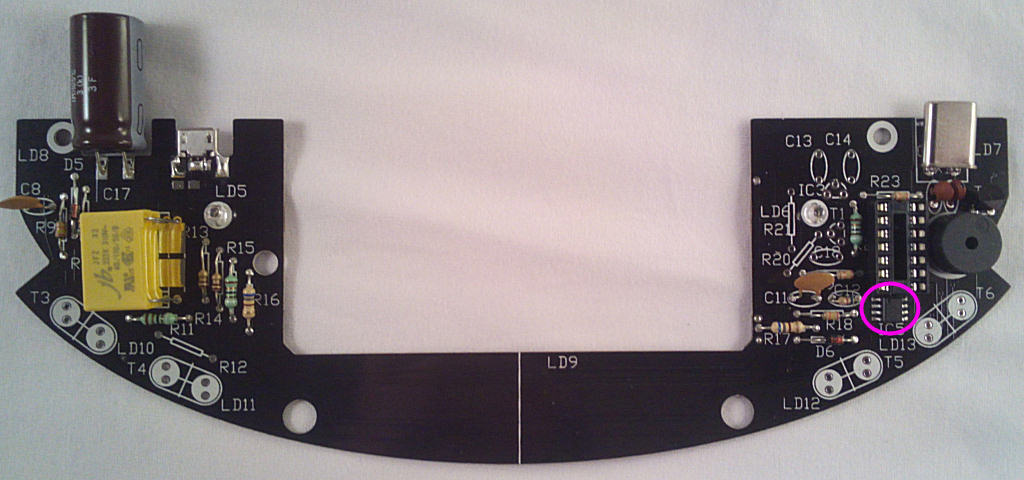
Finally for now the small EEPROM memory (24c64) IC5, this holds program updates for verification before they're written to the microcontroller. The pin 1 mark faces UP (some ICs have a bevelled edge to indicate the pin 1 side, that faces left if so):

Image

Image
Tony
Site Admin
Posts: 948
Joined: Tue Jul 24, 2012 8:05 pm

Re: 2 - PCB Assembly

Post by Tony »

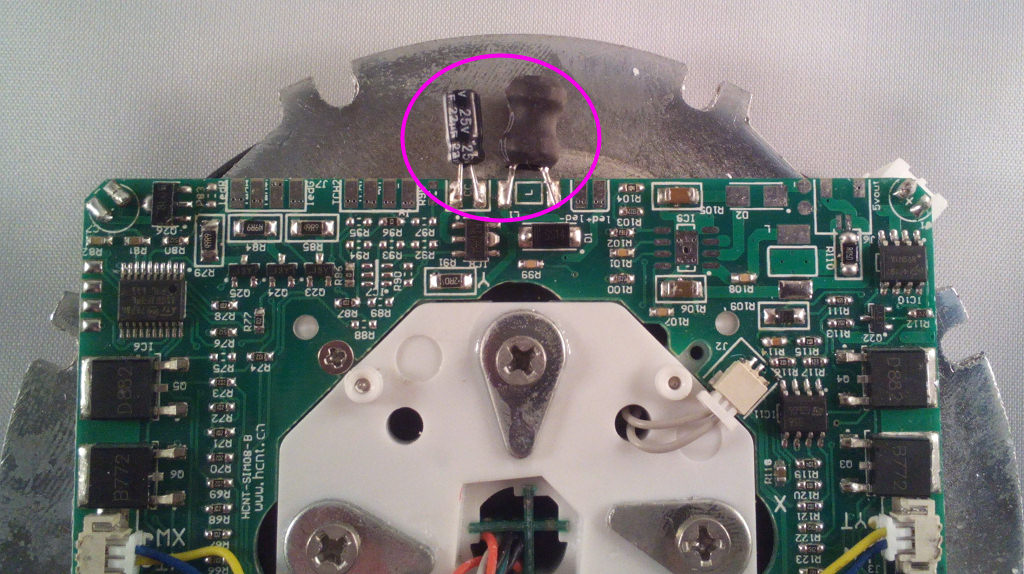
Remove the 15V socket and any tagged-on components from the levitation module if fitted:

Image

Image
Tony
Site Admin
Posts: 948
Joined: Tue Jul 24, 2012 8:05 pm

Re: 2 - PCB Assembly

Post by Tony »

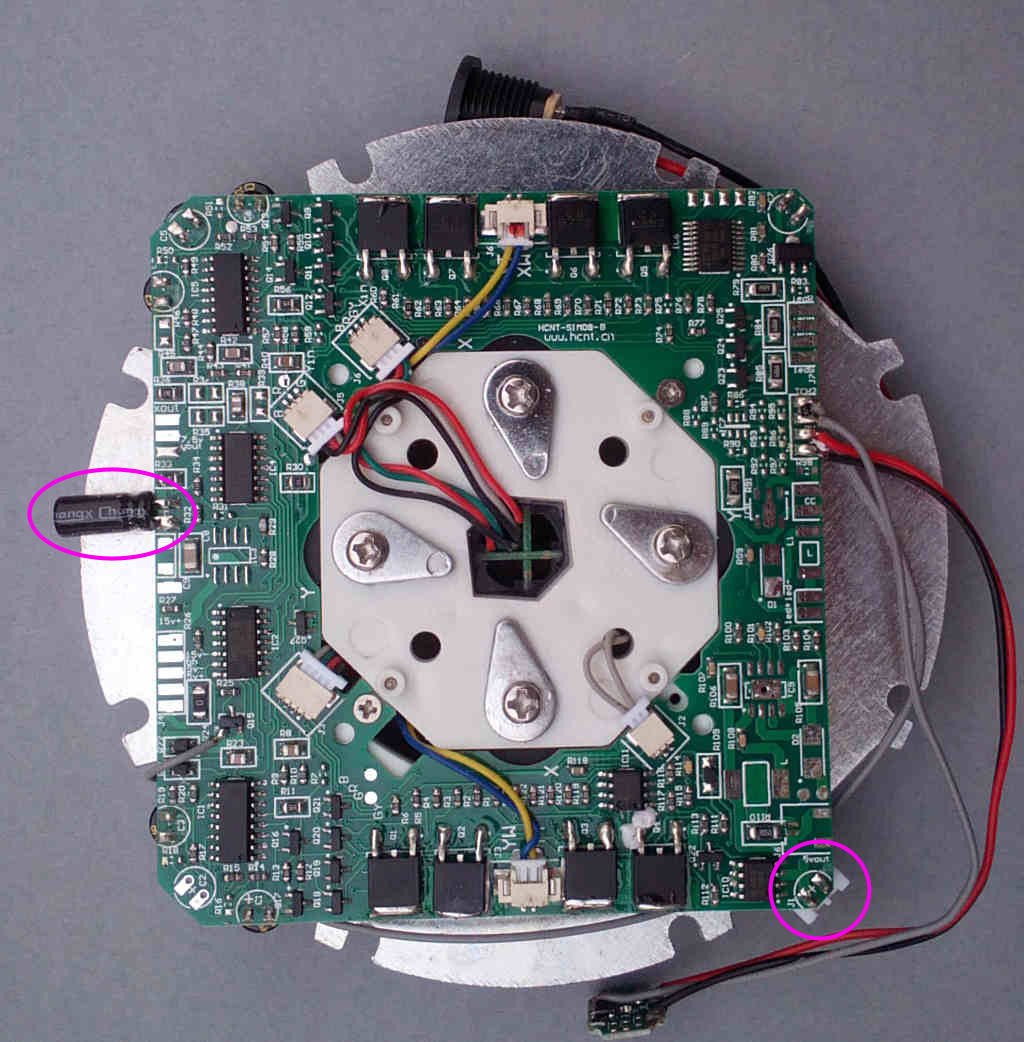
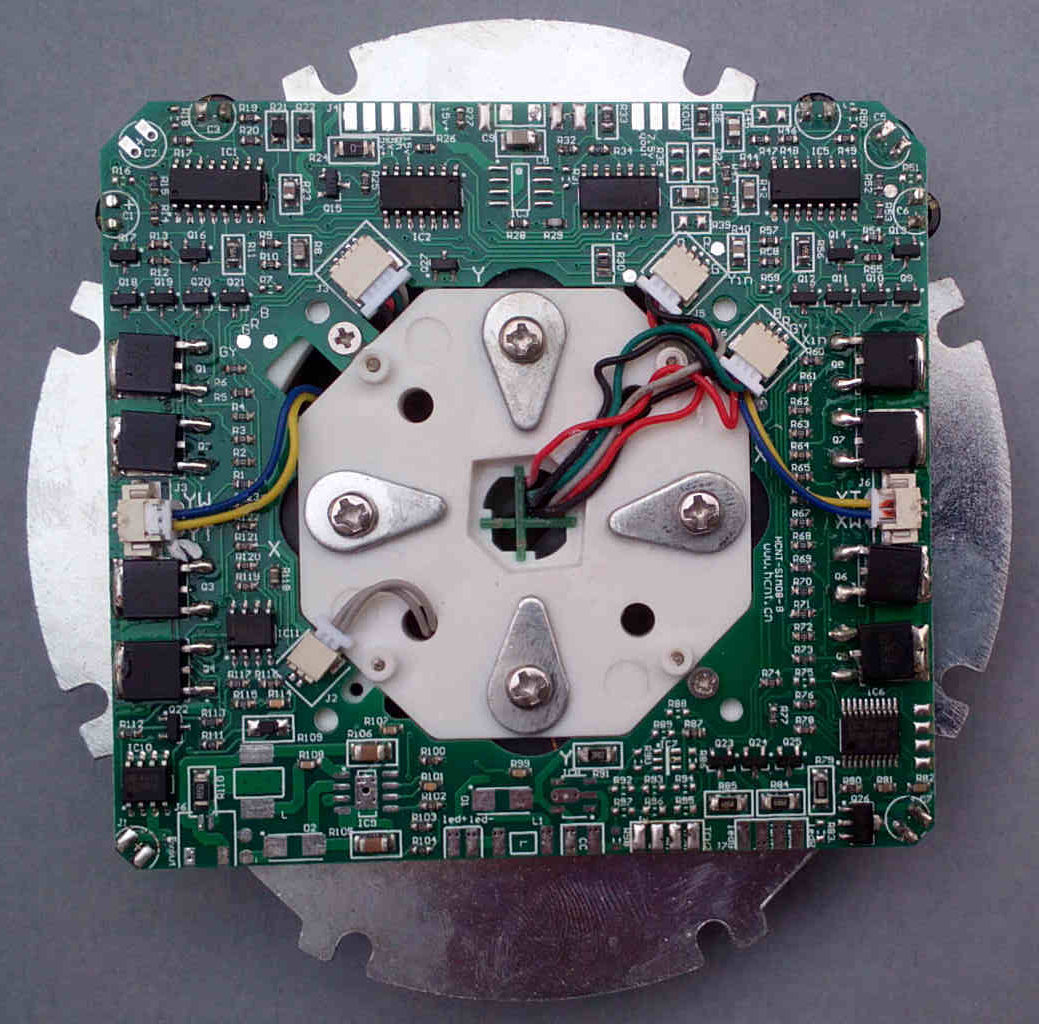
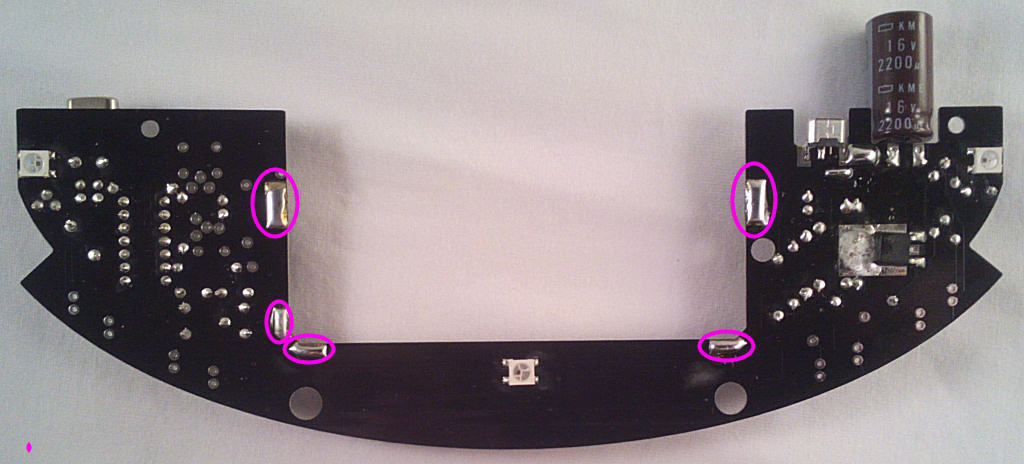
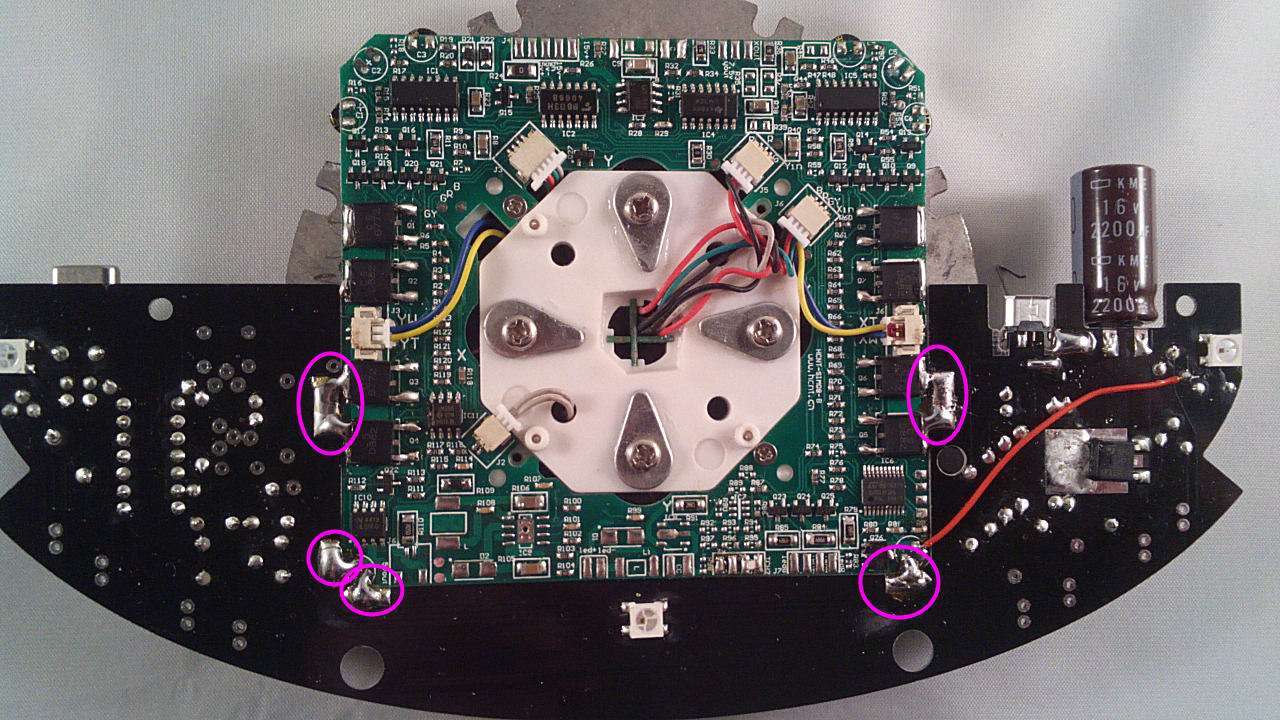
Next, attach the base PCB to the levitation module. Line up the PCBs with the module rotated as shown and support the base board so the track sides level with each other then use the thick solder to bridge the pads indicated.

Image

Image

Image
Tony
Site Admin
Posts: 948
Joined: Tue Jul 24, 2012 8:05 pm

Re: 2 - PCB Assembly

Post by Tony »

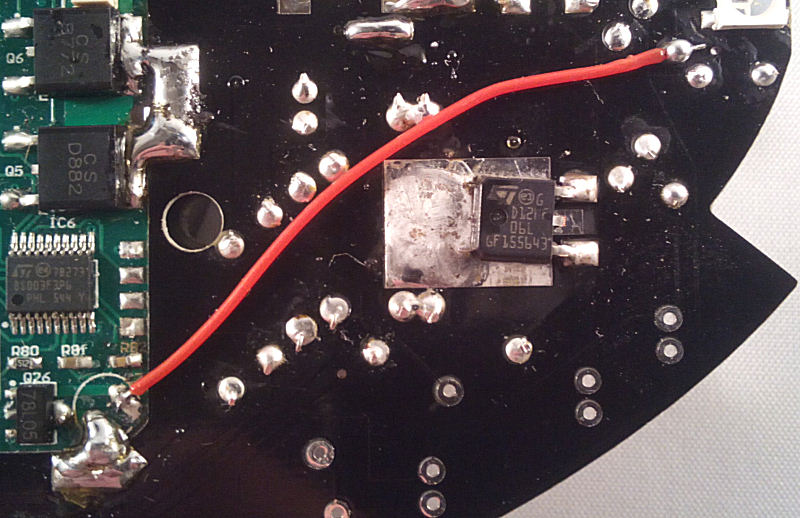
Using an offcut of wire from the 15V plug, link these points under the PCB:

Image
Tony
Site Admin
Posts: 948
Joined: Tue Jul 24, 2012 8:05 pm

Re: 2 - PCB Assembly

Post by Tony »

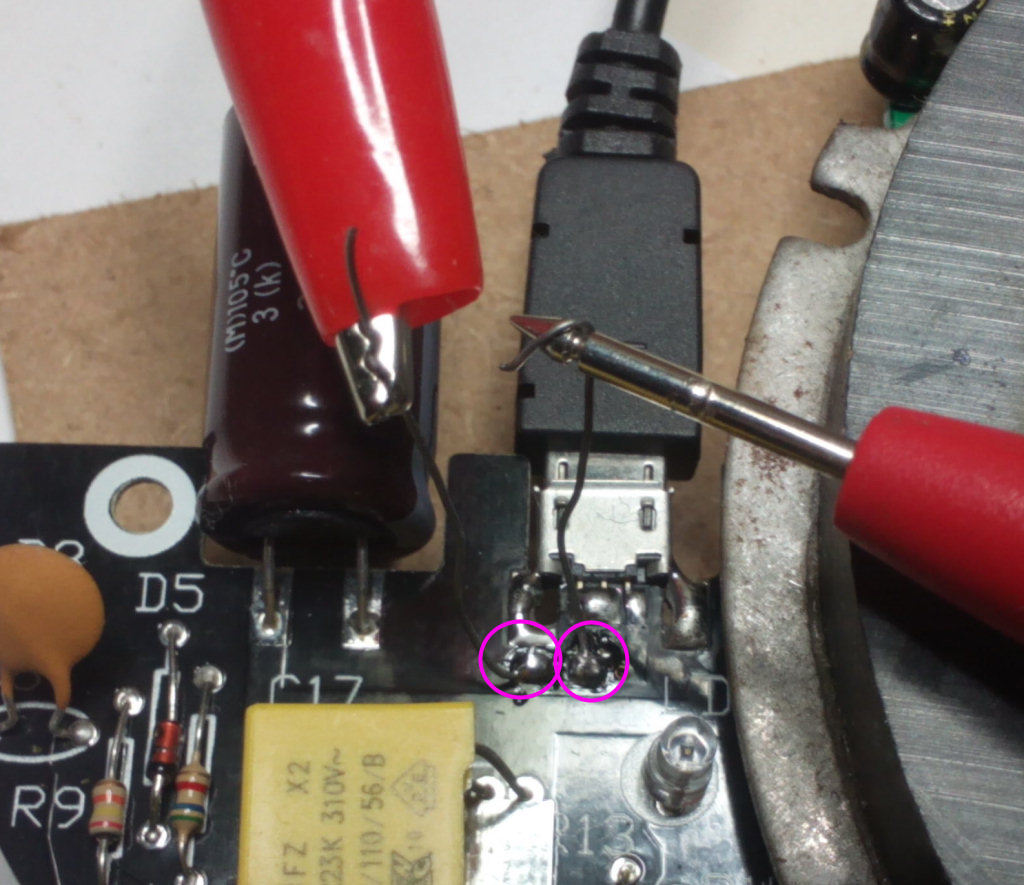
Solder 2 offcuts of wire to the 2 pads just below the USB socket - these are in series with the incoming 15V supply and will be used to monitor current during testing. Connect a multimeter on a 500mA or 1A range to the 2 wires.

Image
Last edited by Tony on Fri Dec 15, 2017 5:49 am, edited 1 time in total.
Tony
Site Admin
Posts: 948
Joined: Tue Jul 24, 2012 8:05 pm

Re: 2 - PCB Assembly

Post by Tony »

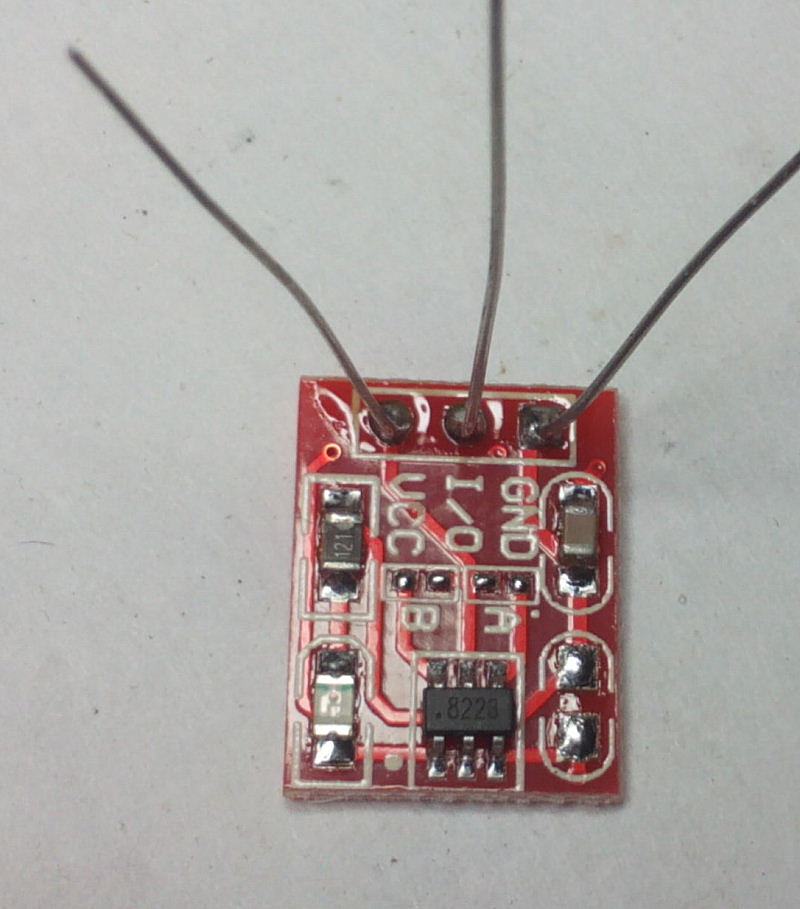
Solder 3 wire offcuts to the touch-switch module connection pads:

Image

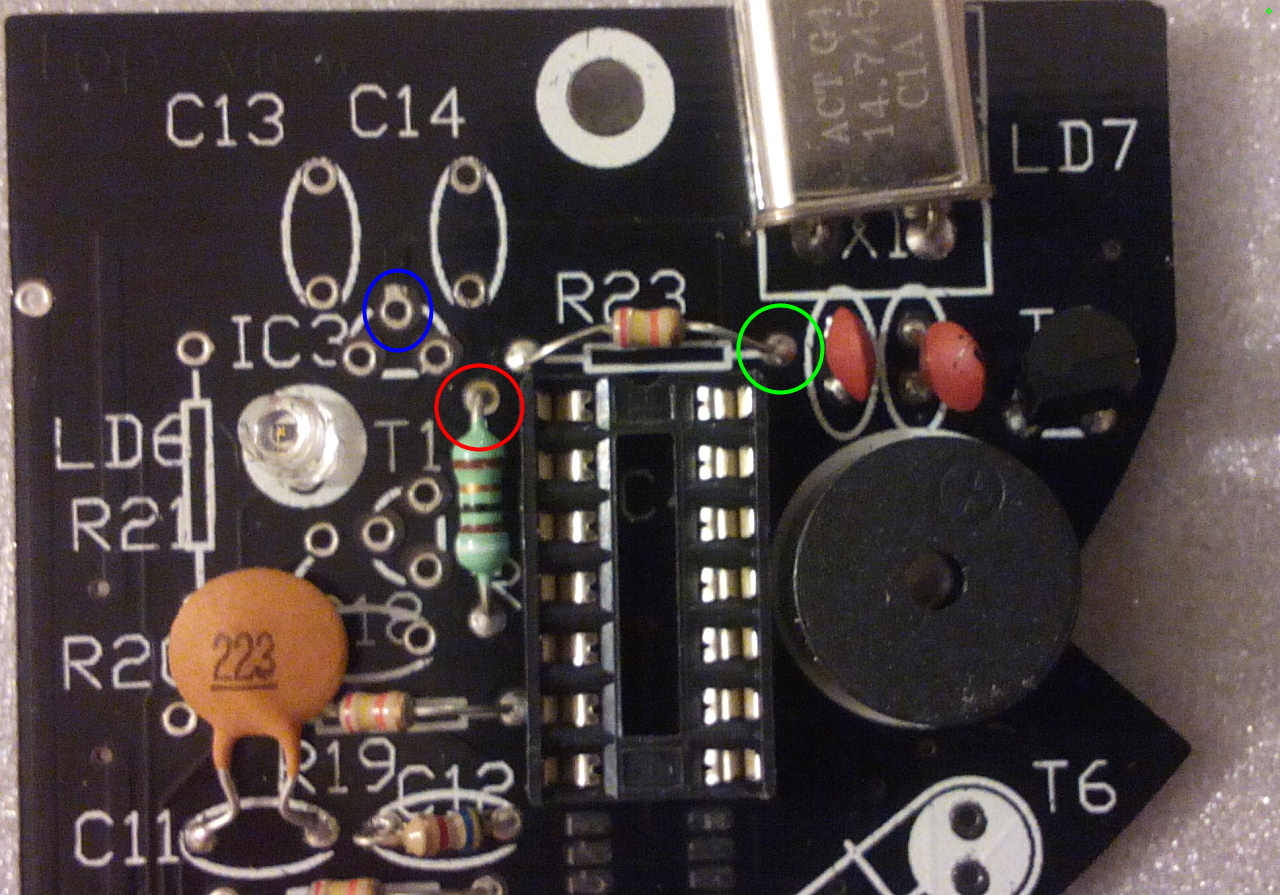
Trim the wires to ablout 1" in length, then solder them to the marked points on these components at the right hand side of the base PCB:

Image

BLUE - GND, RED - VCC, GREEN - I/O. I would also recommend adding a 330-470u 6.3V+ capacitor across Vcc and GND on the module. *NOTE This is needed as the touch switch will activate randomly otherwise so consider it essential.

Feel free to experiment with your own switch - you could add 433mhz remote control for example, the PIC input expects an active low signal.
Tony
Site Admin
Posts: 948
Joined: Tue Jul 24, 2012 8:05 pm

Re: 2 - PCB Assembly

Post by Tony »

Now it's time for the first power-on test. Connect the base to the power PCB using the supplied micro-USB cable and switch on. The current reading should be about 100mA, more if one of the LEDs randomly decided to light up. It shouldn't be more than about 140-160mA if so.

Switch off and fit IC4, then switch on again. The current reading should be almost the same, the LEDs will flash green for a second then go out. Put your finger near the touch switch, the LED on it should light up and LS1 will start to beep with a tone increasing in frequency the longer the switch is held.

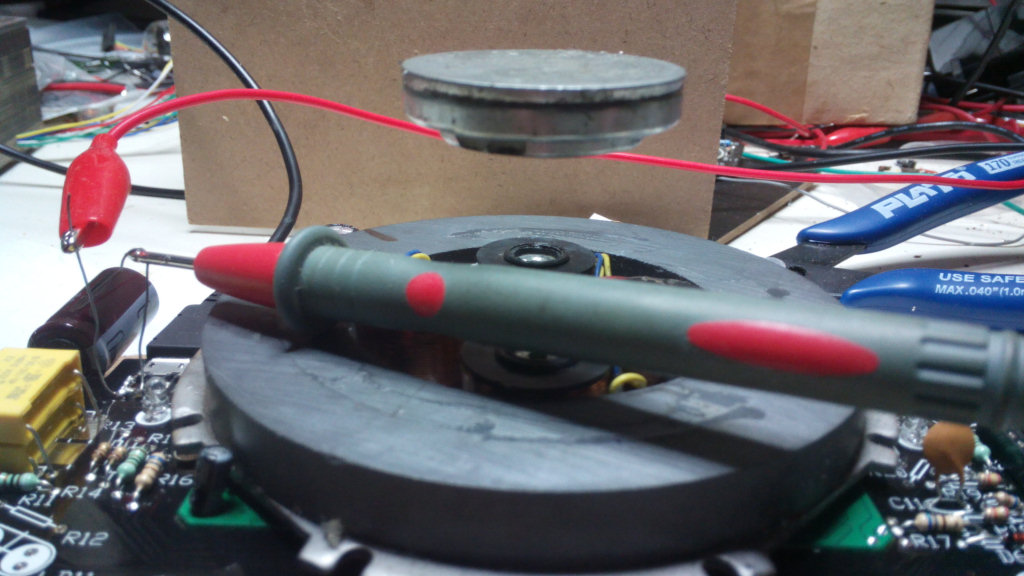
Try carefully floating the small magnet included in the 'relay' kit box, as it's a bit light just now it will tend to slip easily to one side but should still float with care.
Image

Now jump to the coil winding instructions for the rest of the assembly.
Locked