3 - Case assembly
Posted: Sat May 13, 2017 6:28 pm
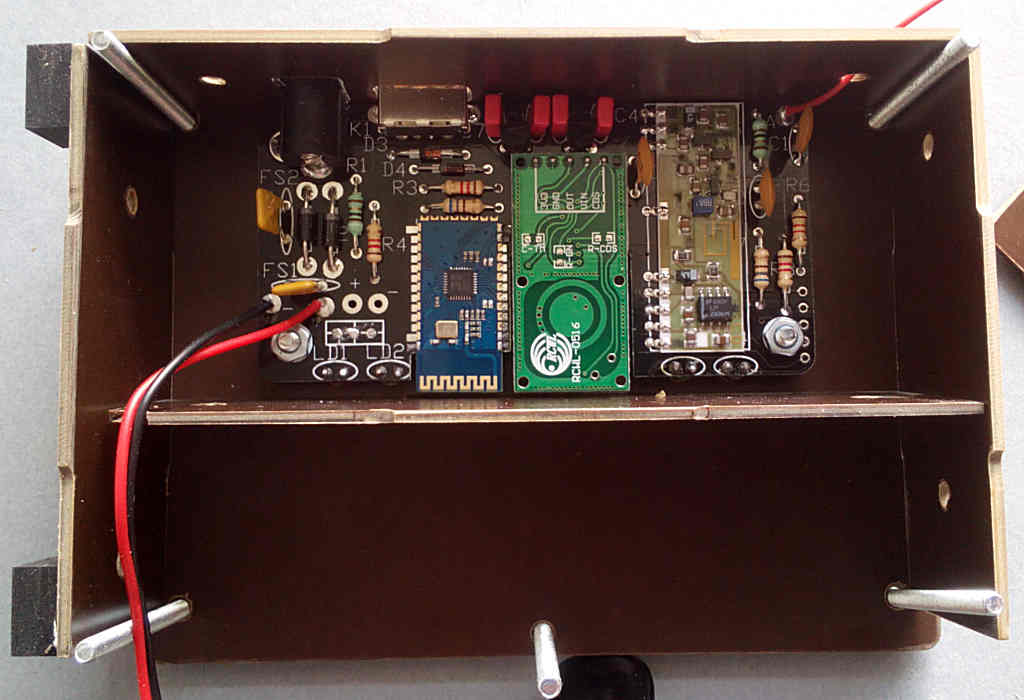
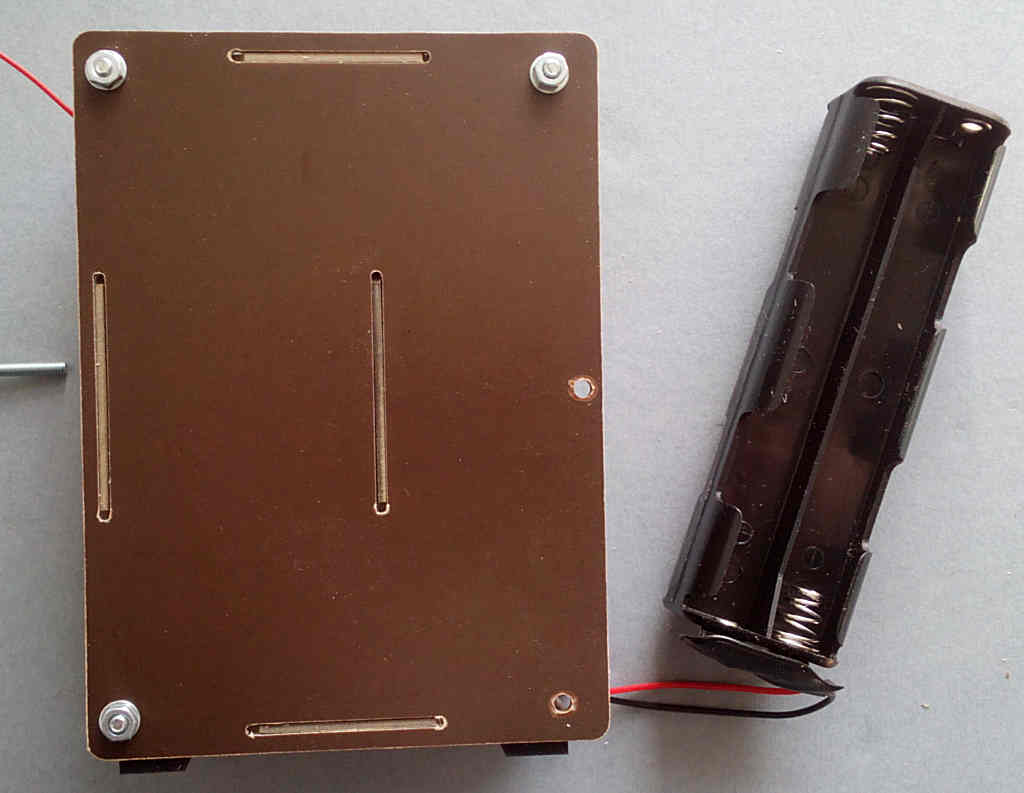
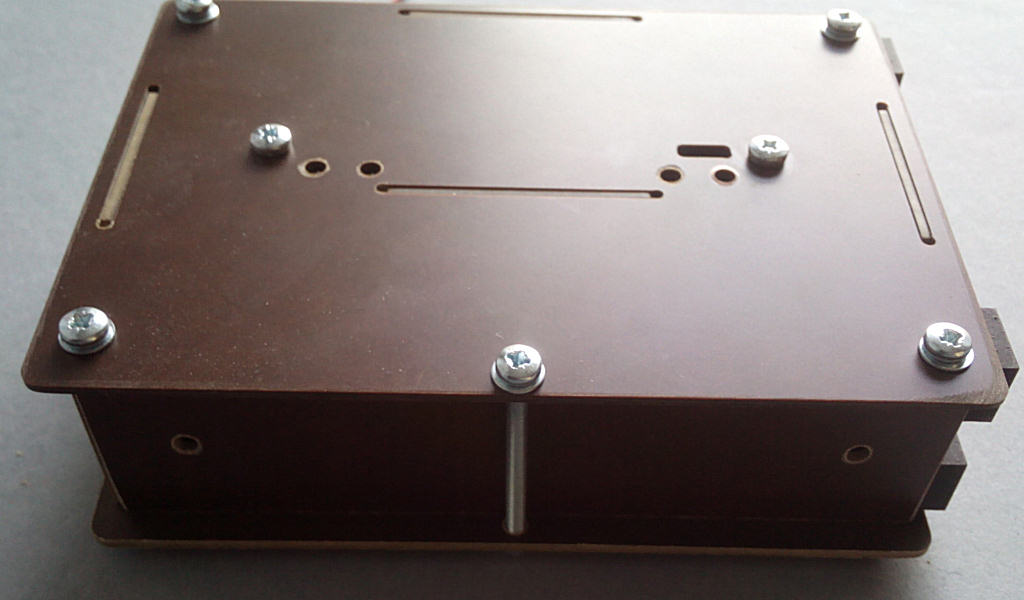
Once you've finished testing the PCB works it can be built into its case. This is made from laminate panels held together by tabs and 5x M3 bolts, they'll need to be sanded before use.

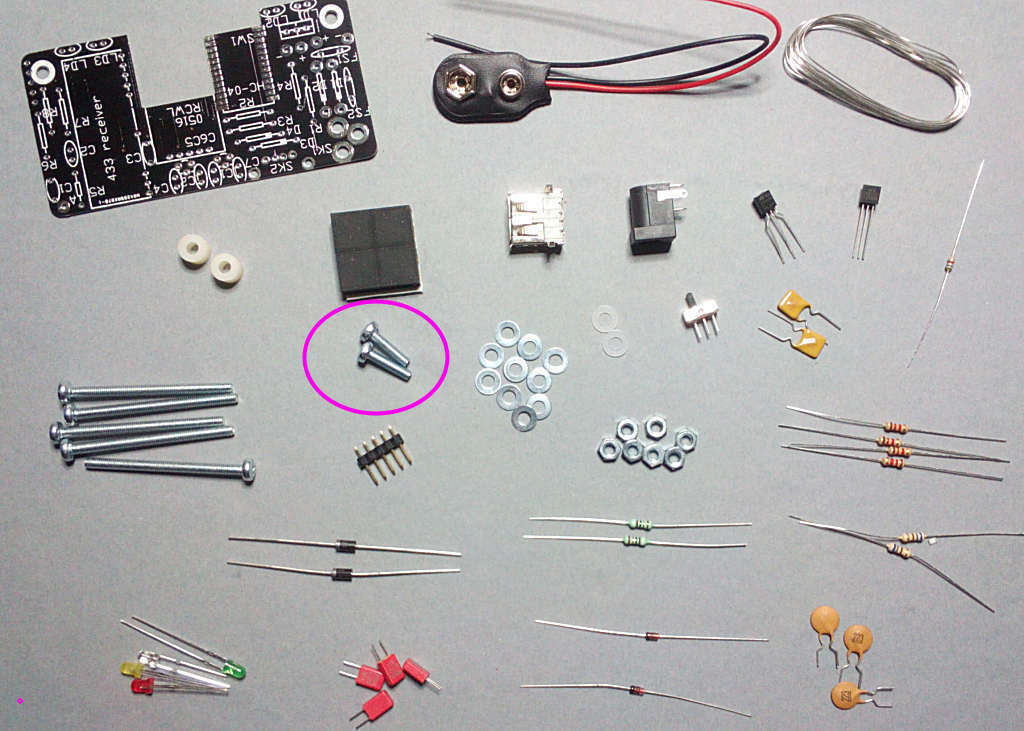
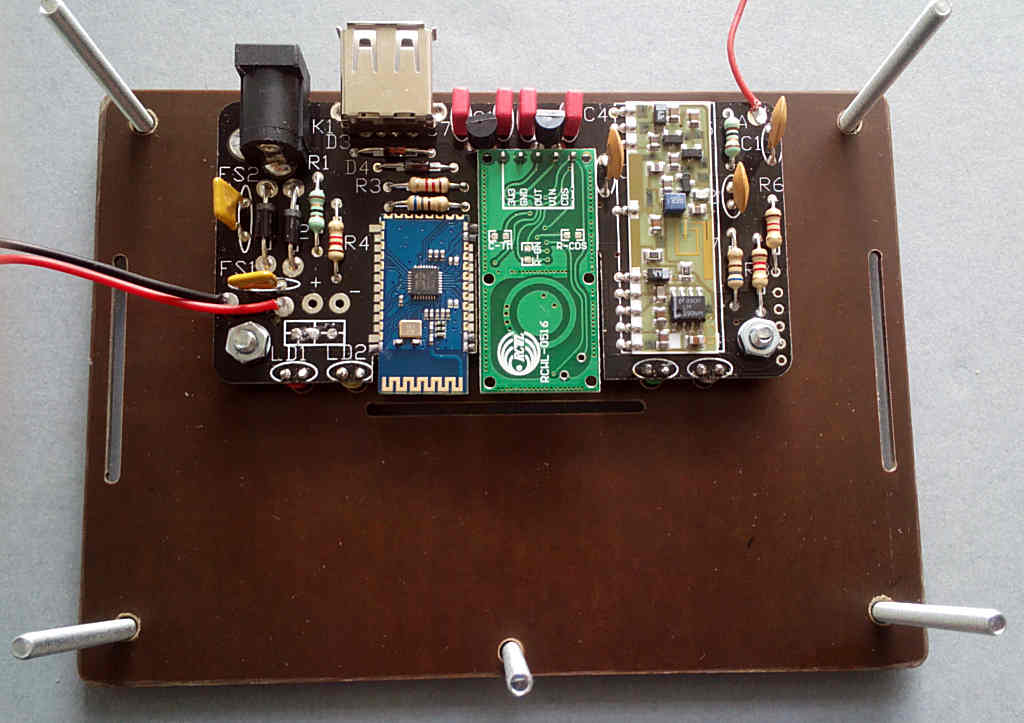
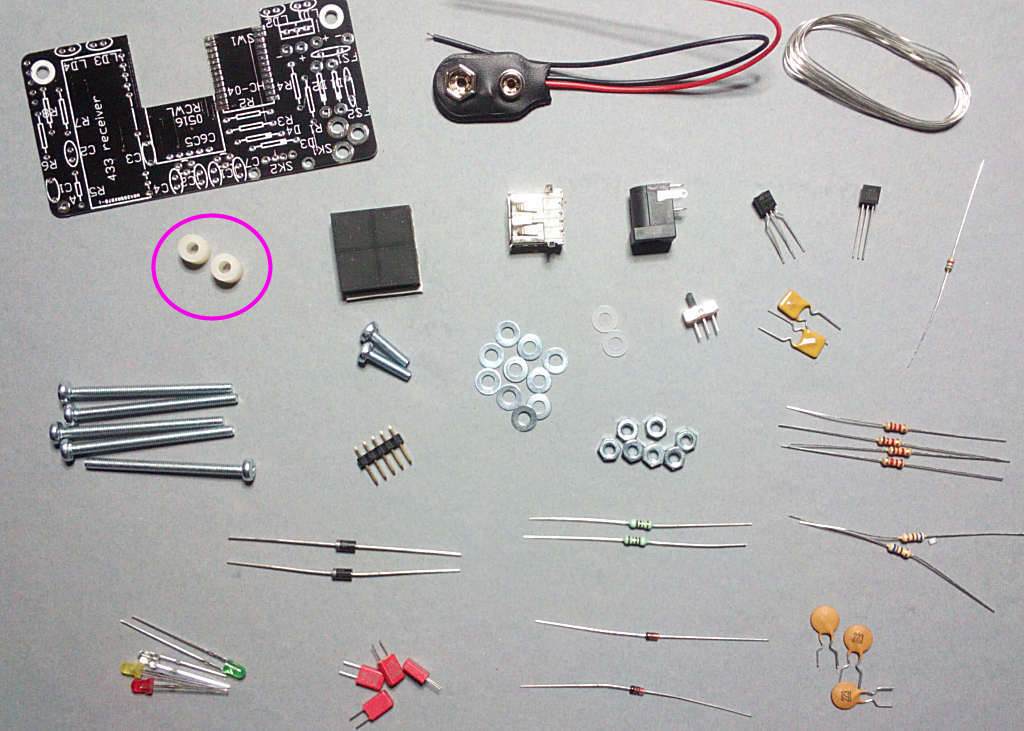
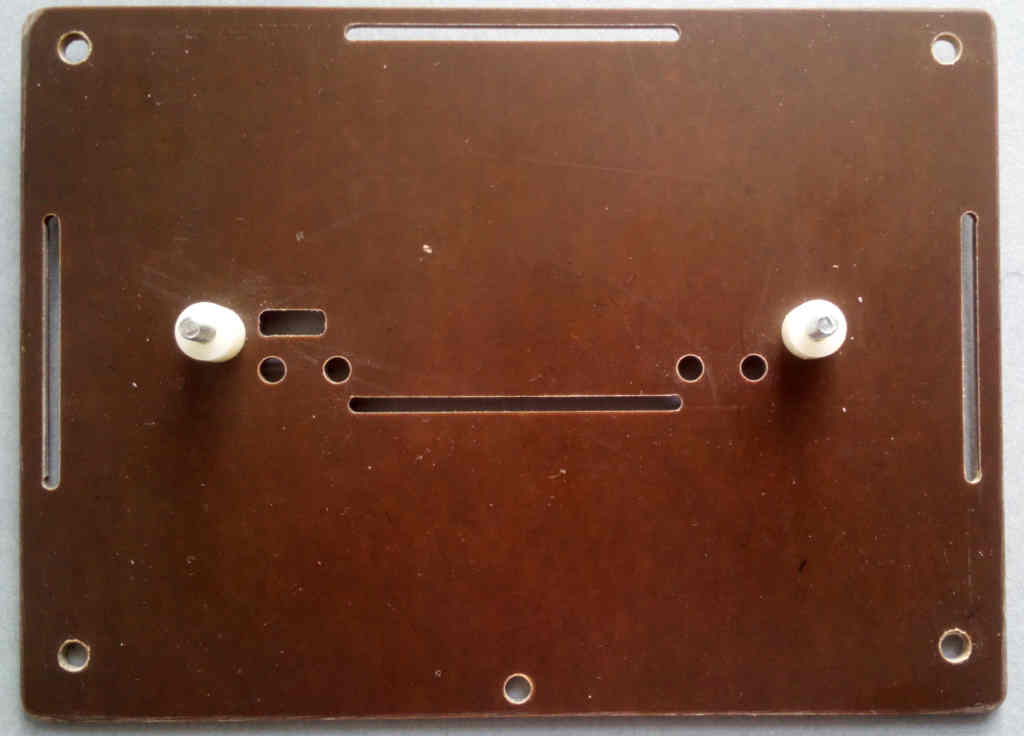
Start with the case front, push the 2x M3x12 bolts through the indicated holes, turn over and drop the nylon spacers onto them:
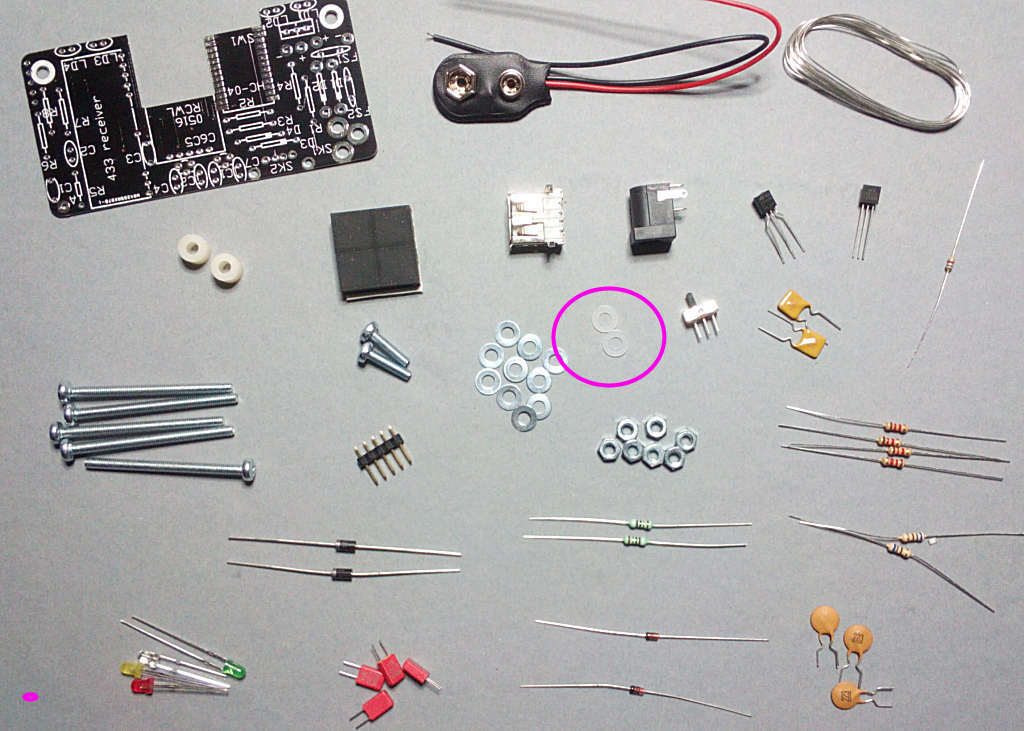
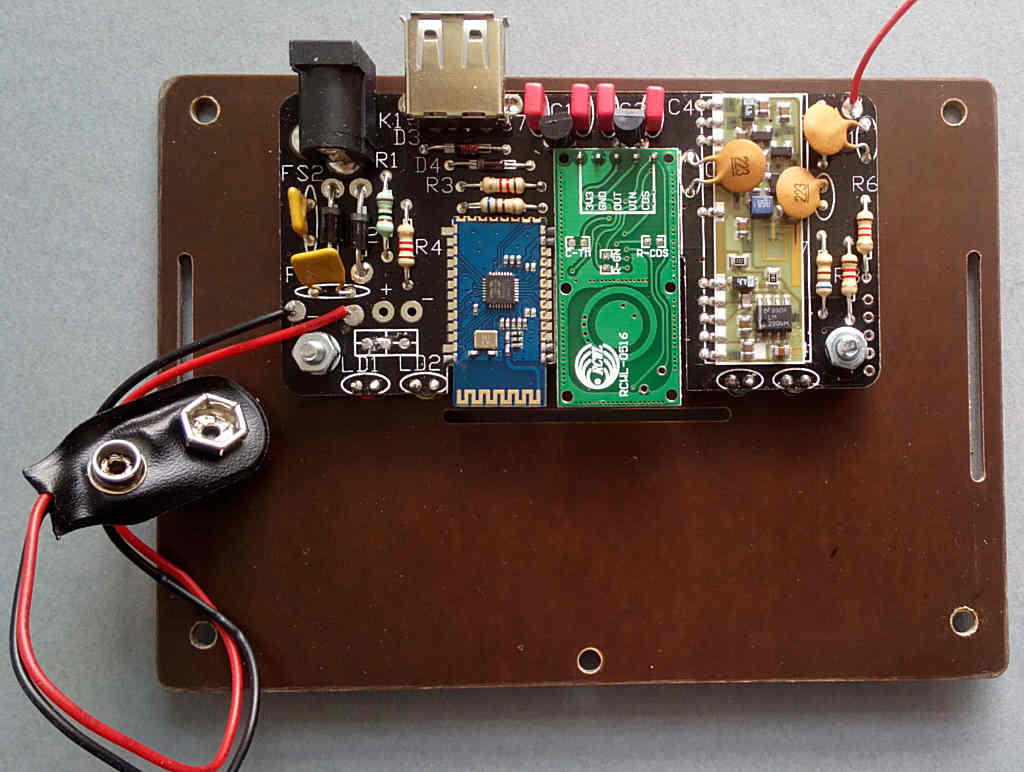
Fit the PCB onto them with the modules facing up, the LEDs will fit through the holes in the front panel. Put a plastic washer on each bolt to protect the PCB from the nuts, then fix down as shown:


Start with the case front, push the 2x M3x12 bolts through the indicated holes, turn over and drop the nylon spacers onto them:


Fit the PCB onto them with the modules facing up, the LEDs will fit through the holes in the front panel. Put a plastic washer on each bolt to protect the PCB from the nuts, then fix down as shown:


