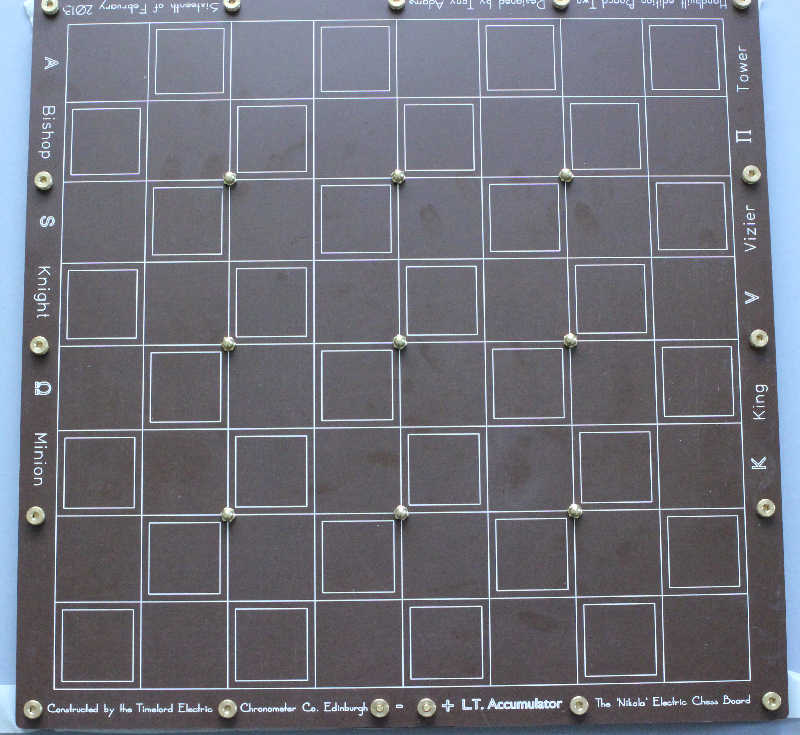
Board case
Posted: Fri Mar 01, 2013 7:54 pm
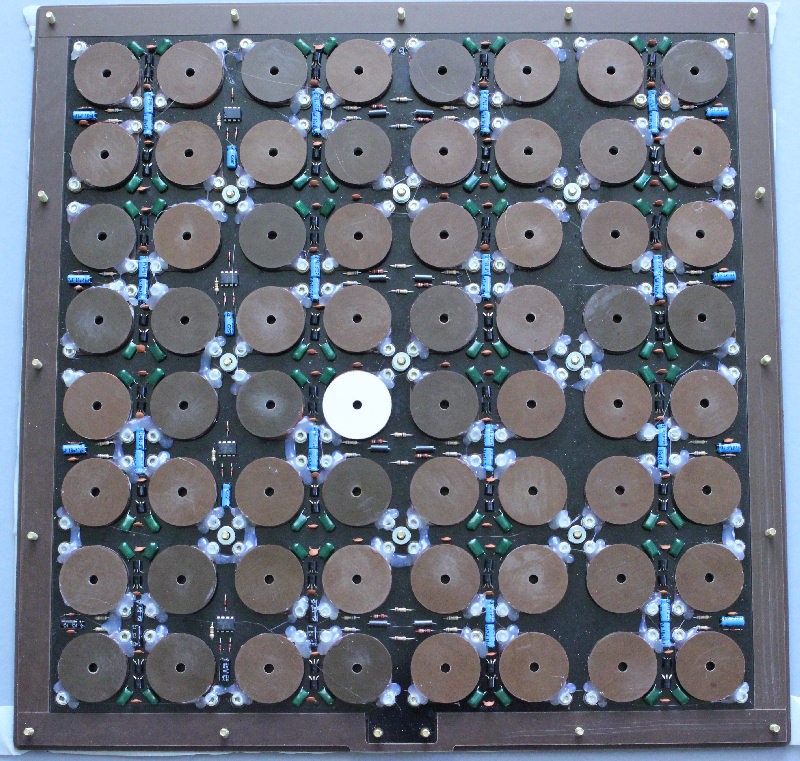
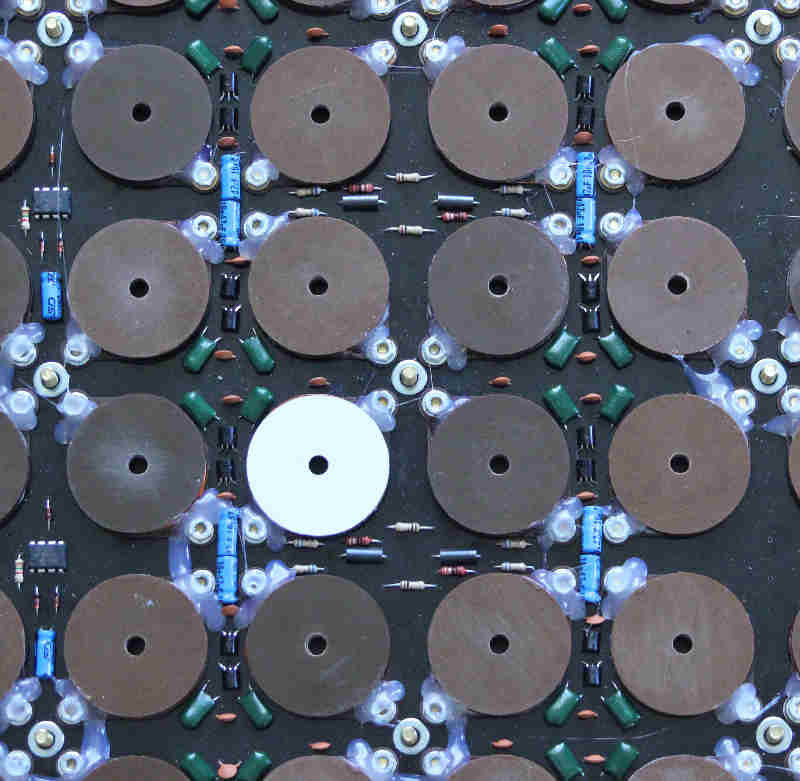
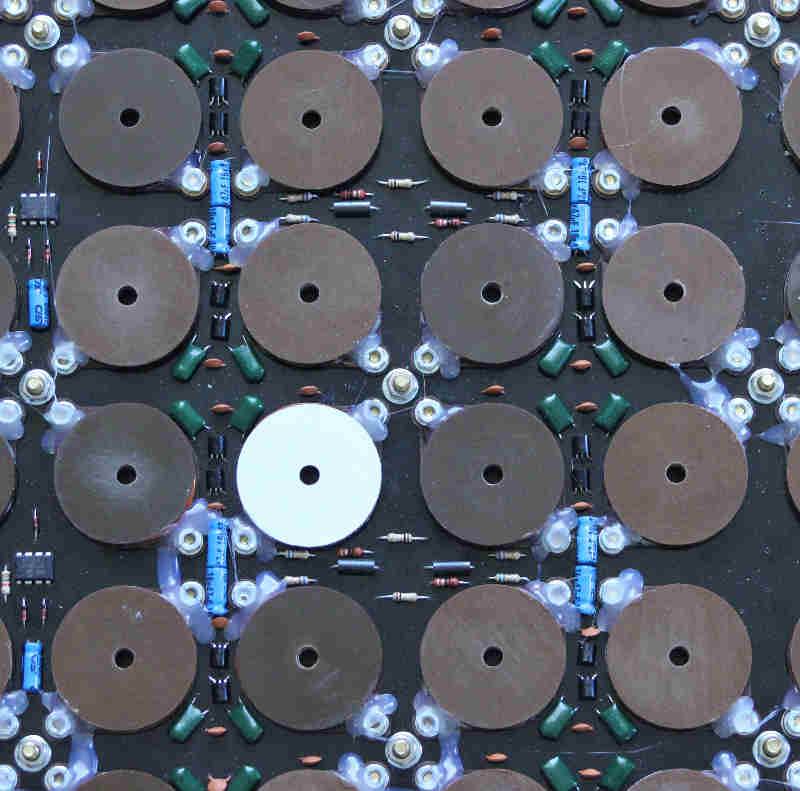
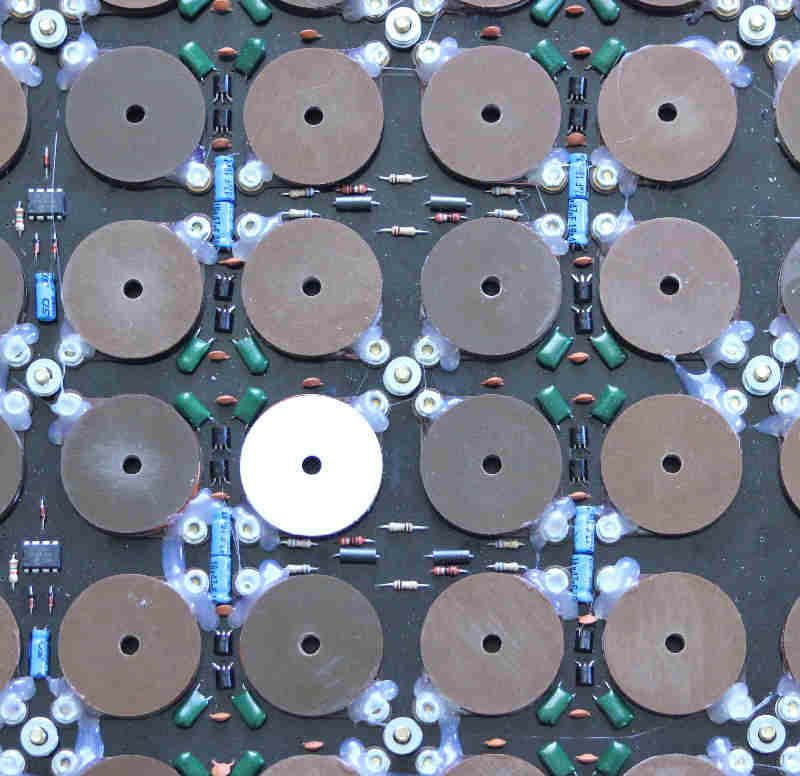
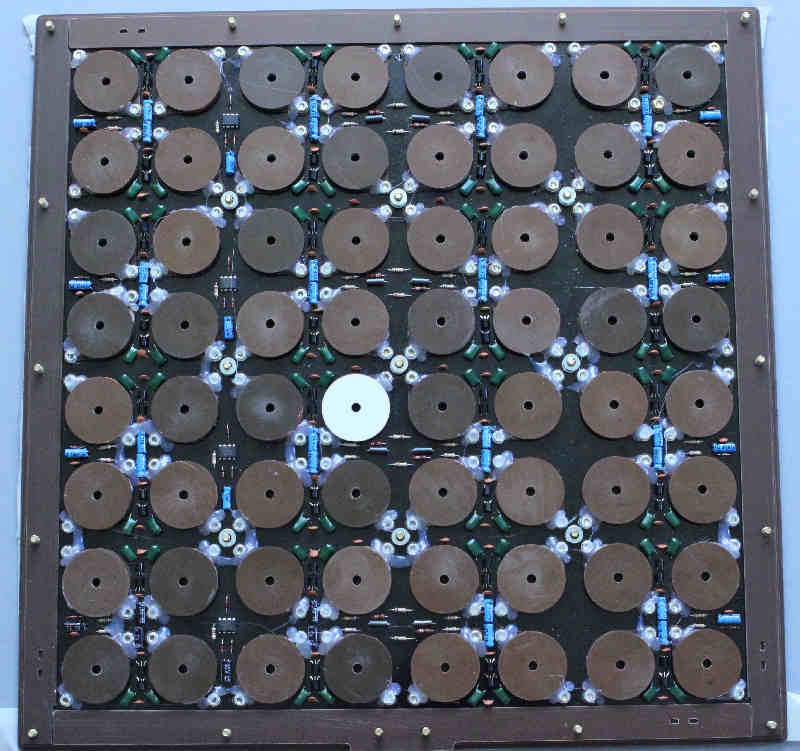
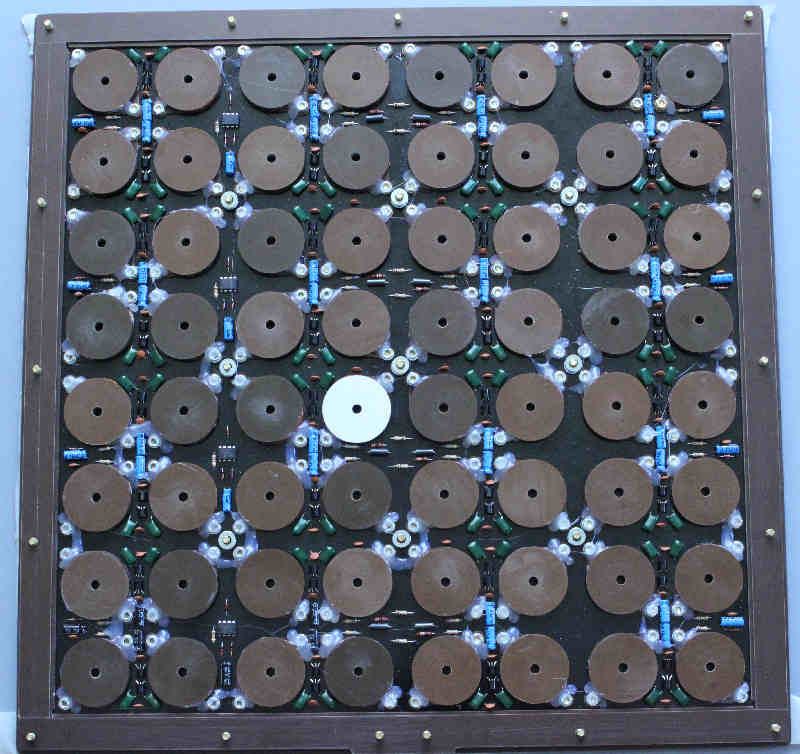
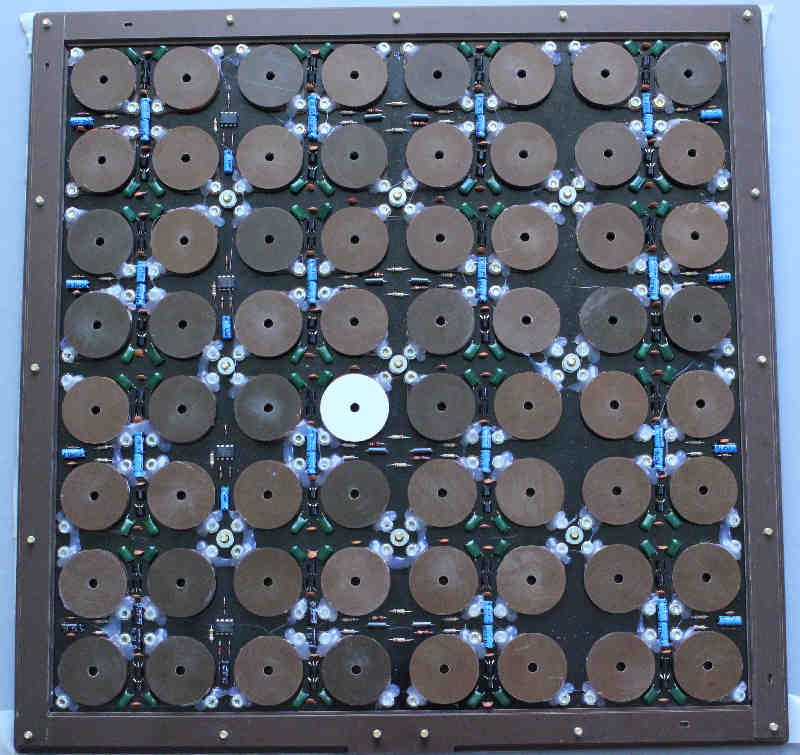
Once the main PCB is completed and tested - making sure all the coils are functioning OK - it can be built into the base case....
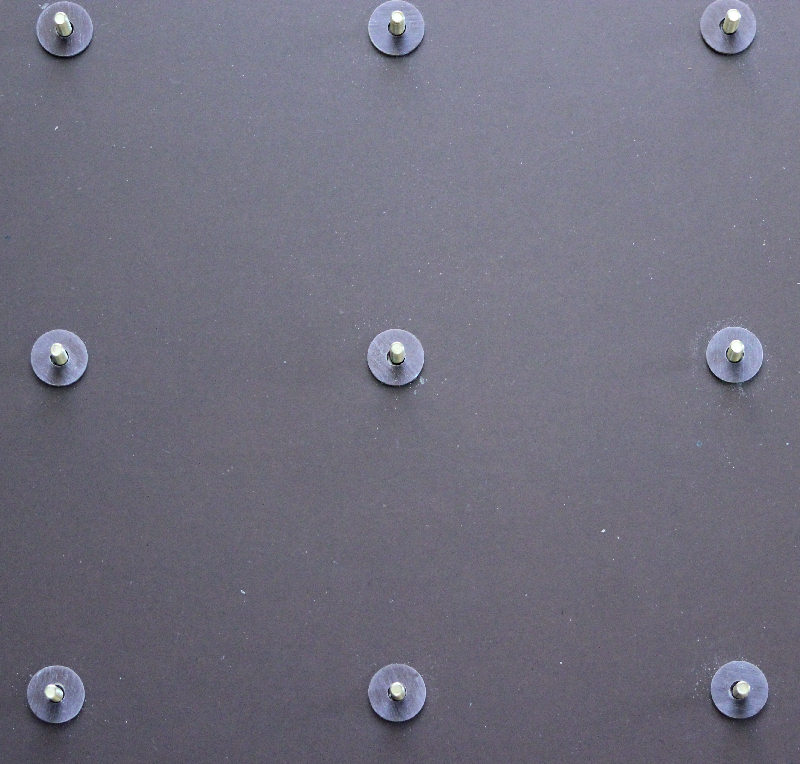
Take the board top and base panels, place the top facing out on the base panel and standing the bottom edge on a flat surface, match up the holes - there is a right and wrong way so make sure they do line up before continuing. If they don't, turn the base panel over to face the opposite way and try again. Once you have determined which is the correct way mark the outer face of the base panel with a bit of masking tape.
Gently brush the top panel engravings to remove any loose dust. You'll need to fill the engravings to make them legible, I used white acrylic fabric paint as it was handy - you could try other colours or materials.
Rub the paint into the engravings, making sure they're filled and there are no air bubbles:
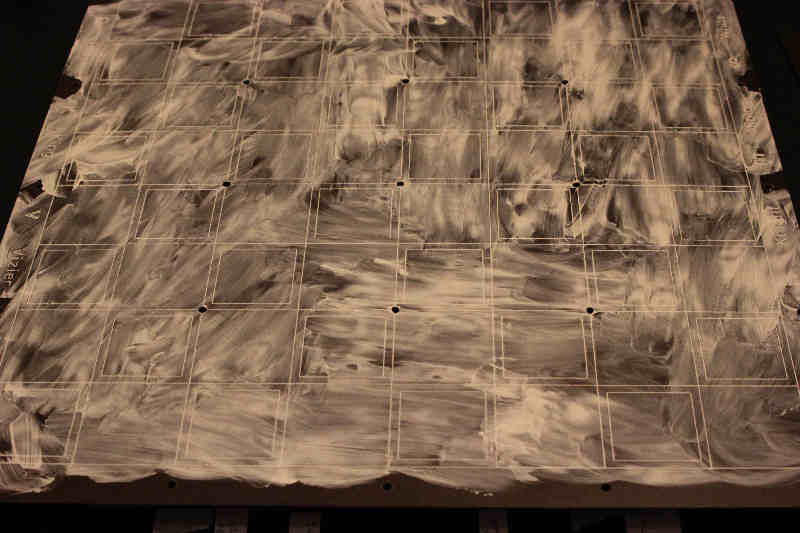
Leave to dry then rub off the excess paint, taking care not to remove too much from the engravings.
Take the board top and base panels, place the top facing out on the base panel and standing the bottom edge on a flat surface, match up the holes - there is a right and wrong way so make sure they do line up before continuing. If they don't, turn the base panel over to face the opposite way and try again. Once you have determined which is the correct way mark the outer face of the base panel with a bit of masking tape.
Gently brush the top panel engravings to remove any loose dust. You'll need to fill the engravings to make them legible, I used white acrylic fabric paint as it was handy - you could try other colours or materials.
Rub the paint into the engravings, making sure they're filled and there are no air bubbles:

Leave to dry then rub off the excess paint, taking care not to remove too much from the engravings.
