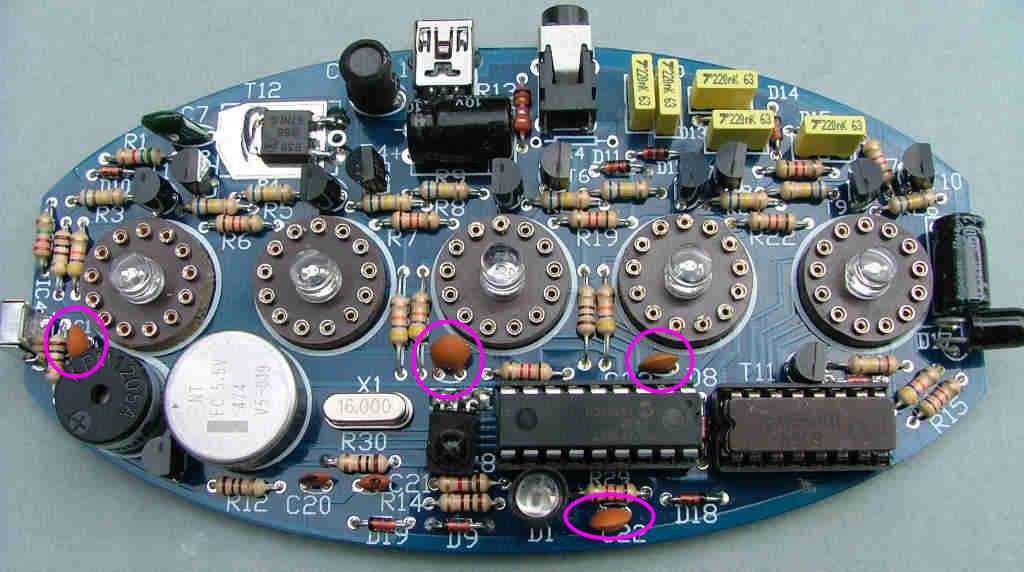
PCB assembly - BAG1
Posted: Wed Aug 05, 2015 11:36 pm
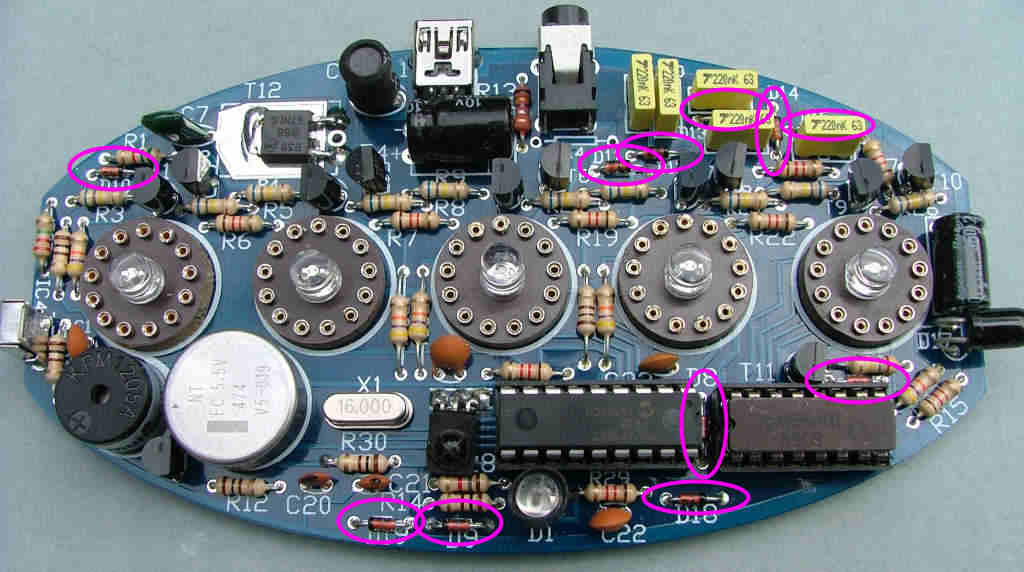
The exact order of assembly will depend on the preference of the builder but convention is to fit the resistors/diodes first followed by capacitors, transistors and ICs in that order.
You'll need a good pair of micro wirecutters, a screwdriver for case assembly, fine sandpaper, 300 and 600+ grit emery paper, metal polish and a 15-25W or temperature regulated soldering iron with a good bit which tins easily (many Chinese cheapos have poor quality bits which will refuse to tin and make poor thermal contact, leaving you gouging at the PCB trying to melt the solder).
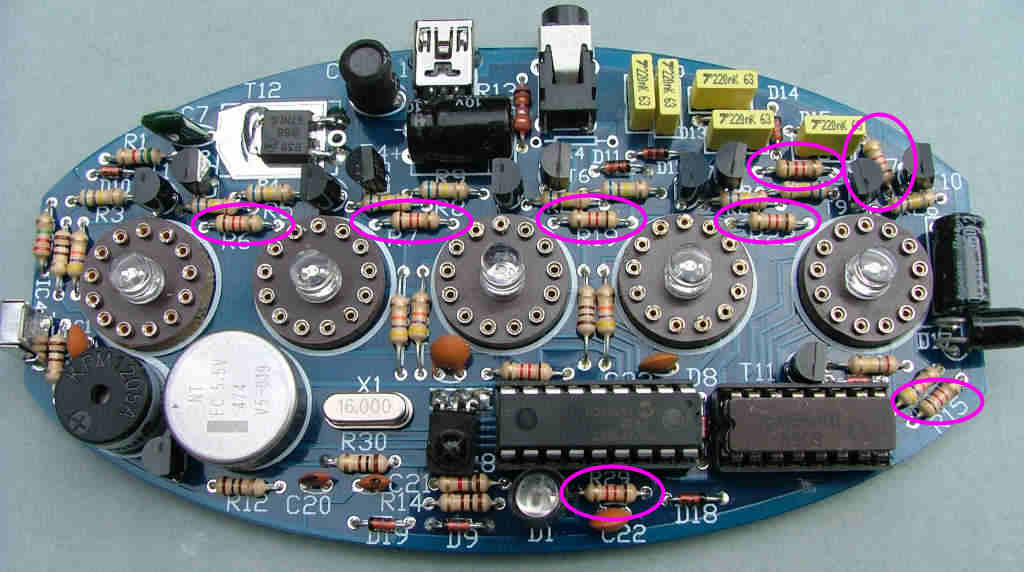
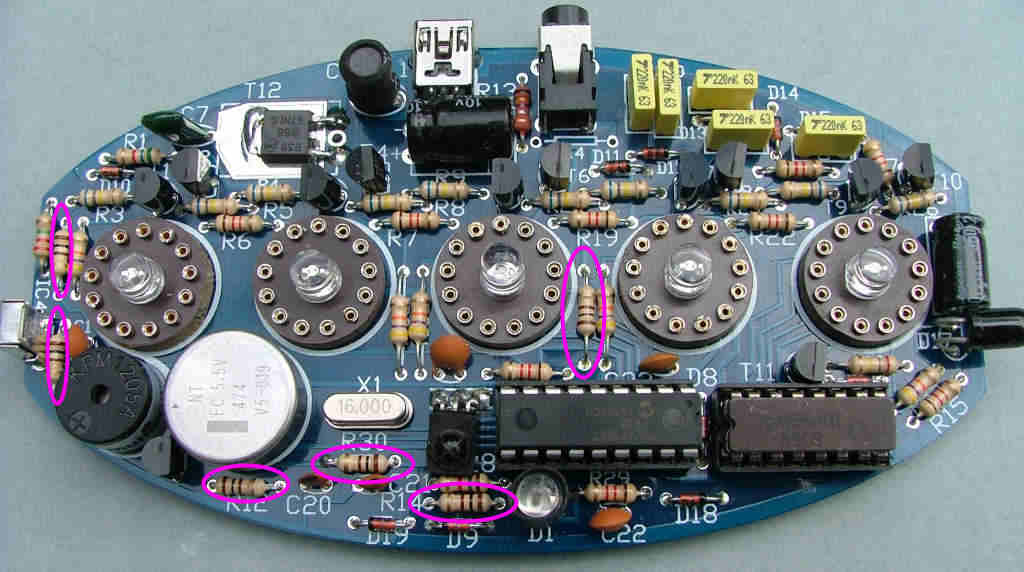
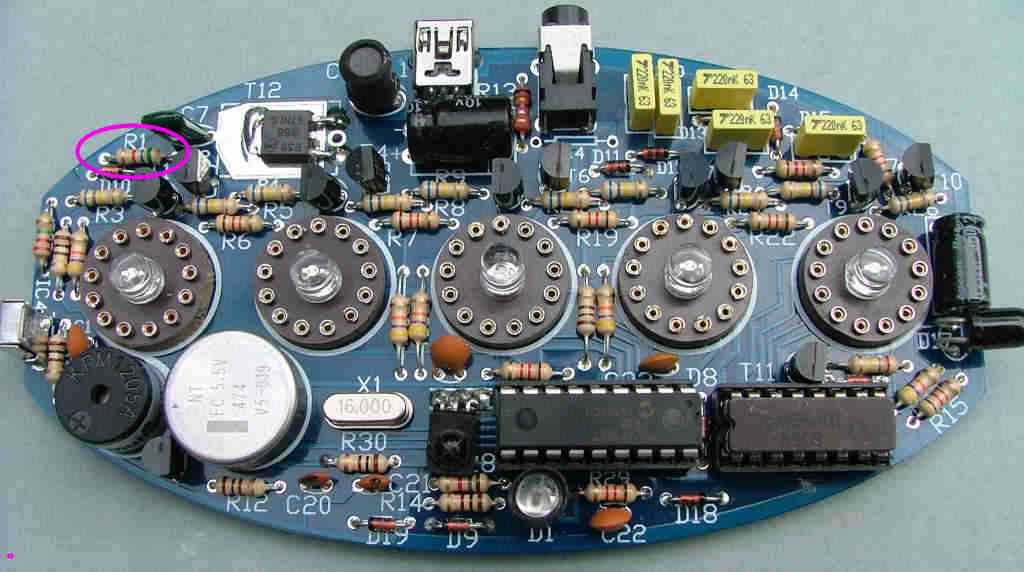
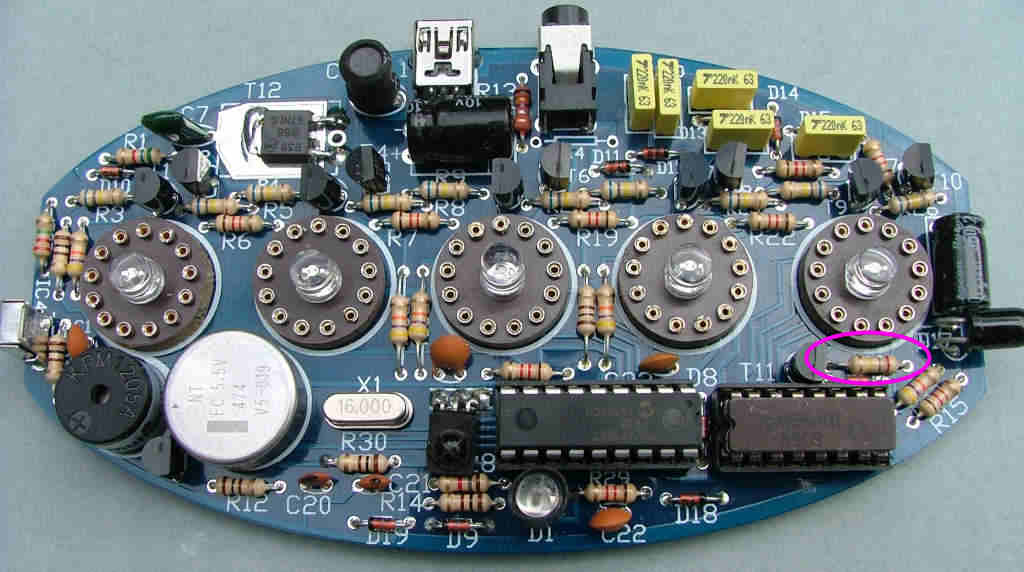
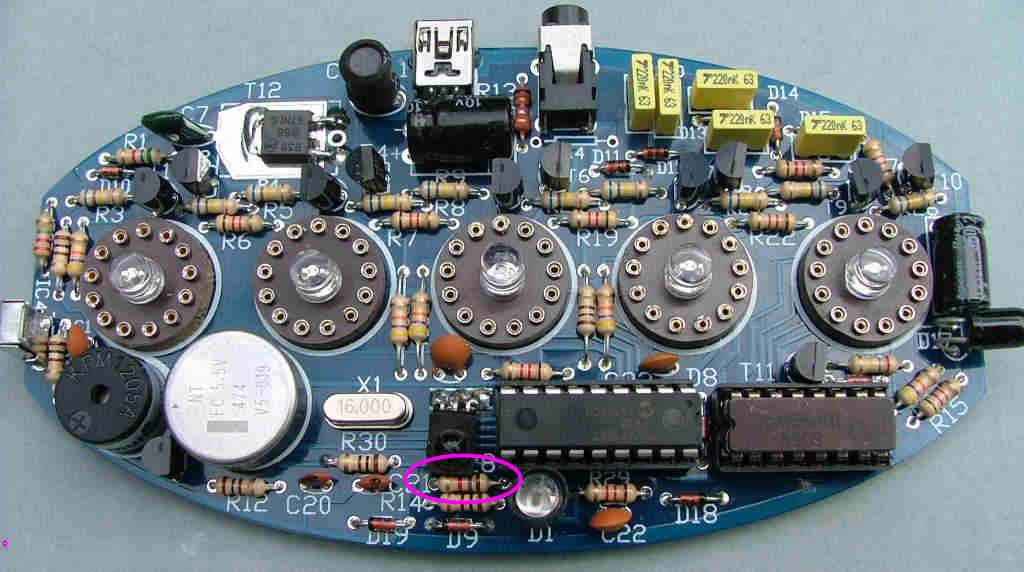
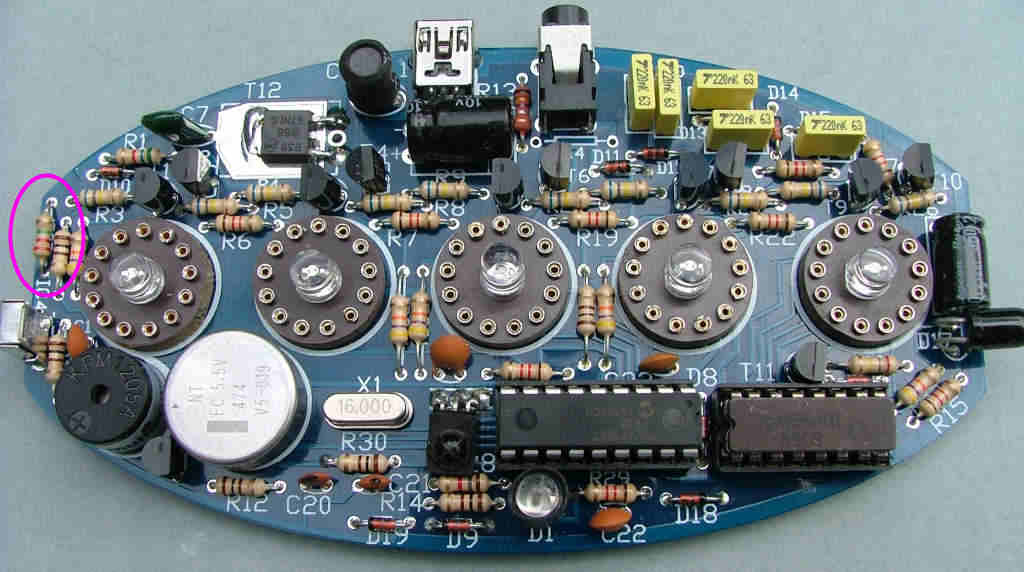
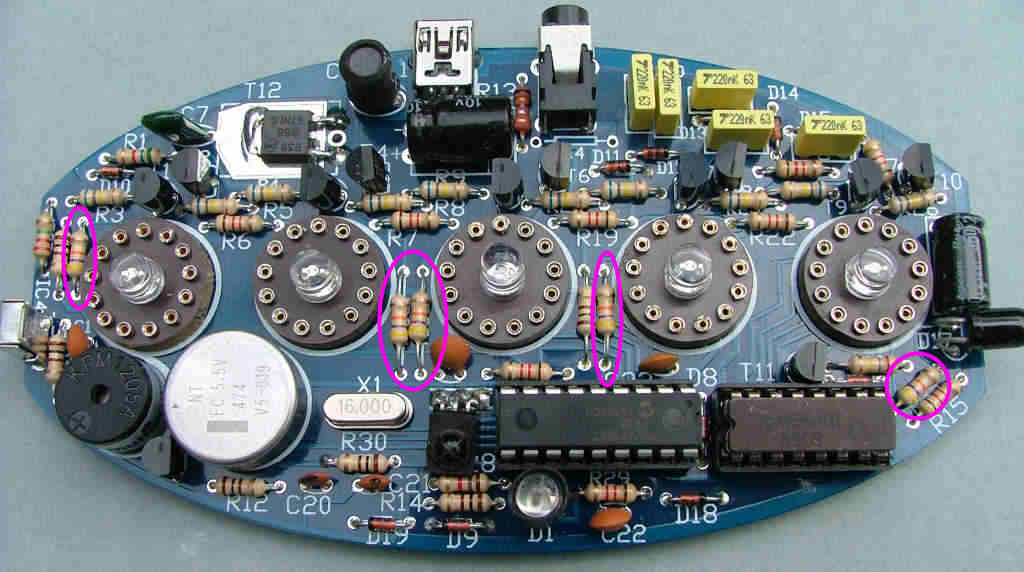
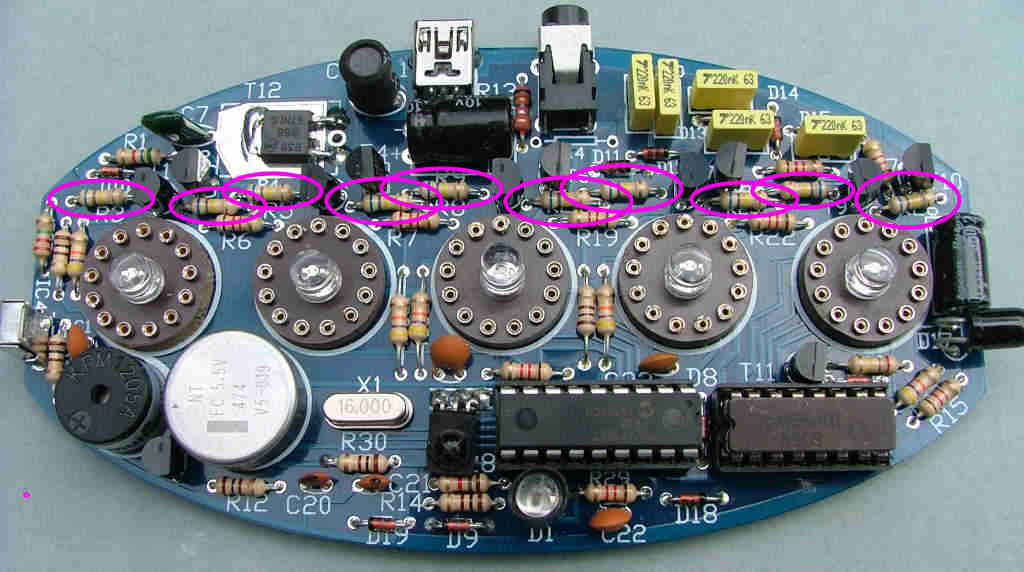
After preparing a suitable working space take the PCB and the 10x 680K resistors (blue-grey-yellow) or 2m2 (red red green). Fit these in locations marked for R3,4,5,8,9,20,21,23,24 and 26 as shown:

